
One Month Update: Eriostemmas from Rare-Hoyas.com
The Eriostemma cuttings from Rare-hoyas.com have been cooking for a month. It’s hard to believe. It feels like the last few months have been a time warp. On one hand, it it feels like it’s been a week since the cuttings arrived. On the other hand, it feels like it’s been a year. Regardless of how long it’s been, it’s time to for an update.
I had a hard time finding information about rooting Eriostemma cuttings before I purchased these. I had a conversation with the seller, which I briefly mentioned in the original rare-hoyas blog, but other than that I didn’t know much. I want to document this as much for my own memory as I do for the sake of others who might be interested. I expected the rooting process to take a long time. Months, in the plural form. Waiting is such a challenge because we want our plants to be huge, mature and healthy in an instant. It’s more than a challenge, in fact. It can be agonizing. Maybe I’m just a melodramatic plant parent, but there has been more than one occasion where I wanted to take a peek in the soil and see if “Ruthie,” “Optimistic,” or Obtusifoliodes” were rooting. Luckily, that’s where the gel beads came in. They’re almost as clear as water and it’s easy to see if roots are forming. It’s satisfying to watch the progress unfold. That’s one big positive for rooting in water or gel beads. The soil is, of course, is the way that nature prefers when she roots her cuttings. It is in this case, at least. I’m a big proponent of following the wisdom of nature. Like I said, my success with absentmindedly popping some Hoya Linearis cuttings into some water way back when, plus honoring the spirit of experimentation led me to the gel beads that I happened to pick up at Meijer for around $4.
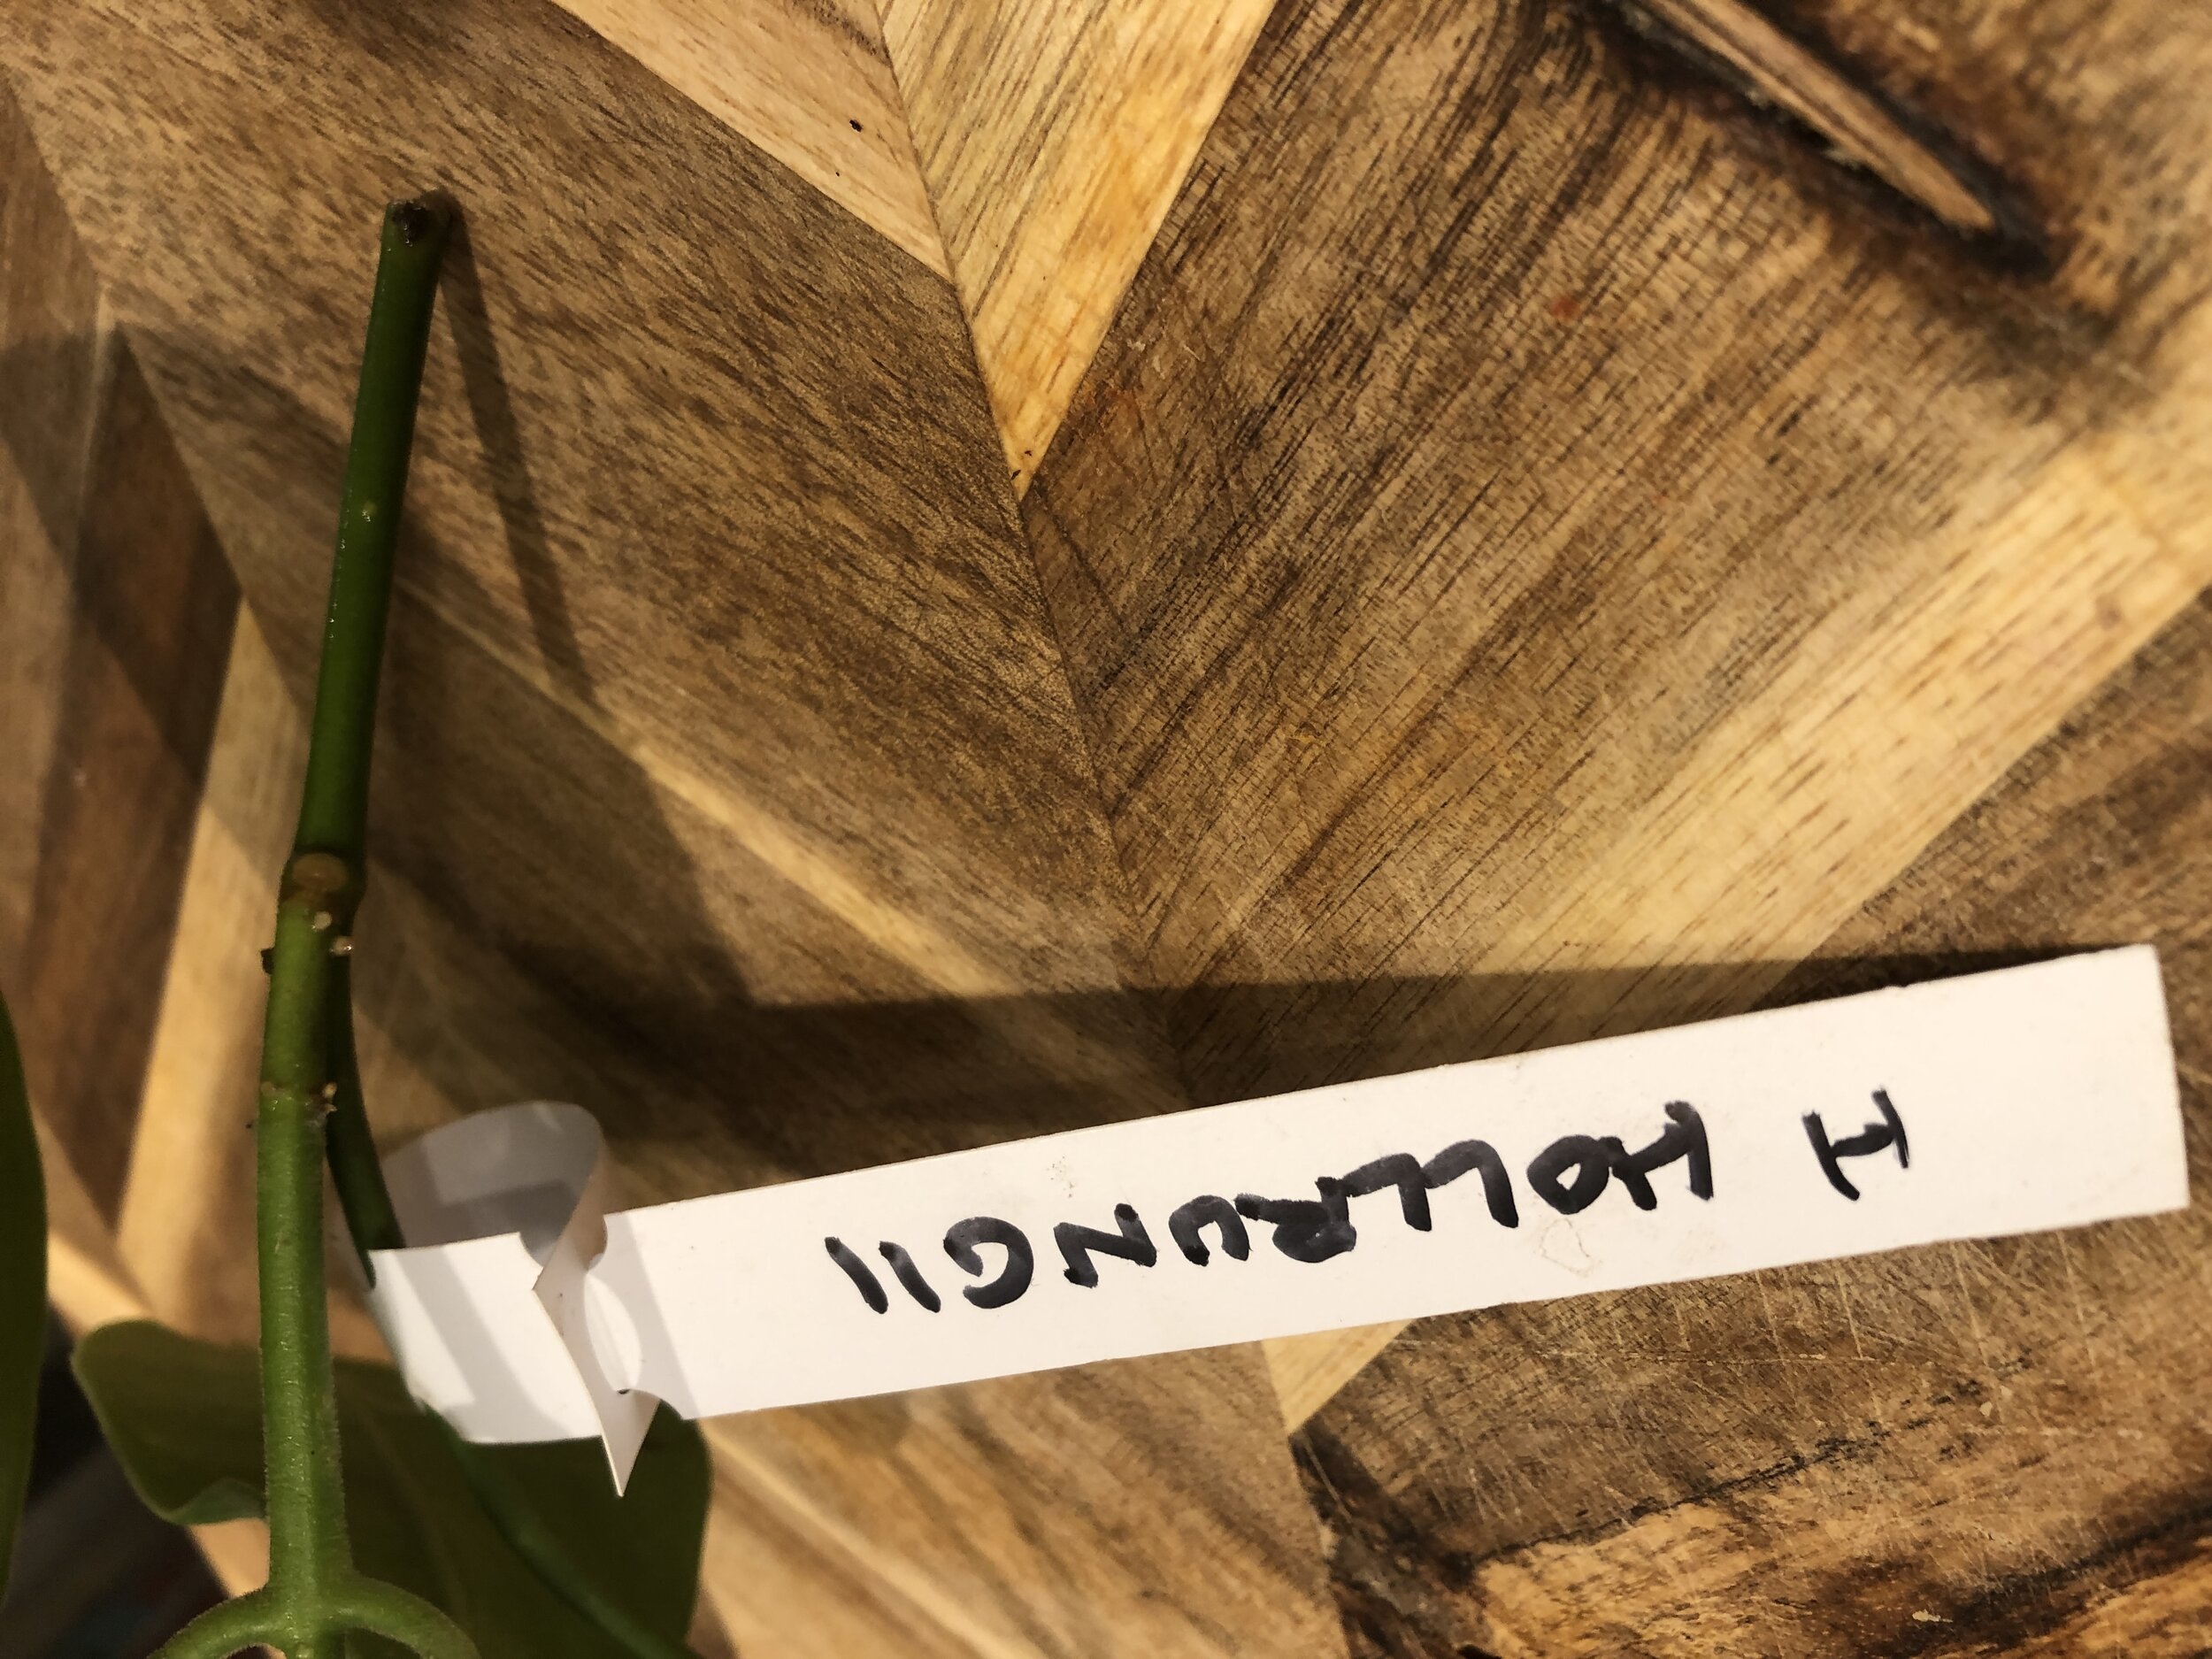
A note, the cuttings are labelled for identification purposes, but also to clarify which end to plant in soil or place in water. I mention this because a lot of the cuttings looked, to me, like I should be planting the other end based on the growth patterns of the leaves. I had to refer back to the webpage where I purchased the cuttings to verify that the label also helps distinguish up from down. Although an upside-down cutting will root, I’ve heard it’ll root even more slowly than a right side up cutting.
Some leaves were dropped, some vines were sprouted. Let’s see what’s worked and what hasn’t worked with rooting Eriostemma cuttings, beginning with Ciliata. In other words, let’s just get this one out of the way and move on.
Eriostemma Ciliata, oddly, was a cutting about which I felt a little bit too confident. It wasn’t that I knew I could root this cutting more easily than the others. It was because I already have a rooted Ciliata and I felt like this cutting gave me the opportunity to experiment without the fear of a dead cutting looming over my shoulder. It is practically a dead cutting now, actually.

Not a good look…
I’ll post the original plant below for comparison.

I started this in water and moved it to soil because I started to see little root buds and I wanted to see if they’s continue to progress in soil as they had in water. Nope. It lost the two big leaves and accelerated downhill pretty much instantly. So…I learned not to prematurely pot or switch rooting methods. Spoiler alert : I did the same thing with Affinis. I might as well just get that one out of the way now since operator error was the potential demise of both cuttings.
Here it is now.

Don’t be fooled. Those two lovely vines on the right and left are my existing plant. The little nub between them is the cutting I’m still attempting to root. However, shame on me, I switched this one from gel beads to soil prematurely, too. Lesson learned twice. Here’s the cutting before I came along.

I’m not even sure how that happened, now that I look at it. I need something uplifting after these, so let’s move on to Ruthie.

Ruthie is looking pretty good, if I do say so myself. Her leaves are firm, they feel healthy and none have dropped. I’ve got my eye on that uppermost leaf that’s yellowing, but I’m not freaked out yet.

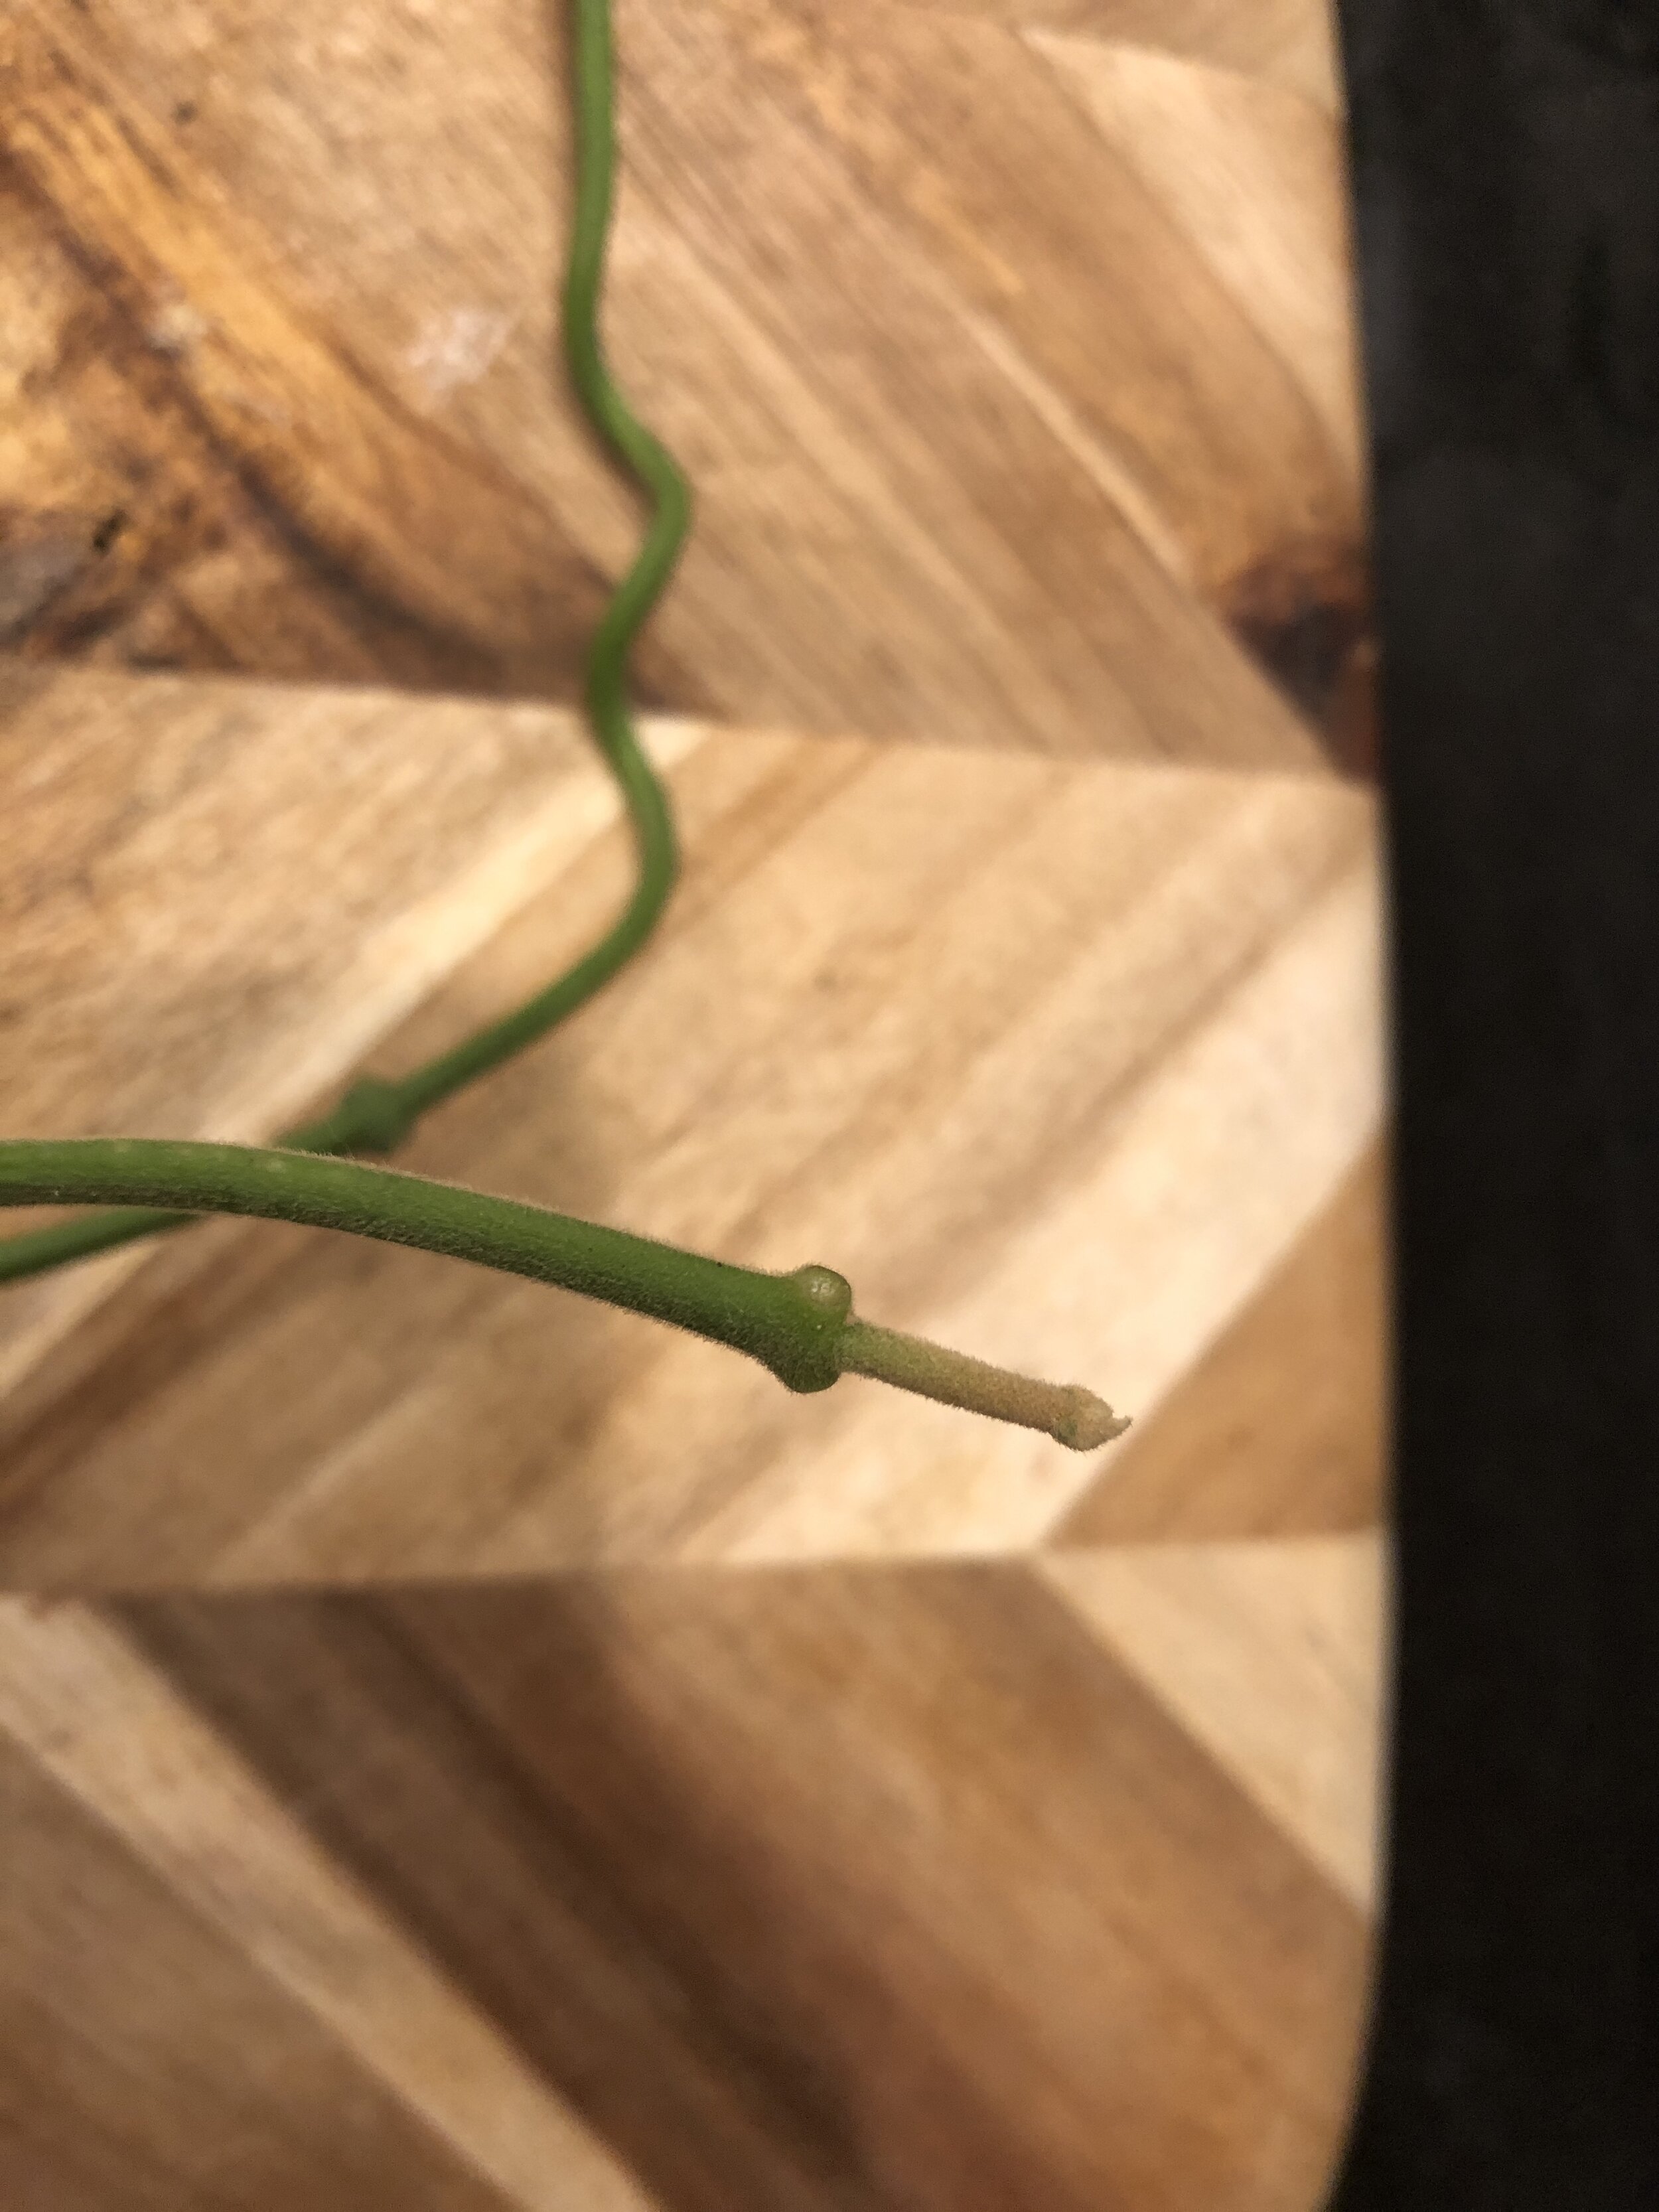
Next is Hollrungii. I wasn’t familiar with this plant before I bought this bundle, but it’s definitely grown on me. Literally. The tip of the vine is growing. The second vine has an adorable curl and I think it likes me.
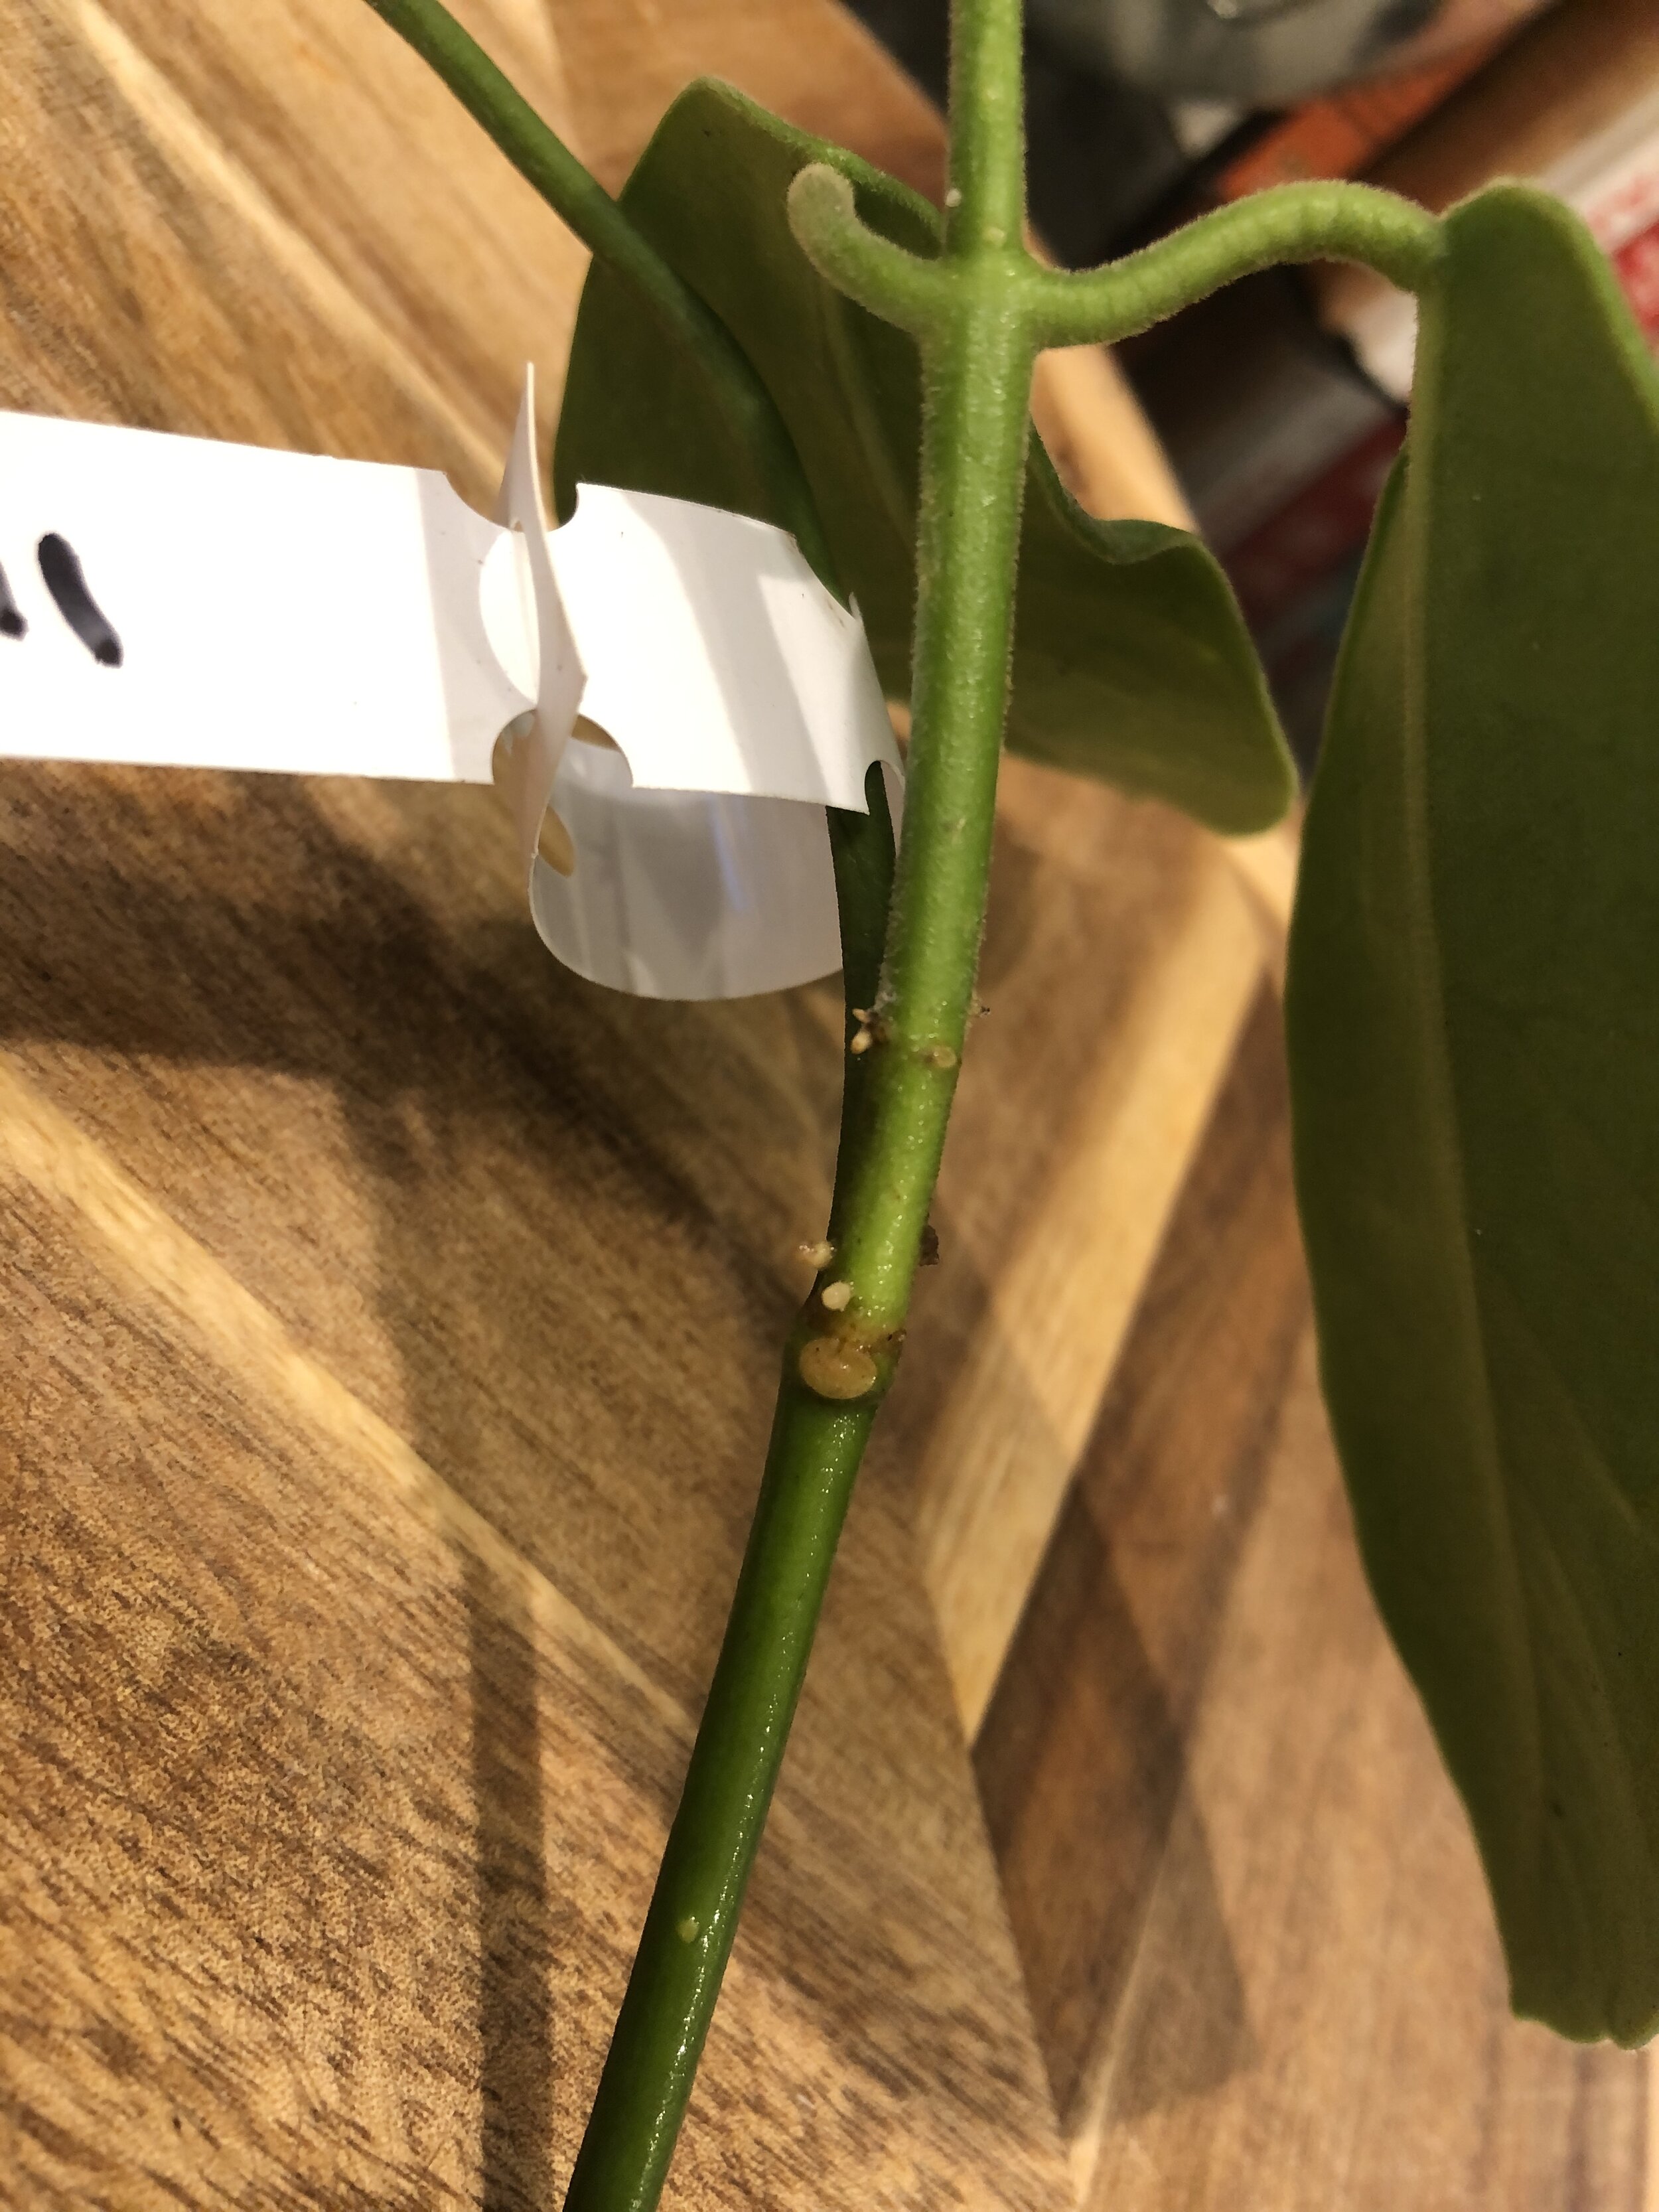
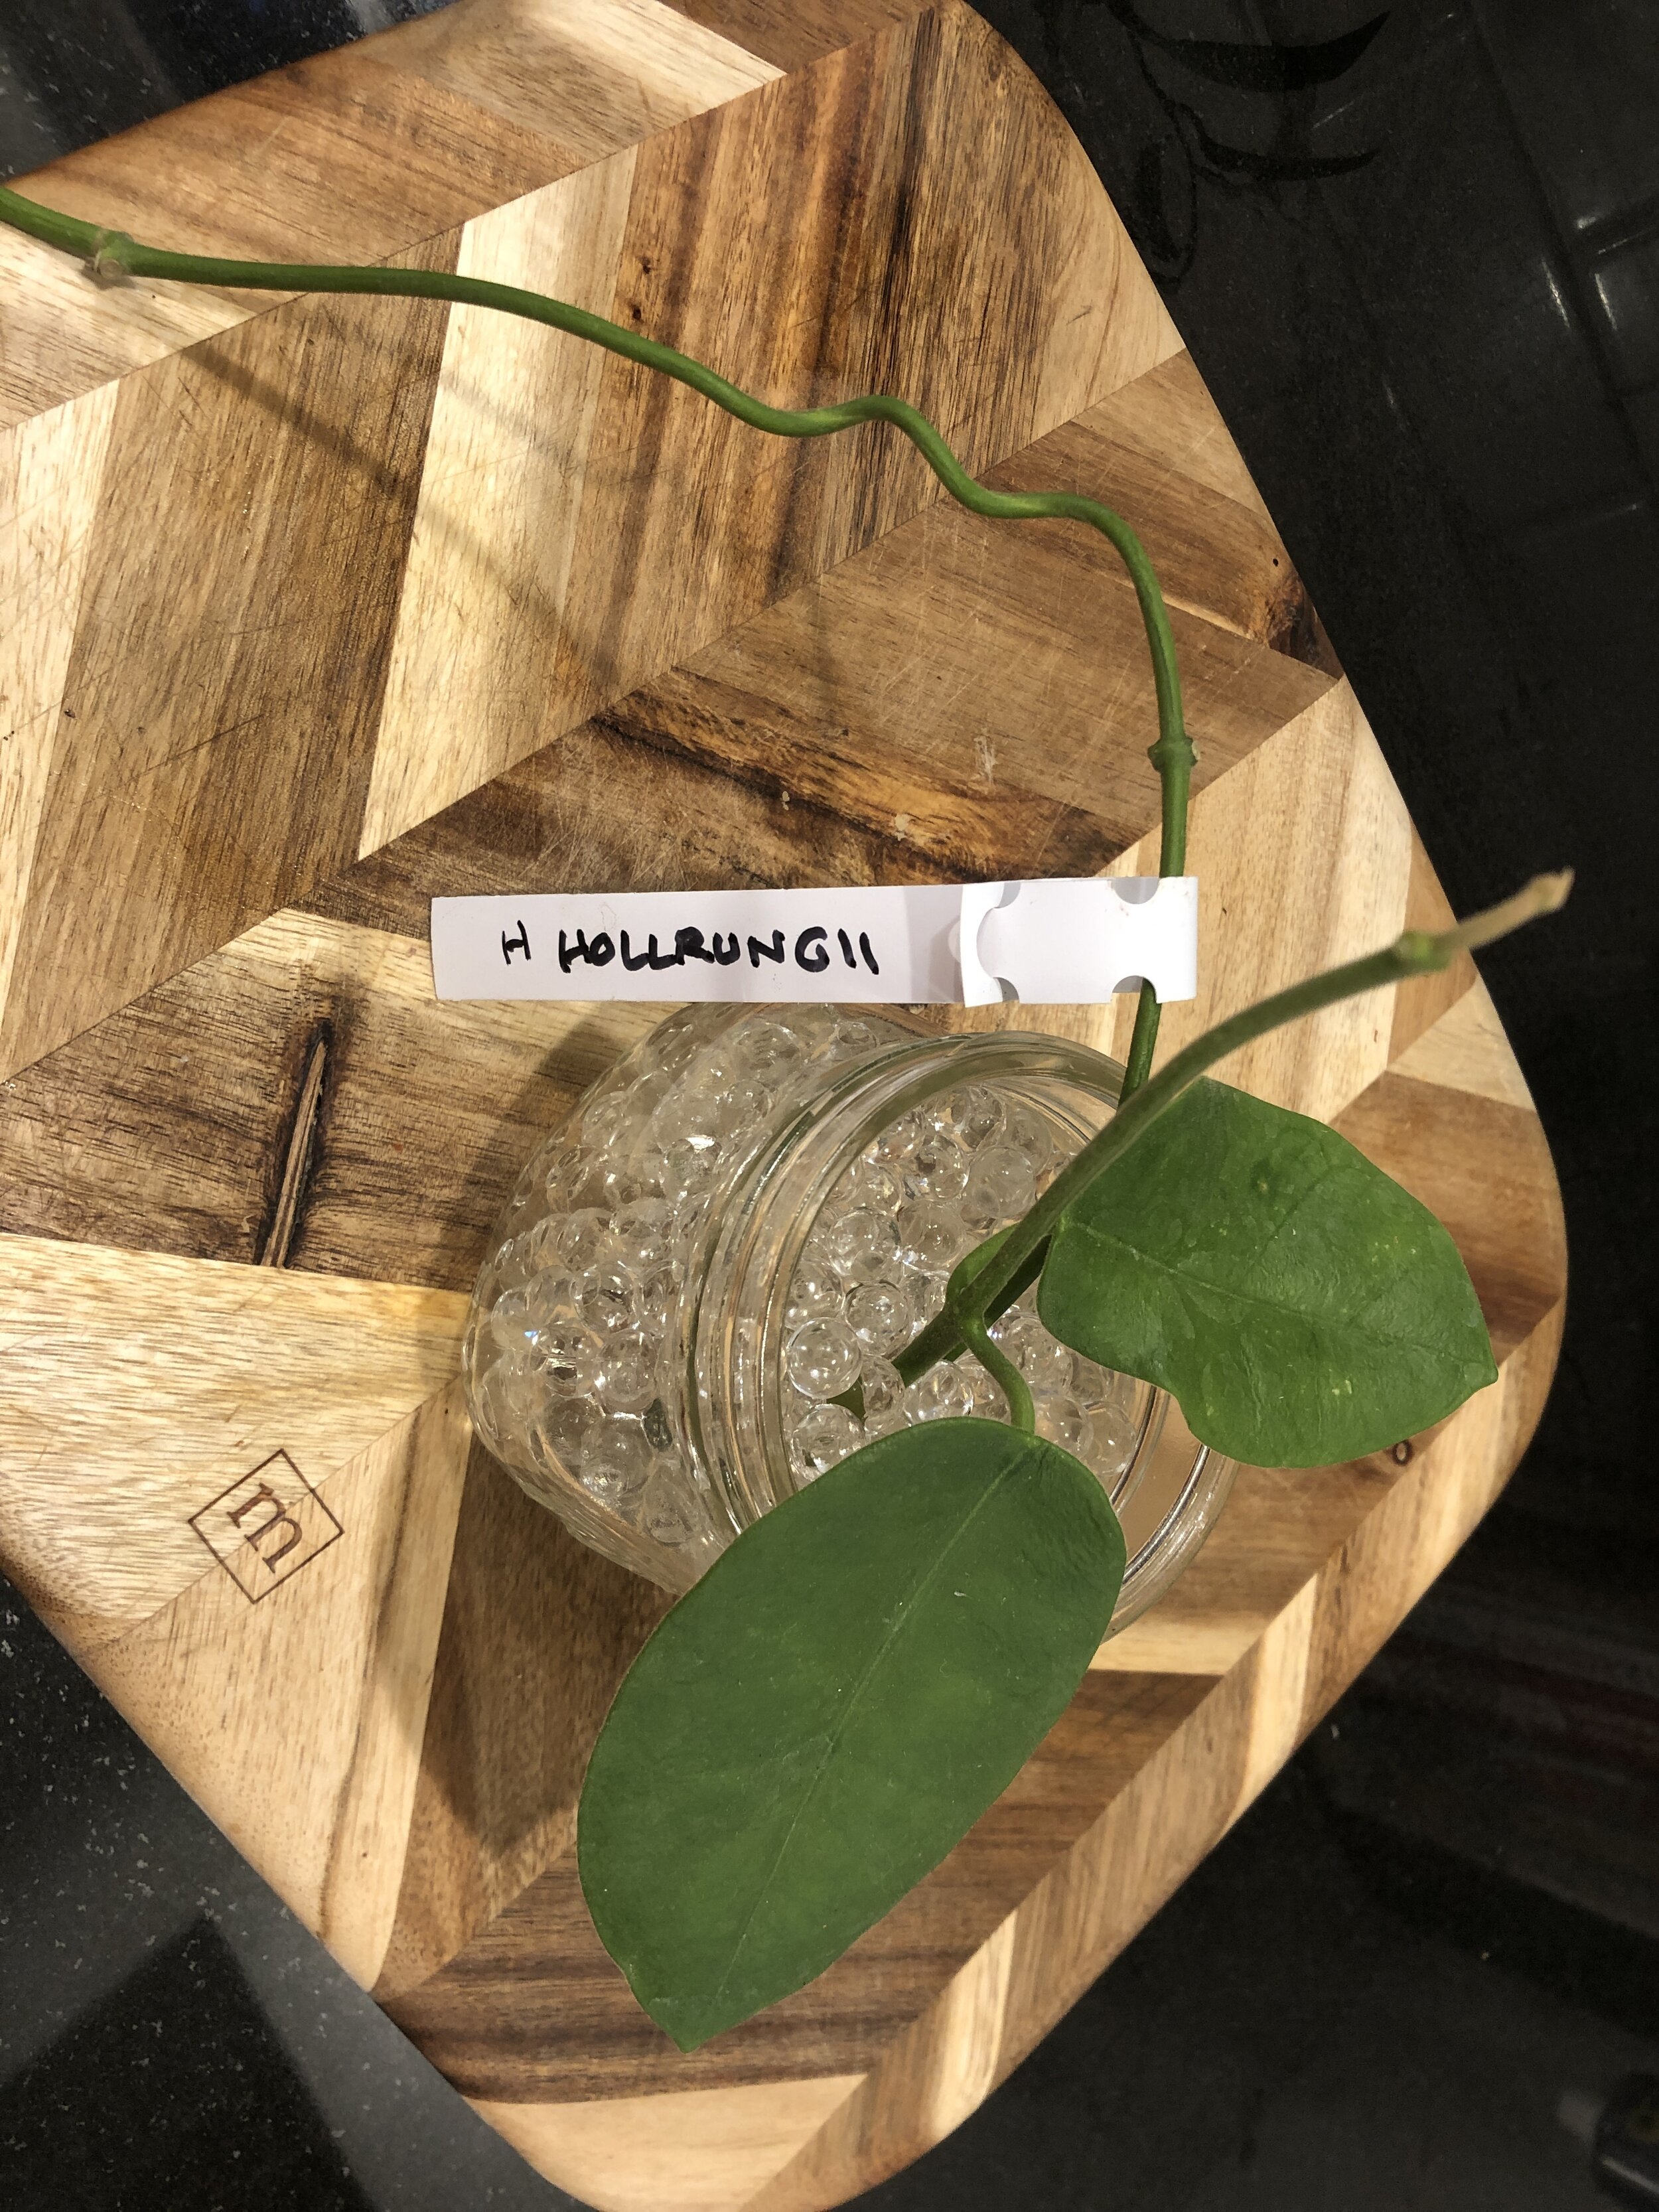
Roots, roots, vine, and the gel beads in which this guy lives. I’m not changing anything about what’s going on with this plant. I like where this is heading.

Next up, Obtusifoliodes.

This one is doing okay…I think. I can’t see what’s going on below the soil, but it hasn’t lost any leaves. I removed one leaf when planting the cutting because it would’ve been below the soil level and I didn’t think that was a good idea. This is one I’m watching closely because I really want to have this plant. Not just the cutting, the actual plant. I think the name is fun, and I love how it’s called “Apple Green” as a nickname.

Sp. “Gold Star” is another that was new to me. I haven’t done much research on this one yet. I have it in gel beads in an East window along with “Isabella.” They both looked weary from travel when they arrived, so I have my fingers crossed for them. I’ll start with the little root bud on Gold Star.
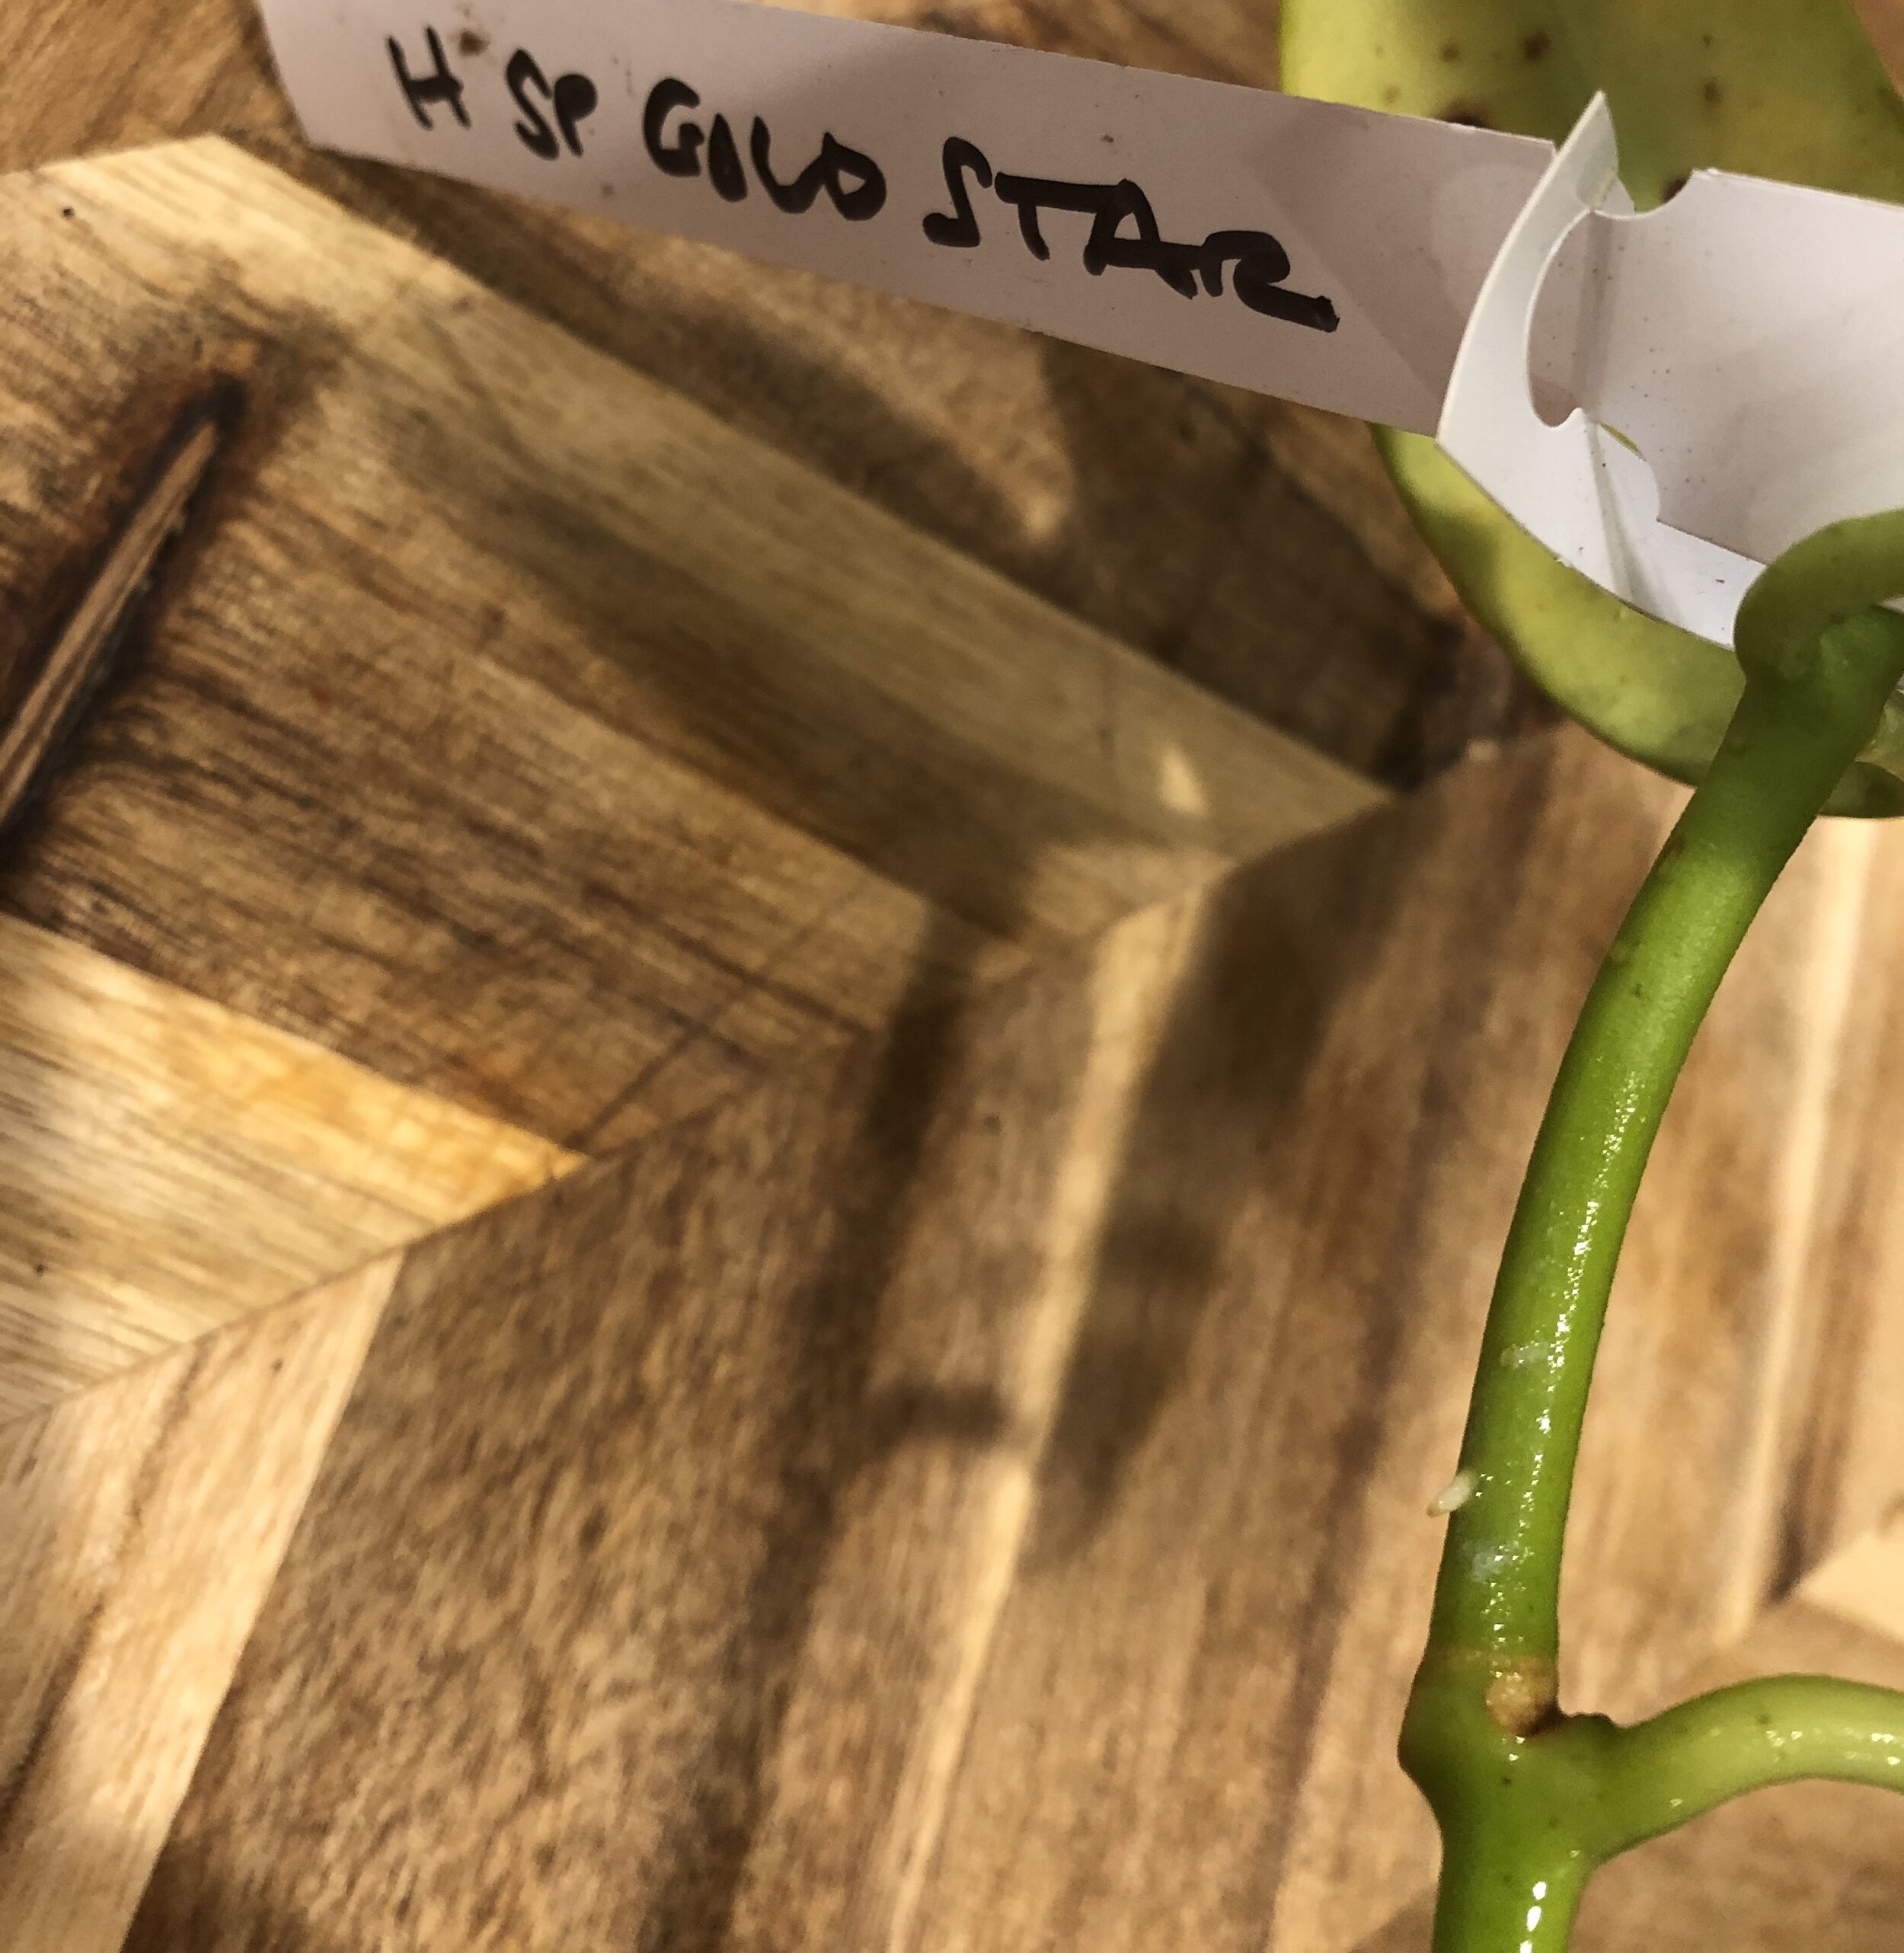
This is more than I expected out of “Gold Star,” so I’m happy. There are a couple more roots like this sprouting up and down the portion of the vine that’s submerged in the gel beads. I wasn’t expecting the roots to sprout so randomly. I’m not sure what I was expecting, exactly, since I hadn’t done this before. I didn’t show the whole cutting of “Gold Star” because I wanted to get a close-up of the root. There isn’t much of a comparison, but here’s the cutting when it arrived.

It looks about the same now, but with a few tiny roots. Same with “Isabella.” She lost some leaves but the whole vine is bumpy now where it’s submerged.
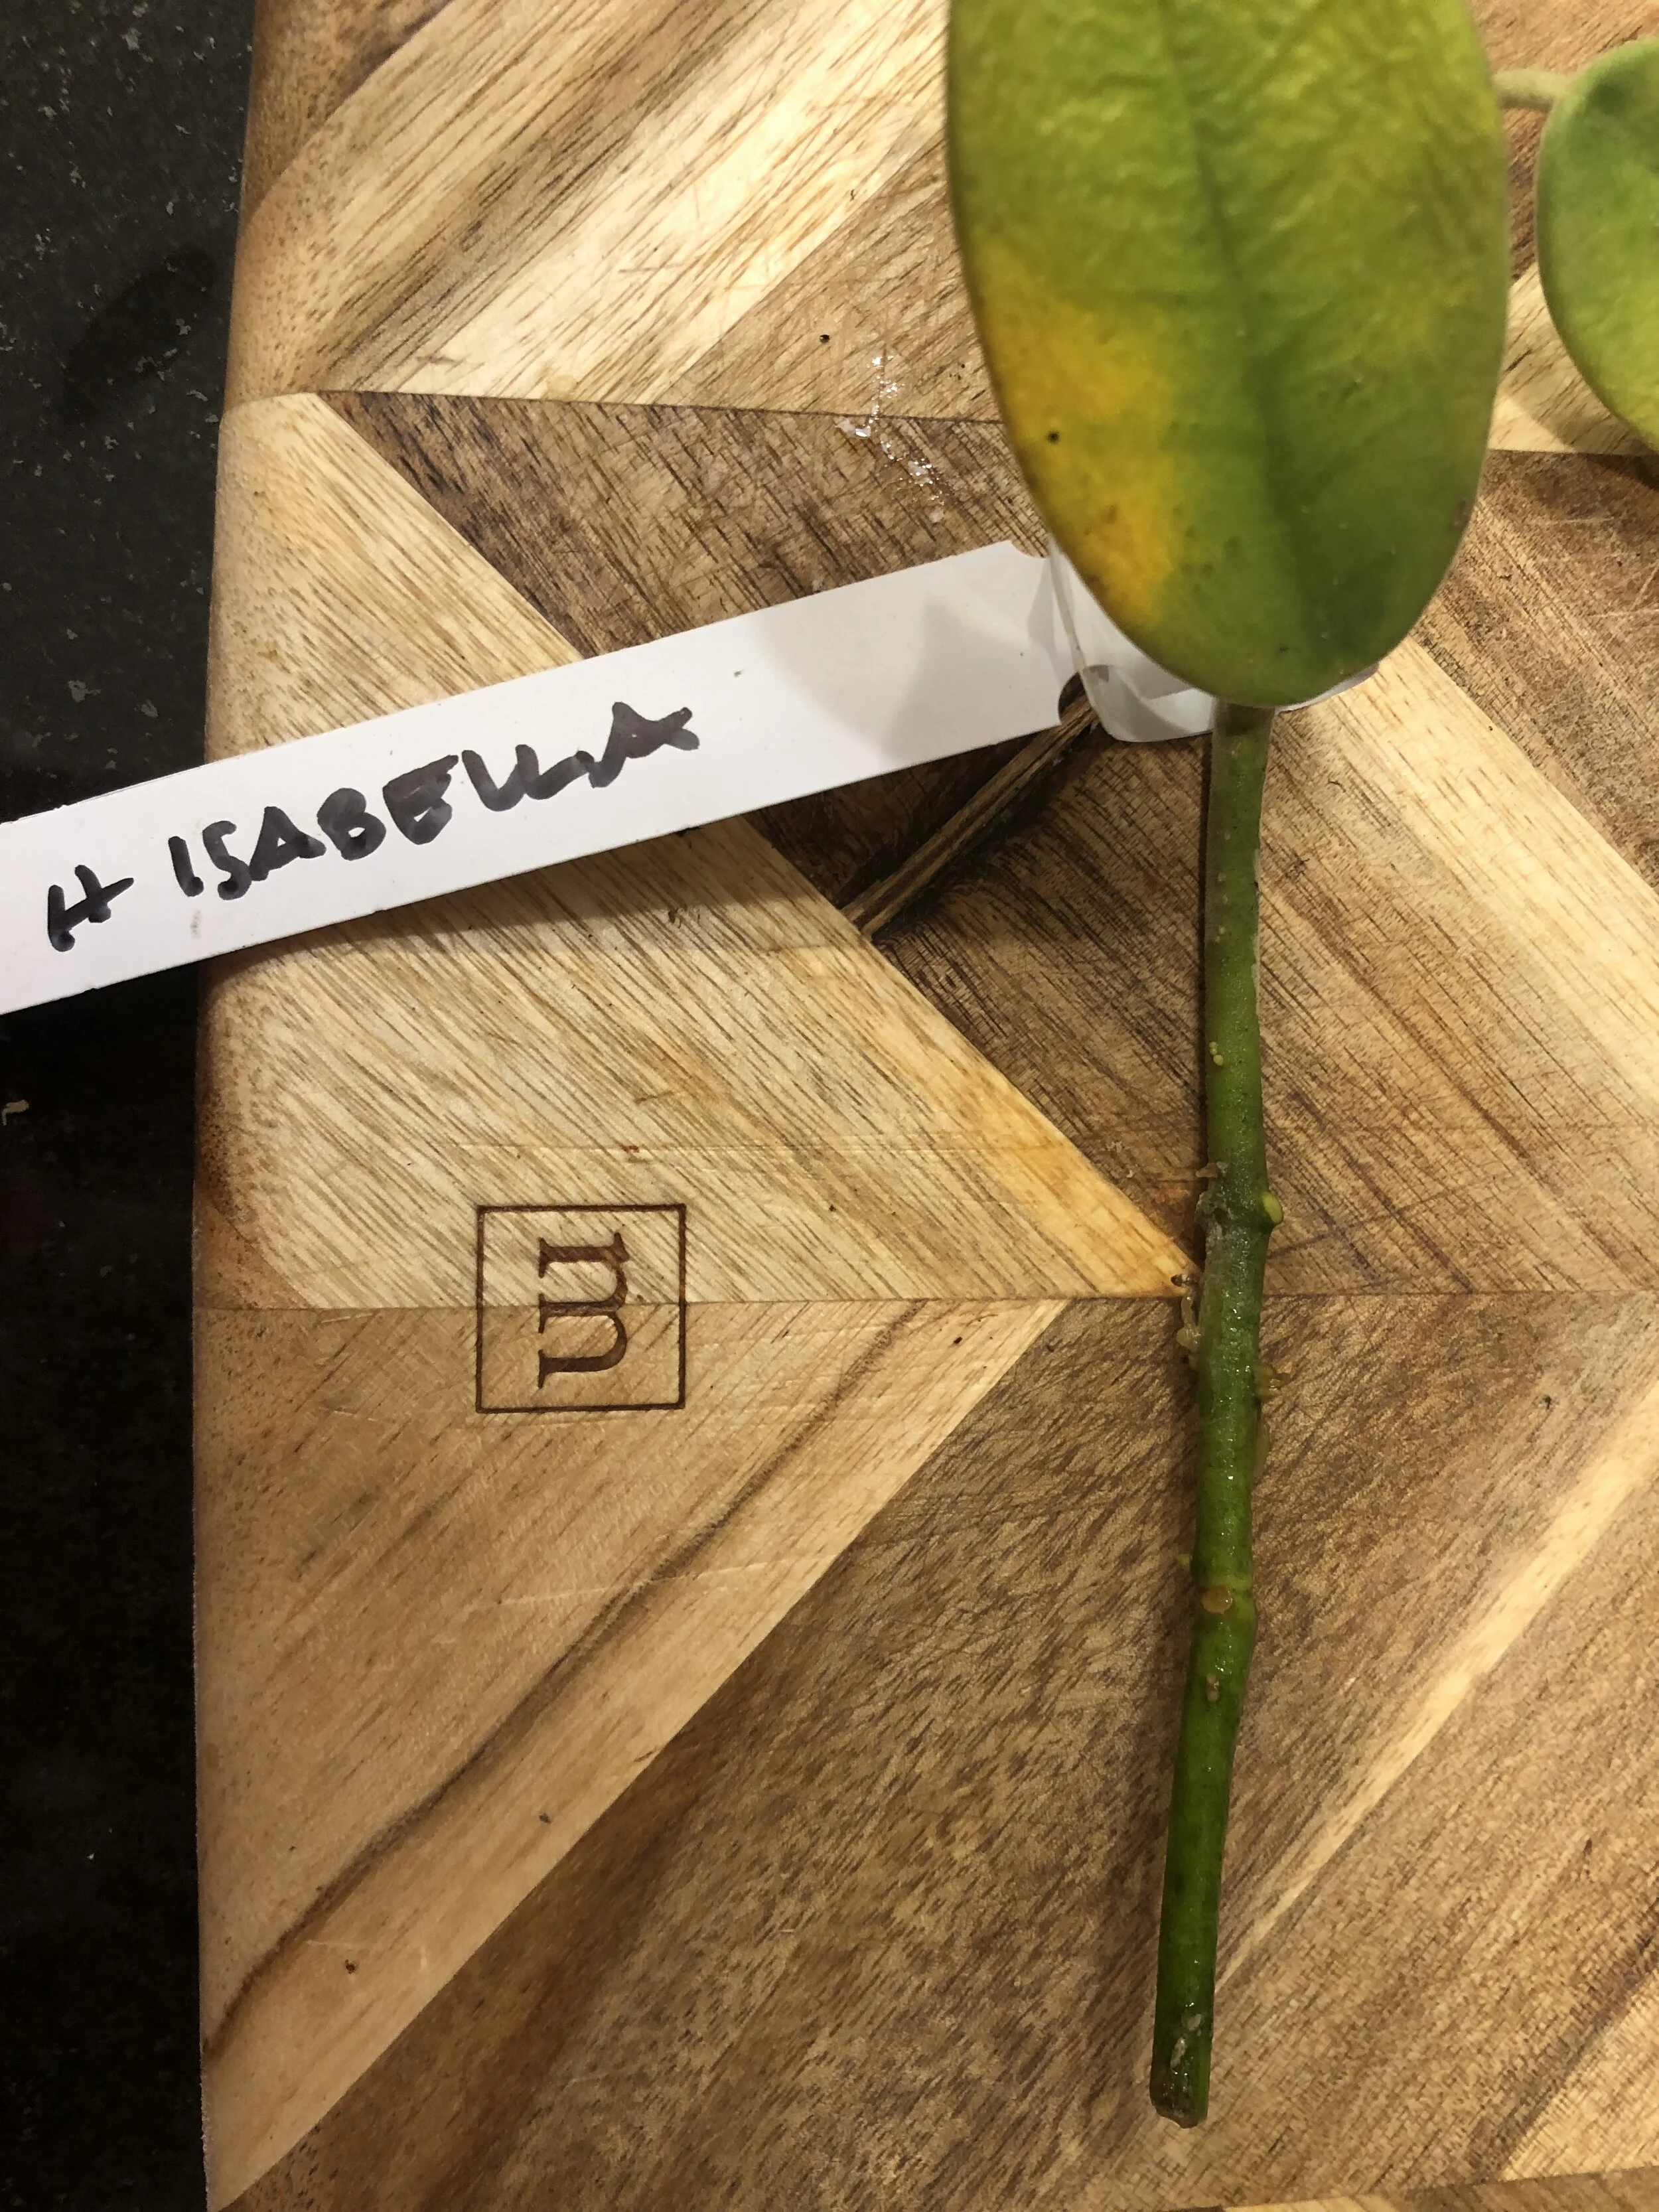

“Isabella” was in the worst shape when she arrived and I’m still not feeling great about her future. But we’re going to try.
And finally, “Optimistic.”


There’s some wrinkling going on, but the plant hasn’t lost any leaves. Again, I had to remove a leaf to prevent the plant from being positioned awkwardly in the pot. The way those two lower leaves grow into each other made it difficult to stabilize the plant in the soil.
Overall, there are some low points, some high points, and some points that I just don’t know about yet. I’m just giving them time. In that bizarre instance when I accidentally stepped on my Linearis and ended up putting the severed vines in water, it took months before anything substantial happened. I’m using that as a guide. I am, admittedly, a helicopter plant parent so I get frustrated when things aren’t going smoothly with every plant. I want to share amazing stories of rooting and vining and leafing, but that isn’t always the reality I suppose.
One final Hoya Eriostemma tidbit to share. This guy arrived yesterday!

H. Eriostemma Guppyi with an enormous leaf! Also, just so I have aspirations, here are the roots.

One day!
Coming up in the next few blogs: Hoyas in bloom, constructing the perfect office/plant throne/jungle, and (hopefully) rooting Leipismium Houlletianum “Snow Drop Cactus.”