
Potting Rhipsalis in Mulitples.

Lately I’ve been into a different family of plants every week. I was stuck on Eriostemma for a while, but now our relationship is moving in slow motion as I wait on my cuttings to root. So, there’s a new golden child: plant edition in town, and I’m really relishing this moment to revel in all things Rhipsalis. Lively, vibrant, and ever-reliable Rhipsalis have stepped up to fill the void that Eriostemma left behind last week. I took a moment to look my collection over, and I realized that nearly all of my plants are “doubled up,” so to speak, sometimes even tripled. By this I mean that I purchased 2-3 small pots and combined them into one pot so the result is fuller and thicker. There are some former Rhipsalis, now reclassified as Lepismium, that I was able to find in the big box stores as 8” pots. Though I was really happy to find those guys, I also appreciate the character and odd shape of a “doubled up” pot. I purchased some new Rhipsalis lately, so I documented the process of doubling them up into pots. This, of course, can be done for any type of plant, I just happen to do it a lot with Rhipsalis. This is how I double up my pots, what supplies I use, and what they look like in the end. If you visit the Rhipsalis page, many of the descriptions of the plants will say exactly how many plants I put in each pot. Today I’m doubling up a pair of Rhipsalis Cereuscula into a single pot, and a trio of Rhipsalis Mesembryanthemoides into one wide but shallow pot.
First, a couple of notes about repotting. Like I said, this is how I have found success in repotting. There are so many ways it can be done, and, now that I mention it, so many ways it shouldn’t be done. I’m just sharing my preferred methods and supplies. I usually give my plants a period of acclimation before I repot them. This could be anywhere from a few days to a few weeks depending on the circumstances. In the spring and summer, if things are looking good after a few days to a week, I repot. In the winter, I do repot both old and new plants based on need. A new plant might be repotted after a couple of weeks to acclimate, and an old plant will be repotted if I notice any dire situation that repotting can remedy. I am, as a general rule, pro-repotting. I have a scarce few plants that are in nursery pots. I like to put my plants in fresh soil that fits my watering style and environment. Some examples of when I might repot an old plant are if the soil always looks old and crusty, if the water runs directly through the pot and doesn’t retain moisture, or if a plant is root bound to the point where it becomes detrimental.

So these Rhipsalis Mesembryanthemoides are up first. I chose three plants from the greenhouse that fit well together, literally. I put them next to each other and check to see that that all three will fit together and hang over only one side of the pot as they grow. I do this with intention. I grow these plants on a shelf, and they are up against a wall where there’s no light. It’s unlikely that I could ever rotate the plant enough to keep it healthy, so I plan ahead and get plants that will have coverage on the top and one side. Also, it’s pretty difficult to rotate a trailing plant on a shelf, isn’t it? There is a surprising amount of light that reaches the top of these plants in my bay window, so I’m just looking to avoid that back side that will be forsaken by light.
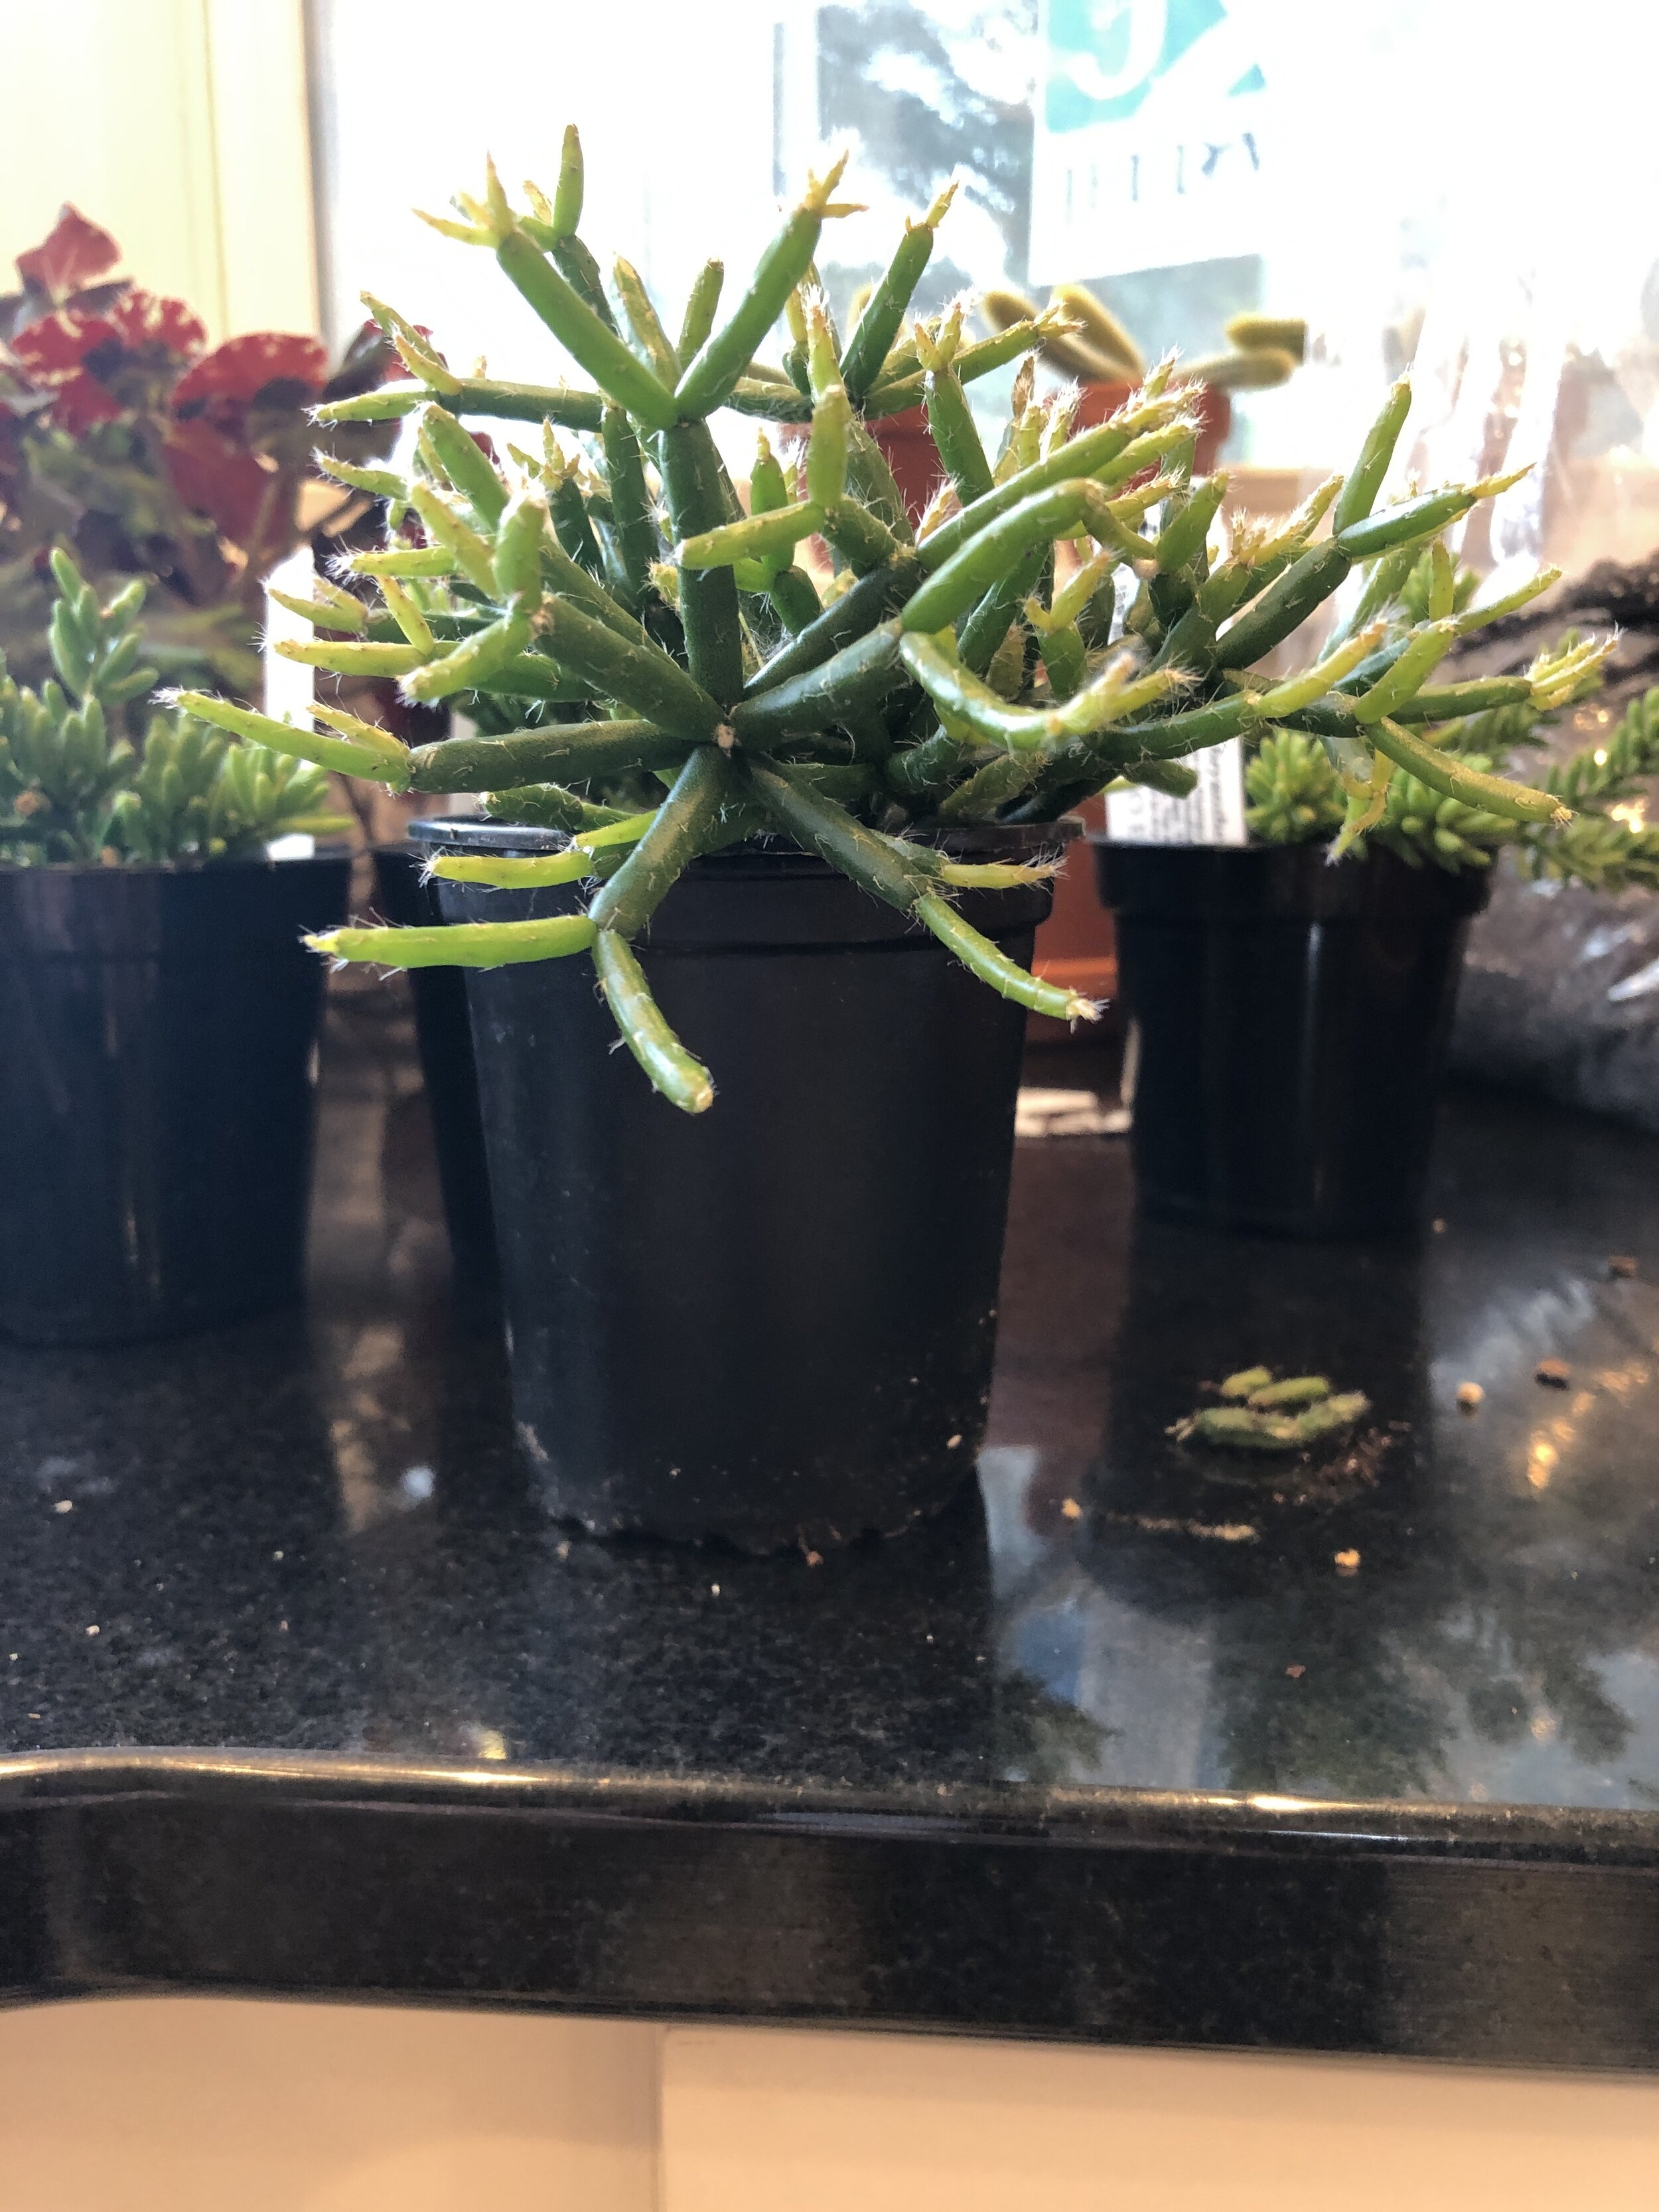
I just noticed that the trio of cacti on the windowsill are another multi potting project that I’ll be doing eventually!

Here I have everything I need. My plants, the wide, shallow pot I chose (my favorite for multiple plants because when you get a pot that’s wide and deep, you risk the bottom half of the soil staying wet for too long between watering and thus inviting root rot) all the soil that I will mix to create a nice Epiphyte mix, and my trusty mixing bowl, cup and spoons which are all from Ikea. This Better Gro Special Orchid mix is my favorite. It has bark, nice chunky perlite, and charcoal. It saves me a lot of time buying this. I used to buy them all separately but it was more time consuming and expensive, so I just get the Better Gro at Lowe’s now. I mix that with a basic potting mix from my local garden center and I follow the directions in on the Earthworm Castings. They’re really beneficial, I’ve found and you can read more about them here if you’d like.

Next I filled the pot with enough of the mixture to fill the bottom of the pot.

Next I removed each plant from the plastic nursery pot and very lightly removed any loose soil. If a ton of soil falls away, the plant is probably lightly rooted. The first plant I removed was like this. I discarded the soil that fell away and suported the plant in the pot with fresh soil. If no soil falls away, that’s fine, too. What’s most important is to cause as little damage and disruption to the roots as possible. It’s going to be very disturbing to the plant if you remove all the soil or wash the roots bare. I have personally never done that and do not plan to do it. My modus operandi when repotting is to cause as little disruption to the root system as possible. After placing all three plants into the pot, you’ll see that I have three pockets (one is visible right in the front) without soil.

I used my spoon to fill in those areas, and that’s it! I didn’t water in this case because the plants didn’t need it. In cases where they’re dry, I would water. I did make sure that all three plants were equally moist before I planted so that I won’t end up with one plant thirsty in two days while the other plants won’t need water for a week. That’s something I generally don’t have a problem with, however. Once the plants have acclimated to the pot and to each other, they begin to function as one plant as far as water needs. That’s just my experience, but it wouldn’t hurt to check each plant with a water meter or your finger if you are unsure.
Next up is Rhipsalis Cereuscula.

I followed the same steps as above. I filled the bottom of my pot with the soil mixture and I removed the first plant from the nursery pot. I paused to take a photo here to show that the roots of this plant are relatively undisturbed and still in the form of the plastic pot in which they were previously growing. You can see the larger roots with smaller roots branching off, and even smaller hairs branching off, too. These smaller roots and hairs are the ones that are likely to sustain injury or damage if you remove too much soil. It’s obviously best to avoid that. We are always so careful not to damage any leaves or stems in a repot, and it’s important to be just as careful with the root systems.
I chose a basic terra-cotta for this multi pot rather than a wide but shallow pot. This is because the nursery pots of these two plants were deeper pots than the Rhipsalis Mesembryanthemoides. I checked the roots while I was still at the nursery and saw that the roots extended to the bottom of the nursery pots, so I knew that soil down there would be put to use nourishing a root system. Additionally, putting two plants into one wide but shallow pot is fine, but it can look a little less full. I like the look if the trio better in that style of pot.
In this case, both Rhipsalis Cereuscula had roots that filled their nursery pots, which is great. I slipped both plants into the pot, which I measured for size while at the nursery, and filled any spaces with soil.

And that’s my repot of Rhipsalis multiples!