
Terrarium Cabinet Makeover!

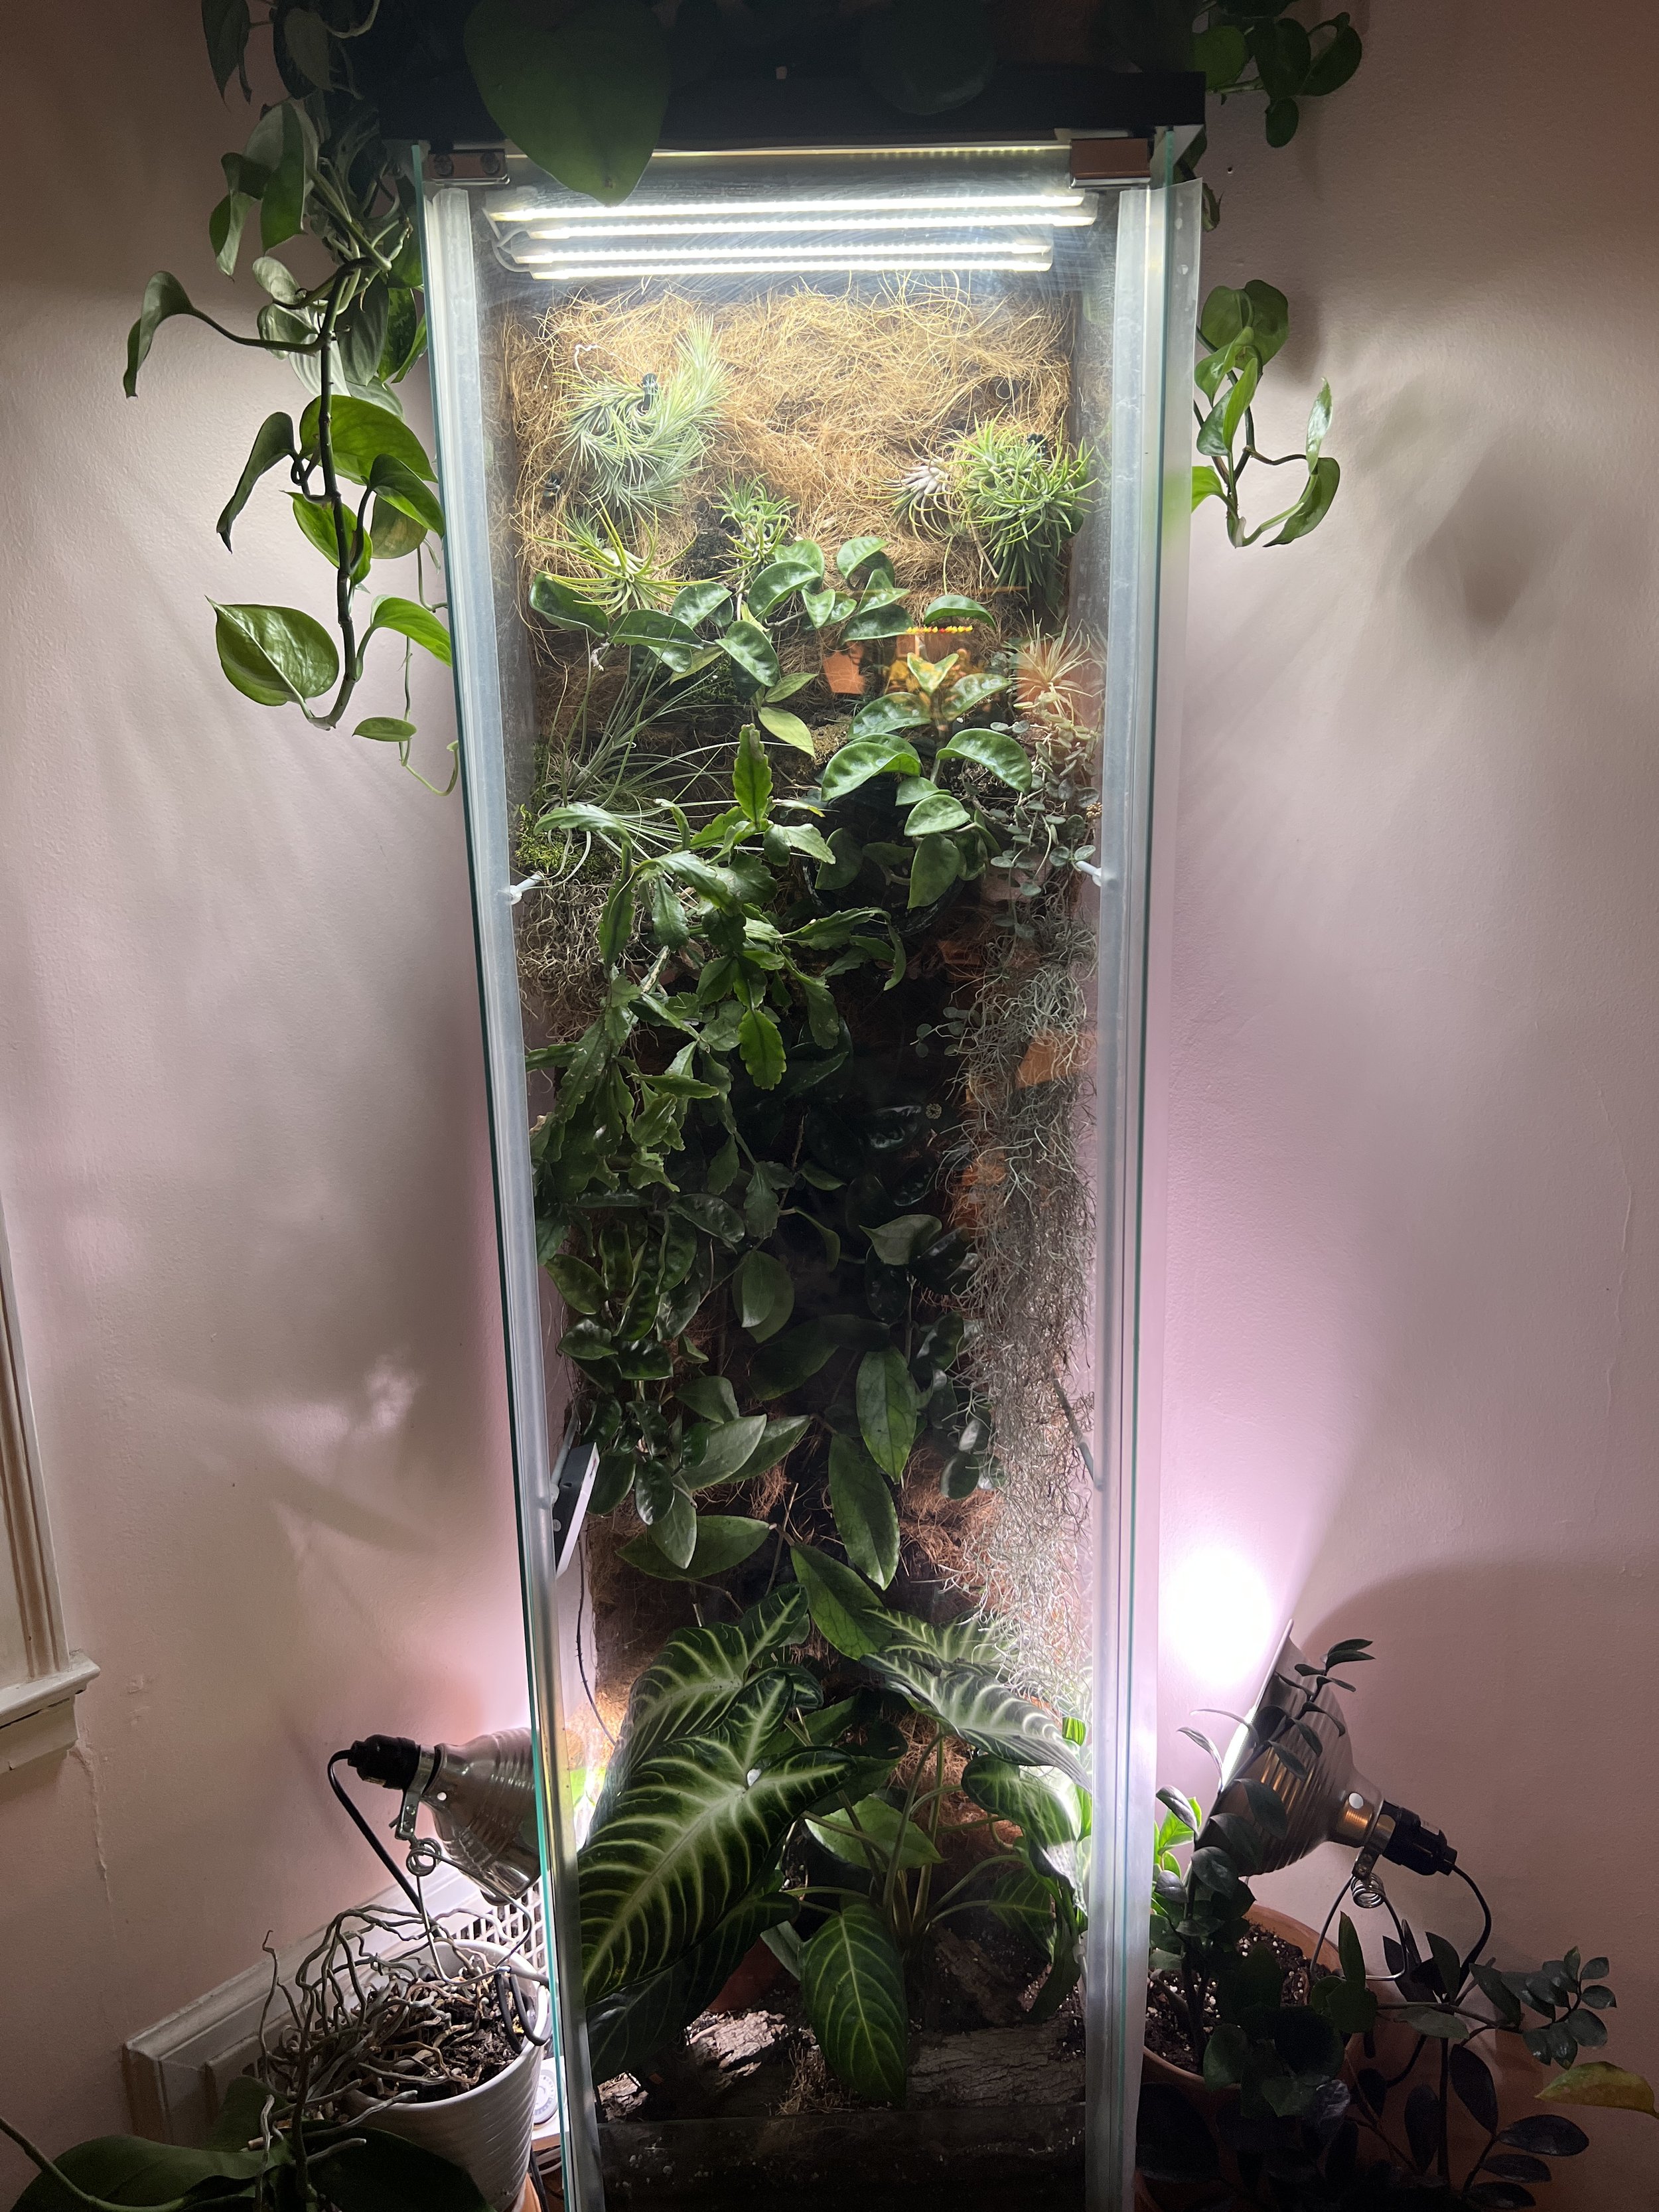
Since the origin of this Detolf greenhouse cabinet modification in 2020, it’s taken many forms. The basic blueprint has stayed the same, but the plant lineup has evolved almost constantly. Throughout various iterations, I’ve never felt fully satisfied with the appearance. Although I couldn’t put my finger on exactly what was leaving me wanting, I don’t think I had ever found the correct combination of plants. After several months of staring at a cabinet that was putting off a very drab vibe, I decided it was time for a makeover.
First Things First

Above is a photographic reminder (or an introduction for those of you who haven’t seen the original blog post) of the freshly planted cabinet back in 2020. Below is a not-so-pretty image (dated 07/2022) of how bad things had gotten before the much needed makeover.

If I’m being honest with myself, there were many months that I avoided taking photos of this cabinet because I didn’t want any photo evidence to remind myself of how bad things had gotten. With that being said, the above photo isn’t even the worst of the worst. I almost wish I would’ve documented it. Almost.
The Right Fit
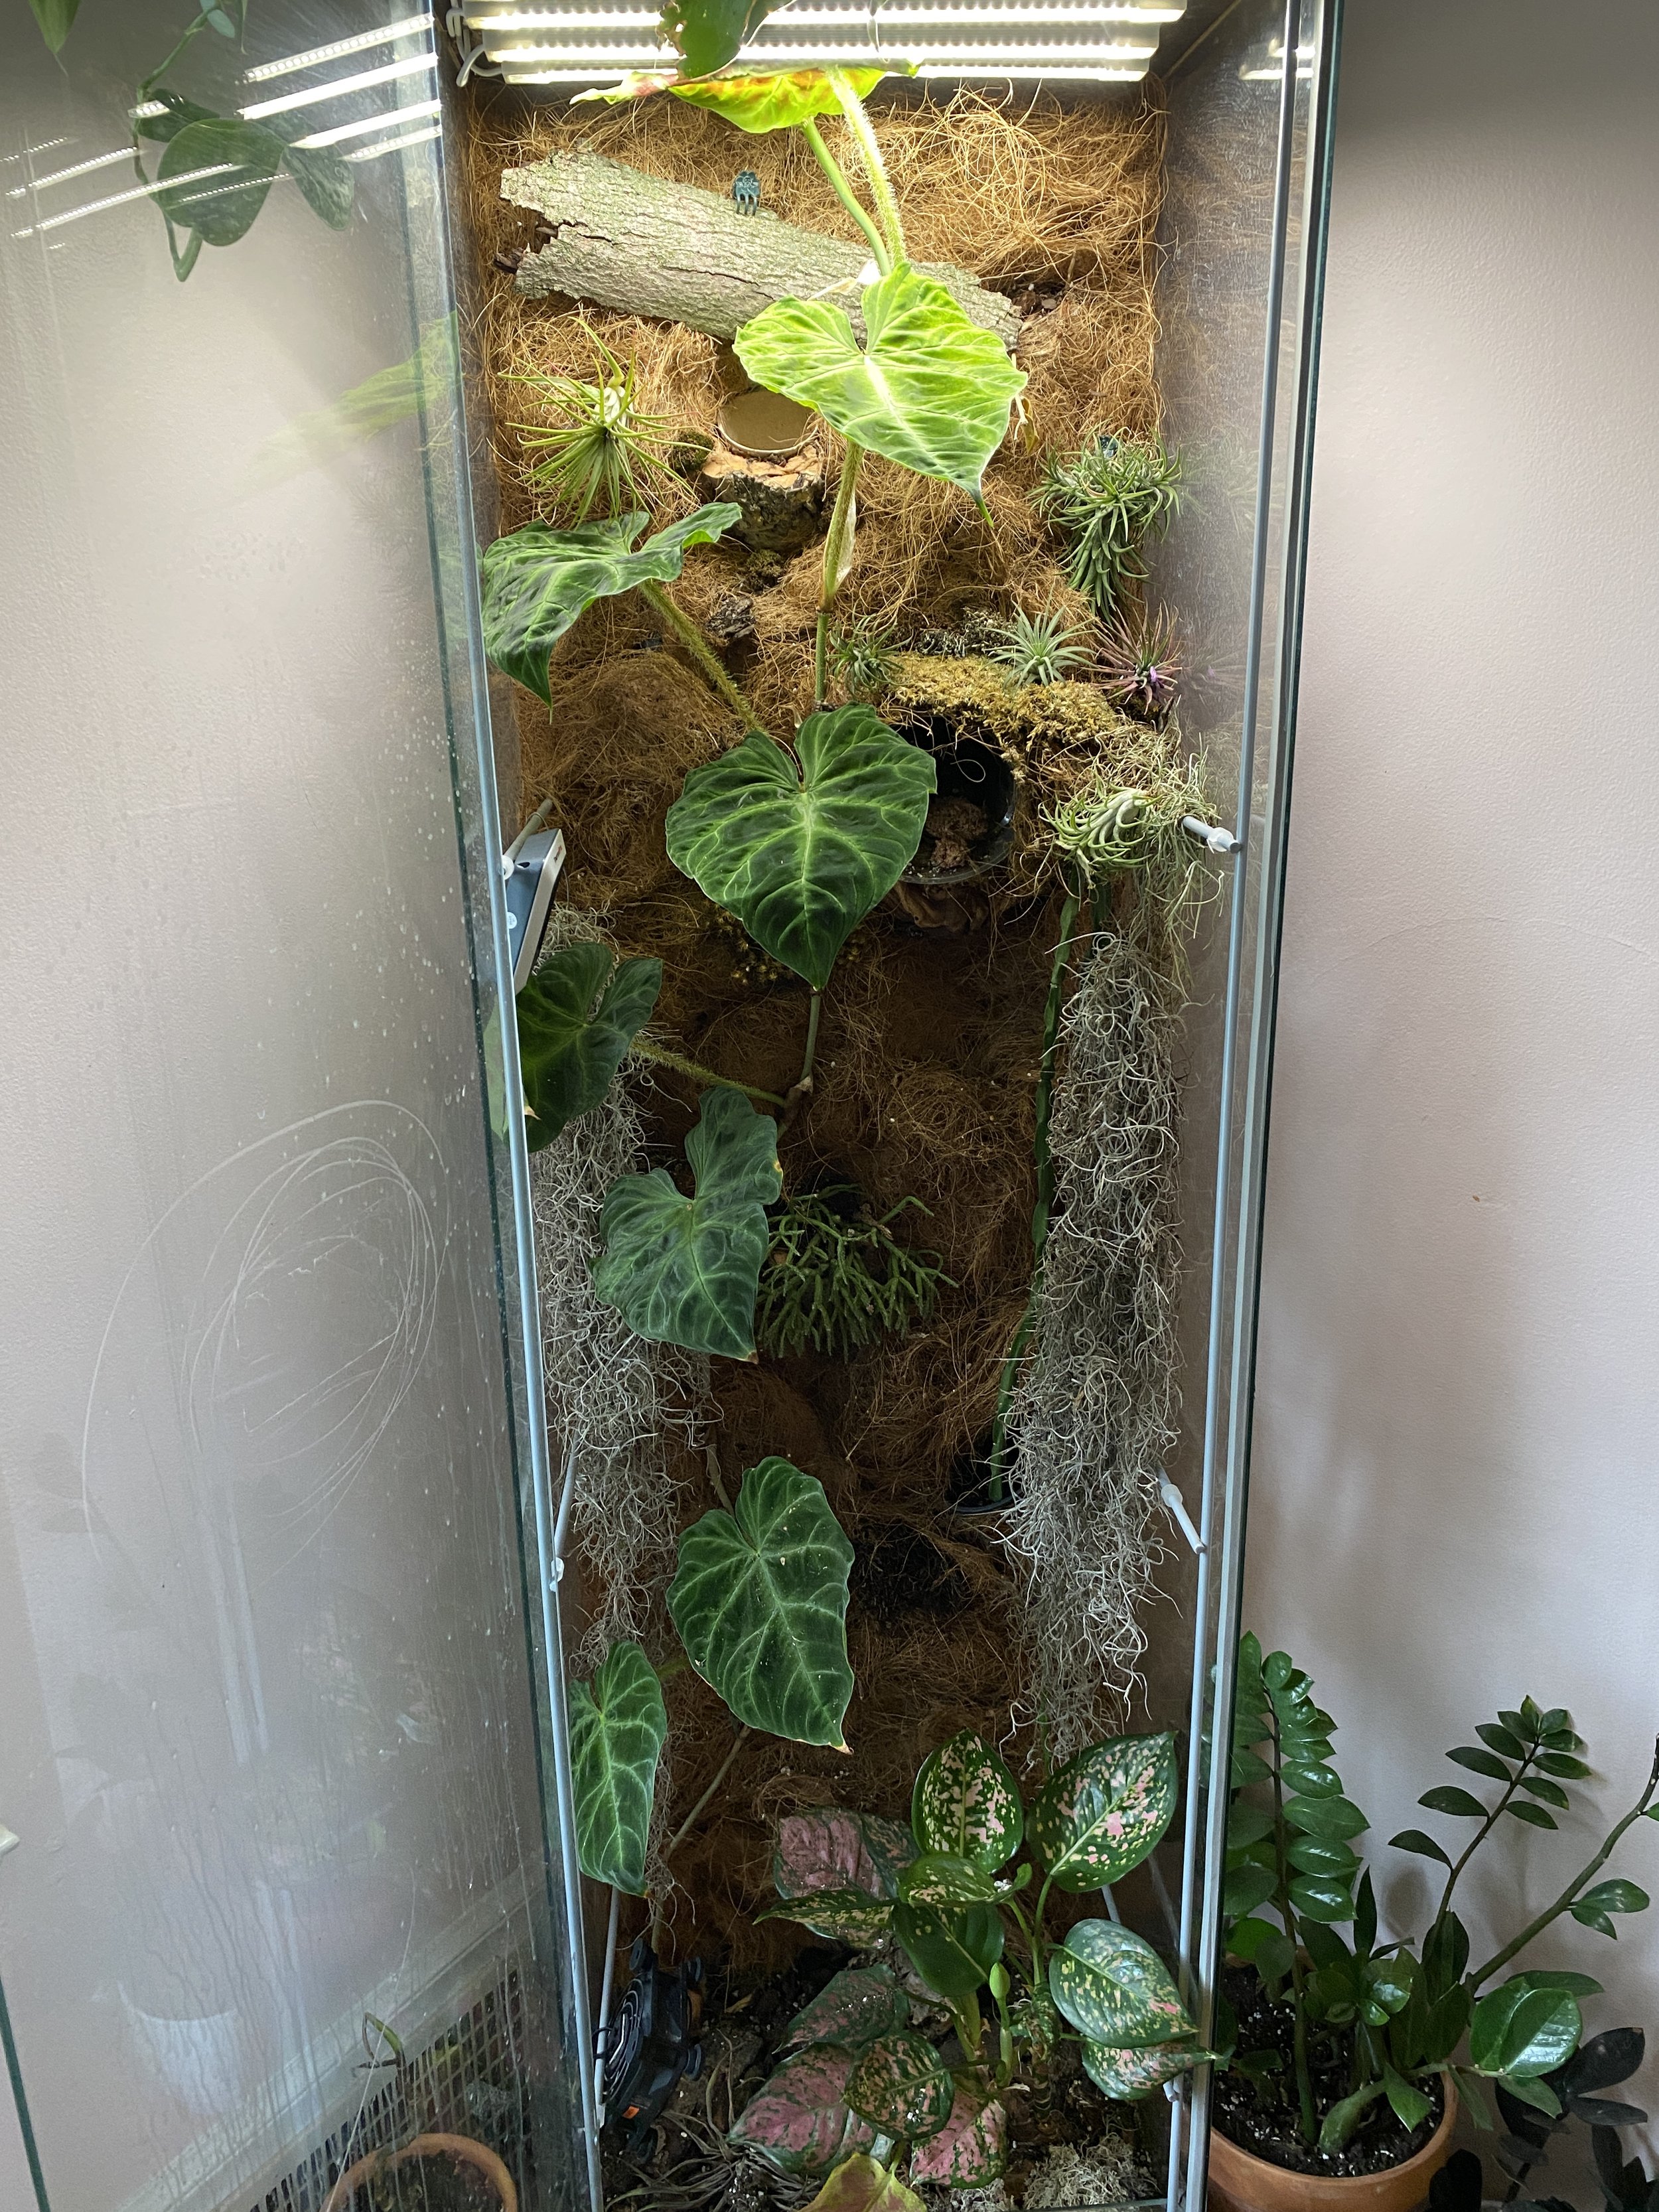
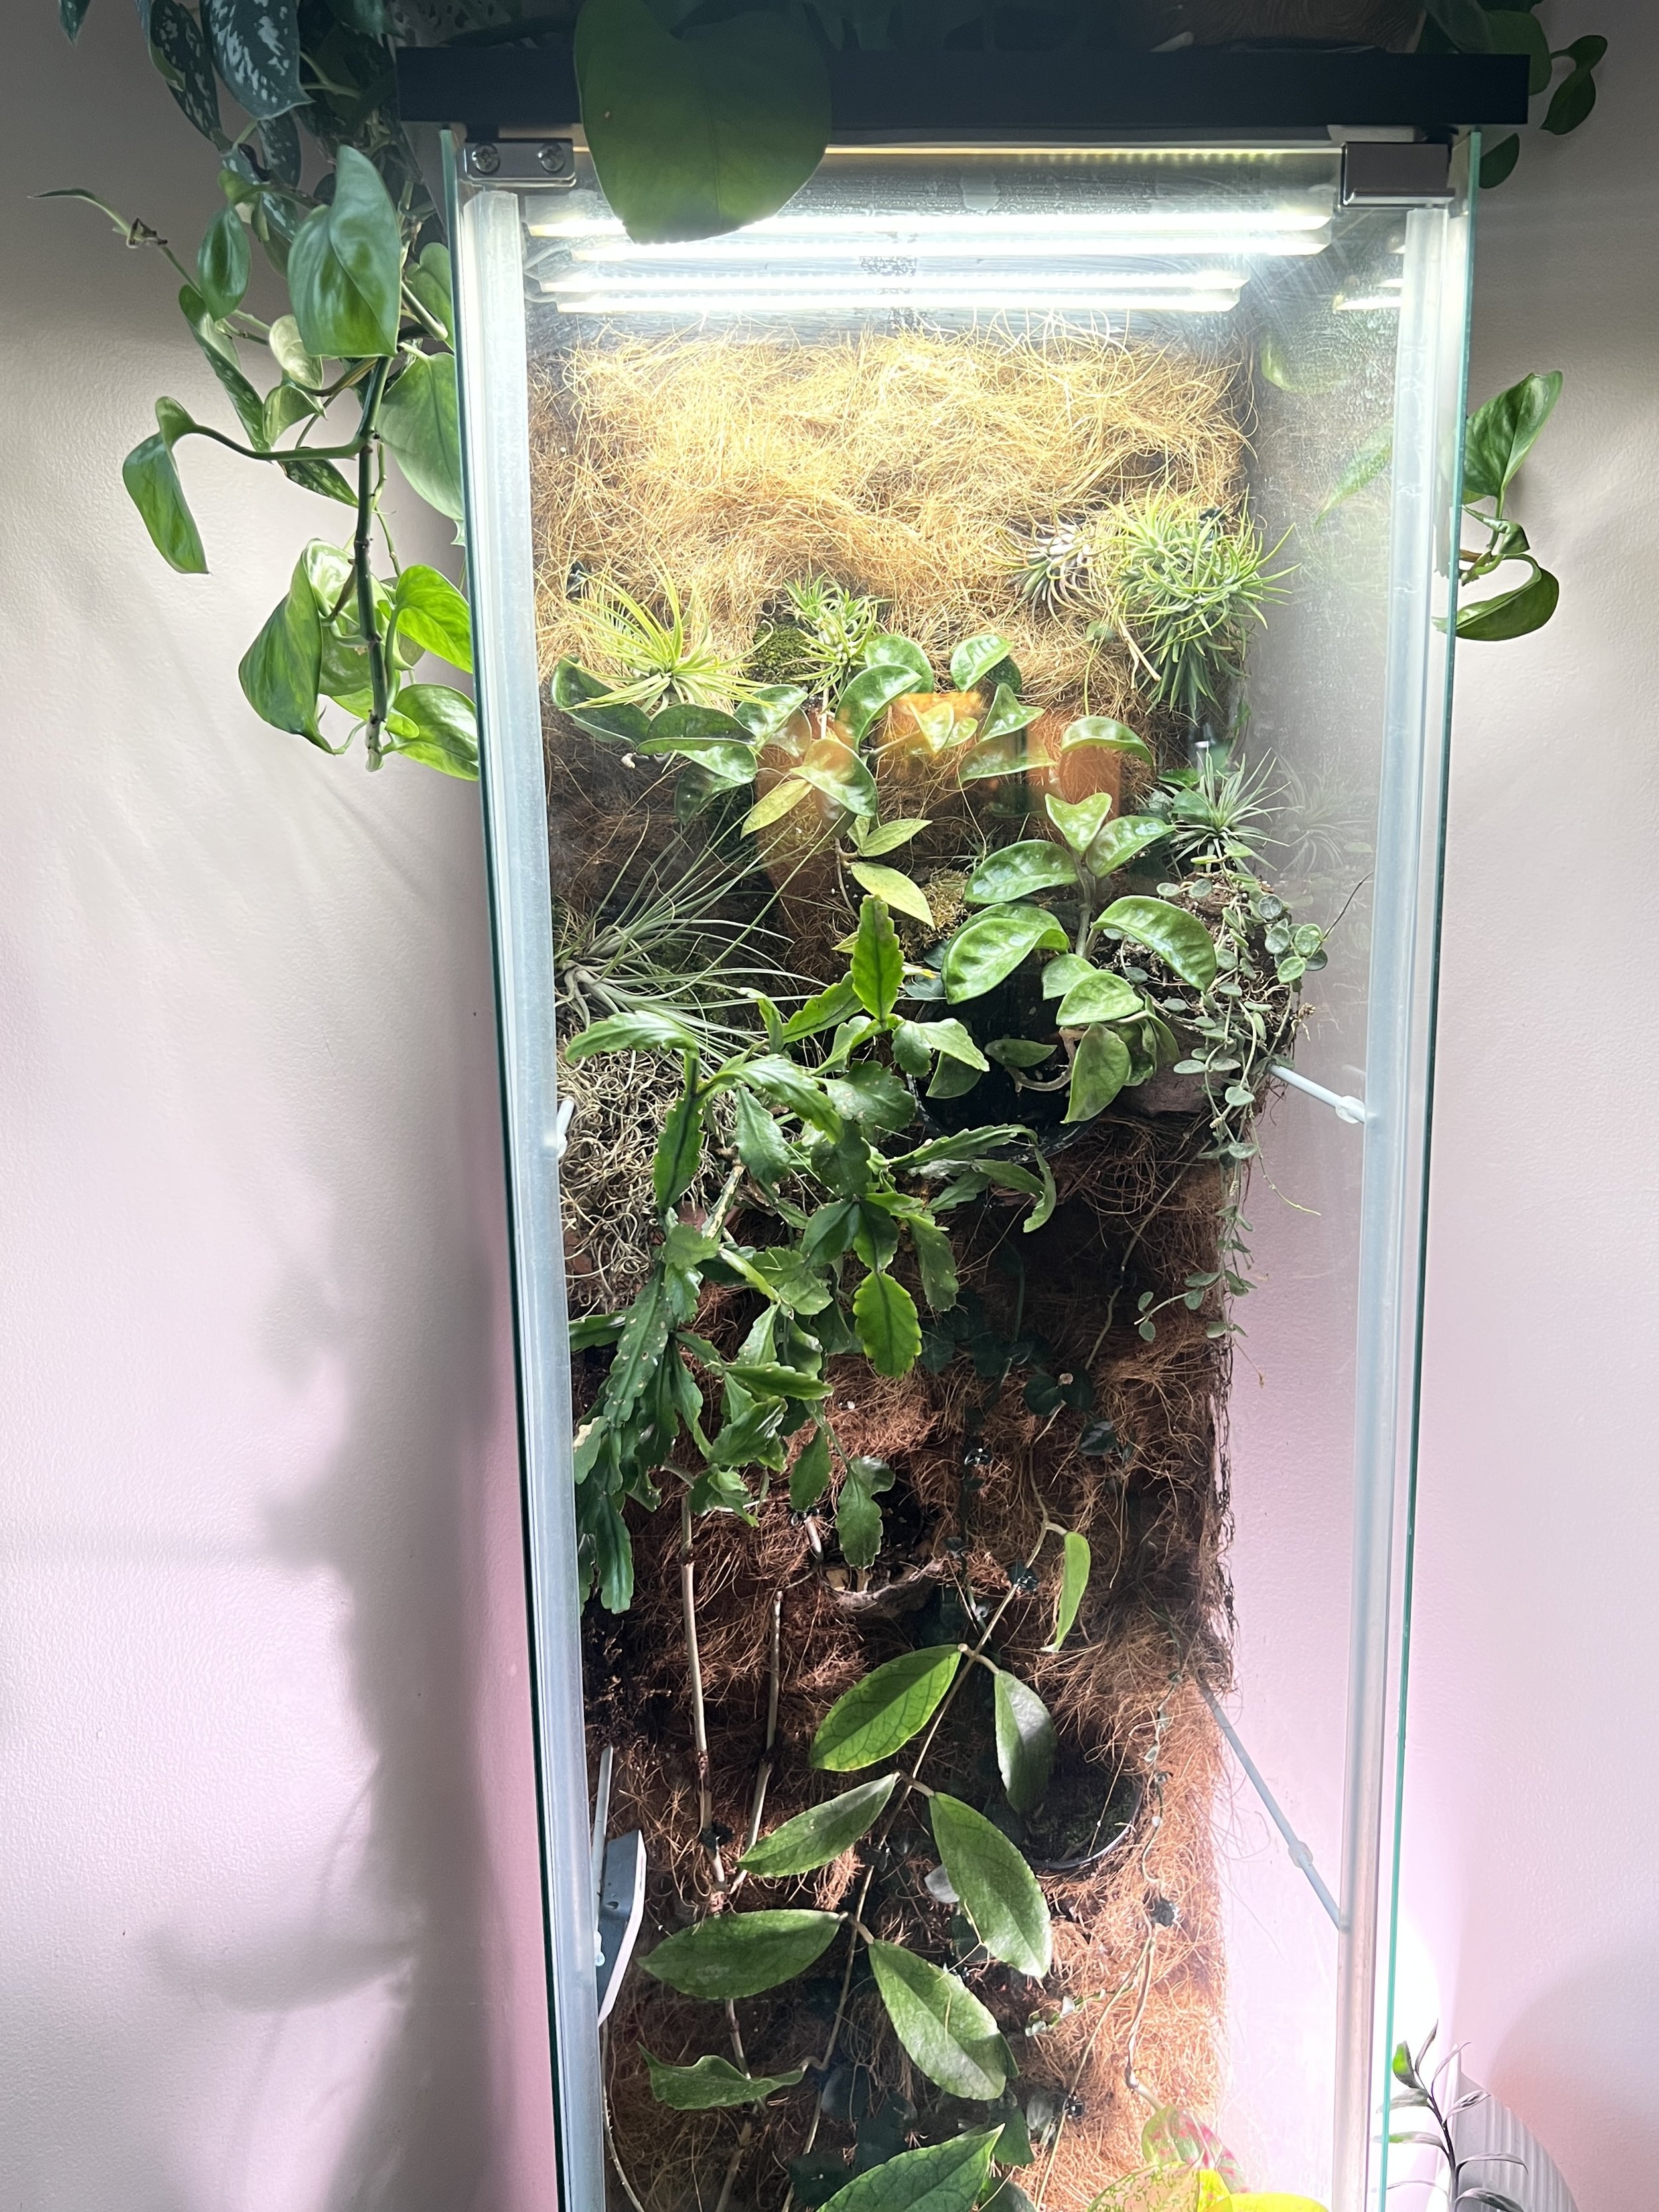
To make this cabinet over successfully, the stats are really important. Knowing the average temperature, humidity, and light that the cabinet receives really helped to place the proper plants inside. Originally, this cabinet was created for my Philodendron verrucosum, which is still inside it today, albeit in a much tinier form. Therefore, at its onset, the cabinet was intended to be warm and humid to accommodate tropical plants.
Relevant stats for this cabinet on average:
Humidity: 70-95%
Temperature: 68-80 degrees Fahrenheit - lowest at night
Light: Grow lights operate 12-14 hours per day. Light is very bright to bright, depending on the time of day. Some natural light does come through the adjacent East window in the earlier part of the day, which enhances the light from the grow lights. If using a light meter, the range would be 6-9 depending on where the meter is held. Under the ledge would be the lowest read.
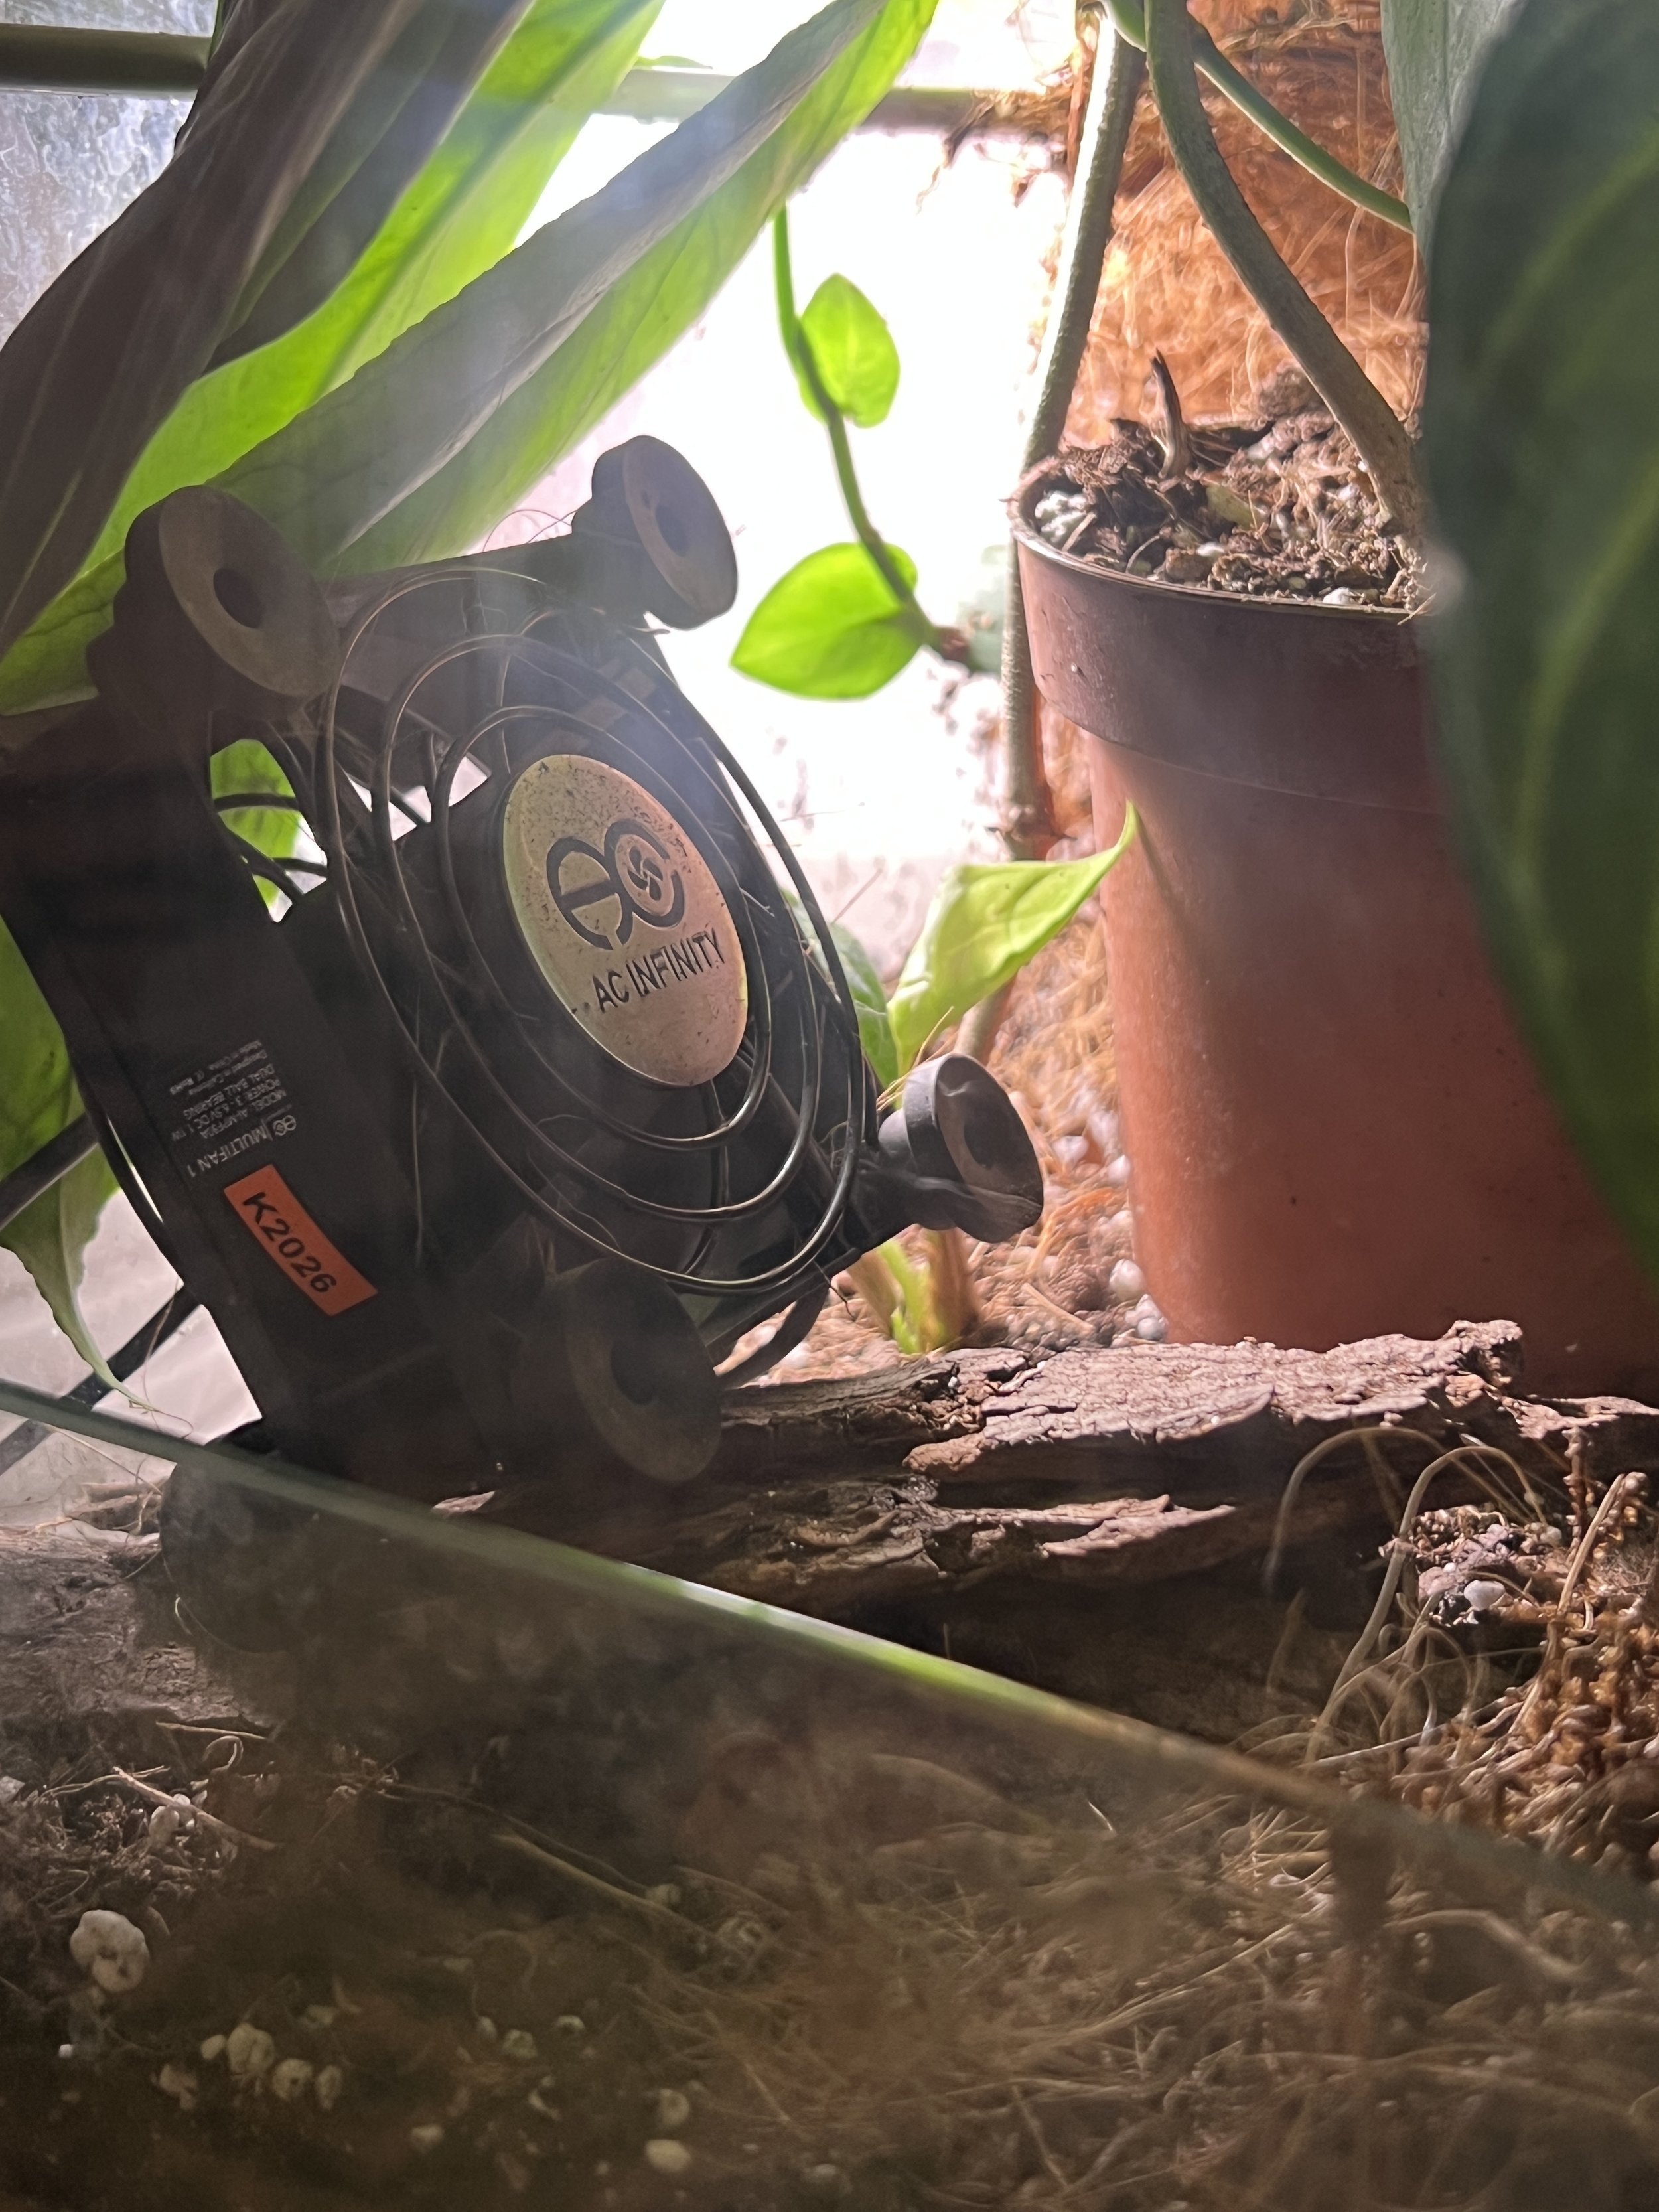
Air flow: The AC Infinity fan remains on the highest setting 24 hours per day.
All of the gadgets like lights, humidity meter, and fan have remained the same since building this cabinet. I did add an additional strip of lights about a year into the life of the cabinet.
A note about the humidity: Unfortunately, without an internal humidifier, the cabinet needed daily misting to maintain higher humidity levels. Part of this makeover was about simplifying. I had a portion of leftover 3M weather sealant strip from the Rudsta greenhouse cabinet modification, and I added that to two corners of this cabinet to help contain the warmth and humidity.
To maintain the humidity, the cabinet needs to be misted about four times per week. This is an improvement that satisfies me, as I couldn’t always get to it daily. The mister contains 18 fluid ounces of water, and all 18 of them need to be misted onto the coconut fiber on the back wall of the cabinet. Every week, I check each plant individually to see if it needs water. That water is in addition to the water from the mister.
A note about light: With this makeover, two clamp lights were added to the original strip lights that adhere to the top of the cabinet. The strips are the original lights that were installed in 2020. The clamps are each clipped onto a pot outside the cabinet, and they shine inward. Though the strip lights were sufficient to sustain all the original plants, I felt that more light was needed as more plants were added to the space.


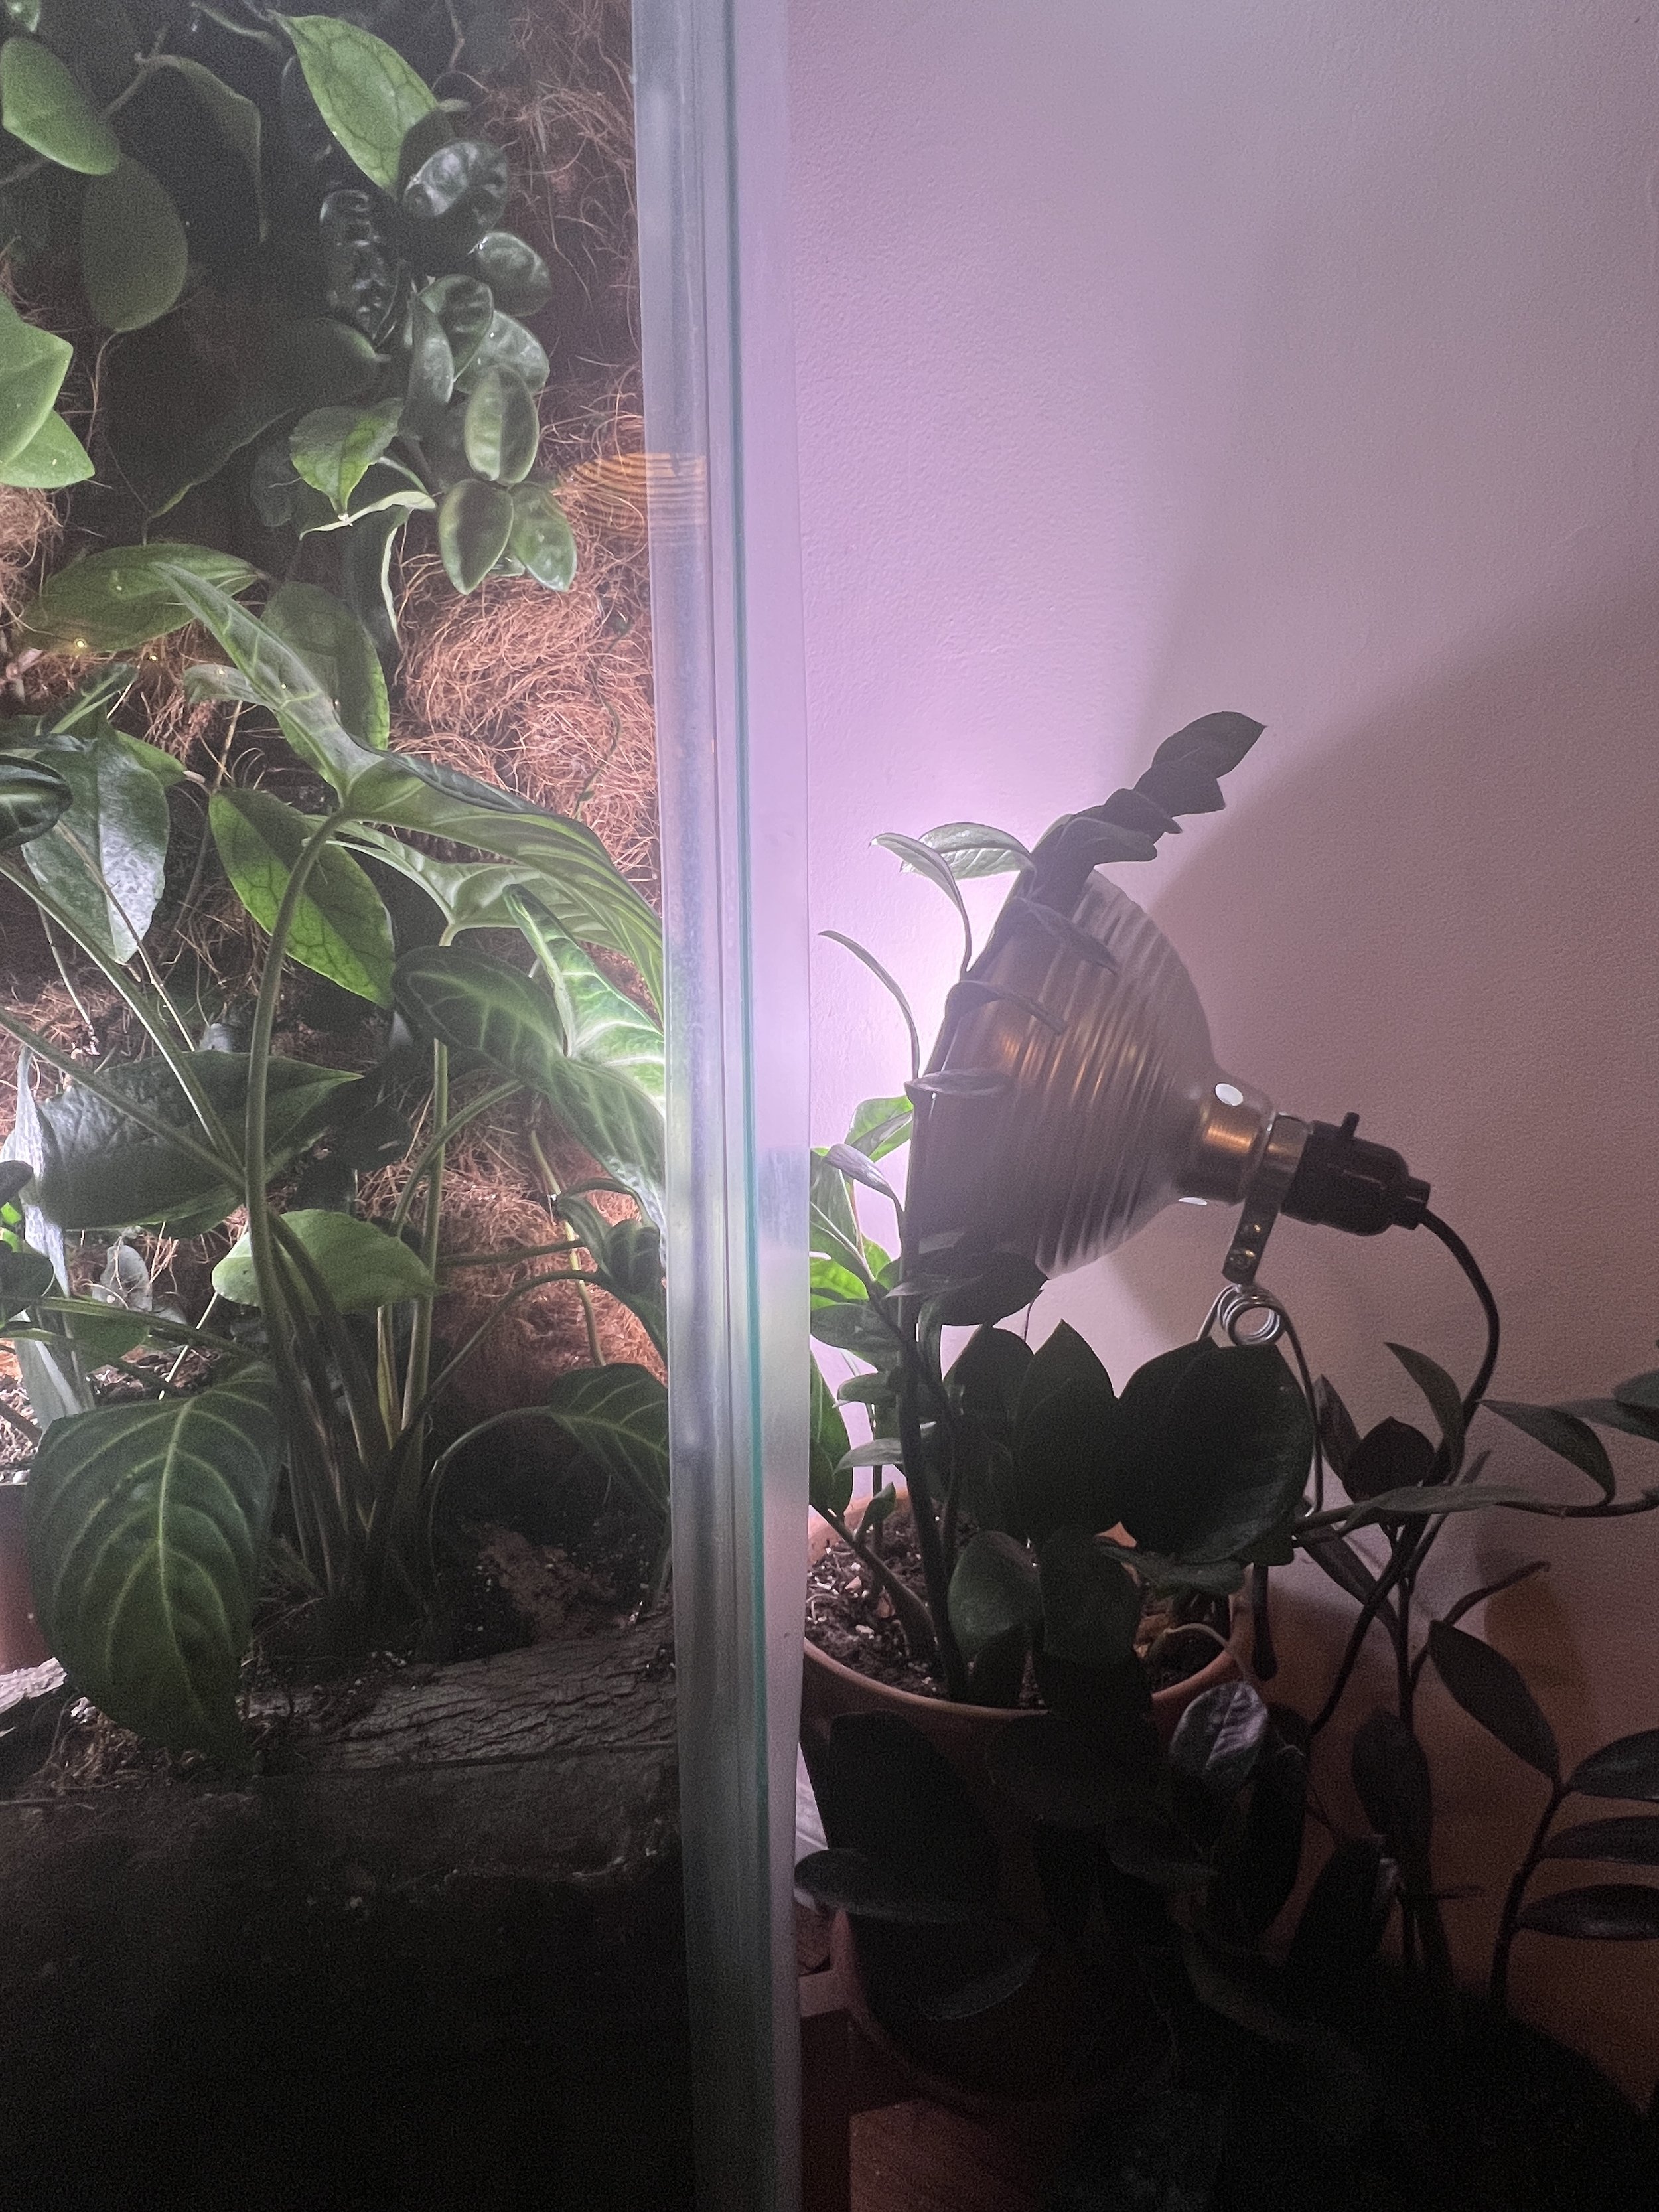
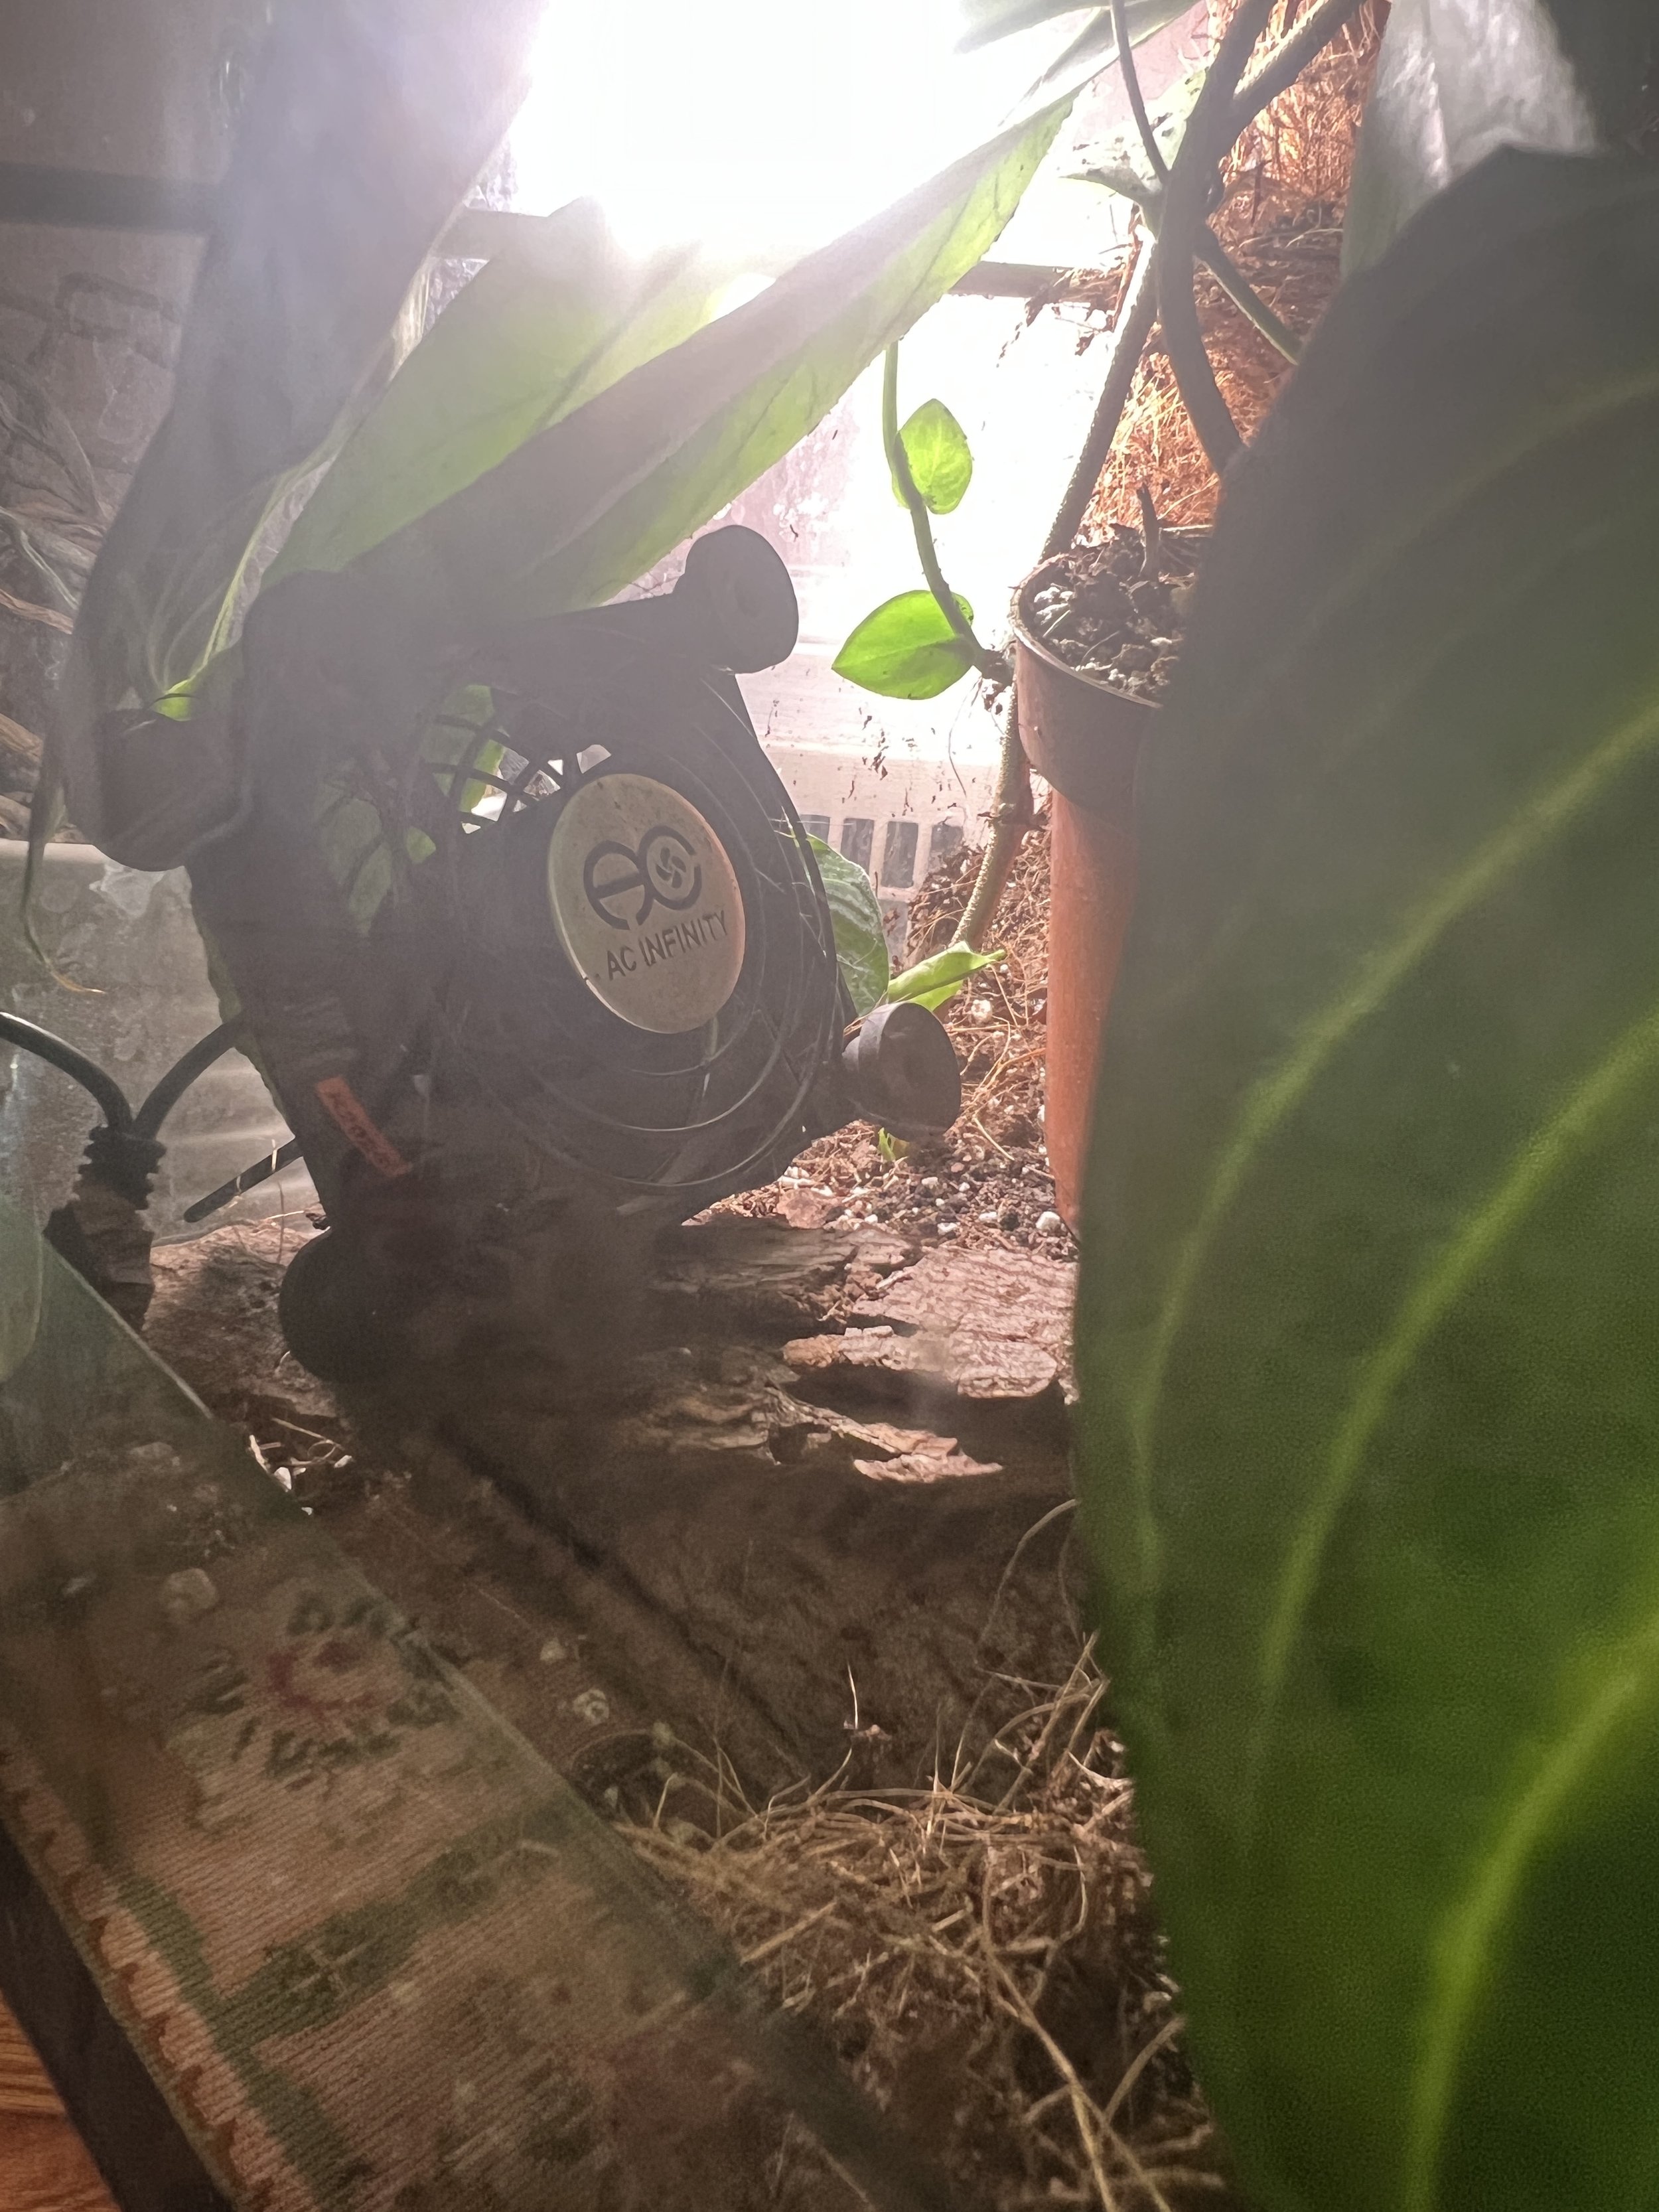
Above: Humidity meter showing current temperature and humidity, as well as the ranges in which both typically fall. Clamp lights added to the original setup to boost light, fan that provides air flow to the lower portion of the cabinet.
Kokedama
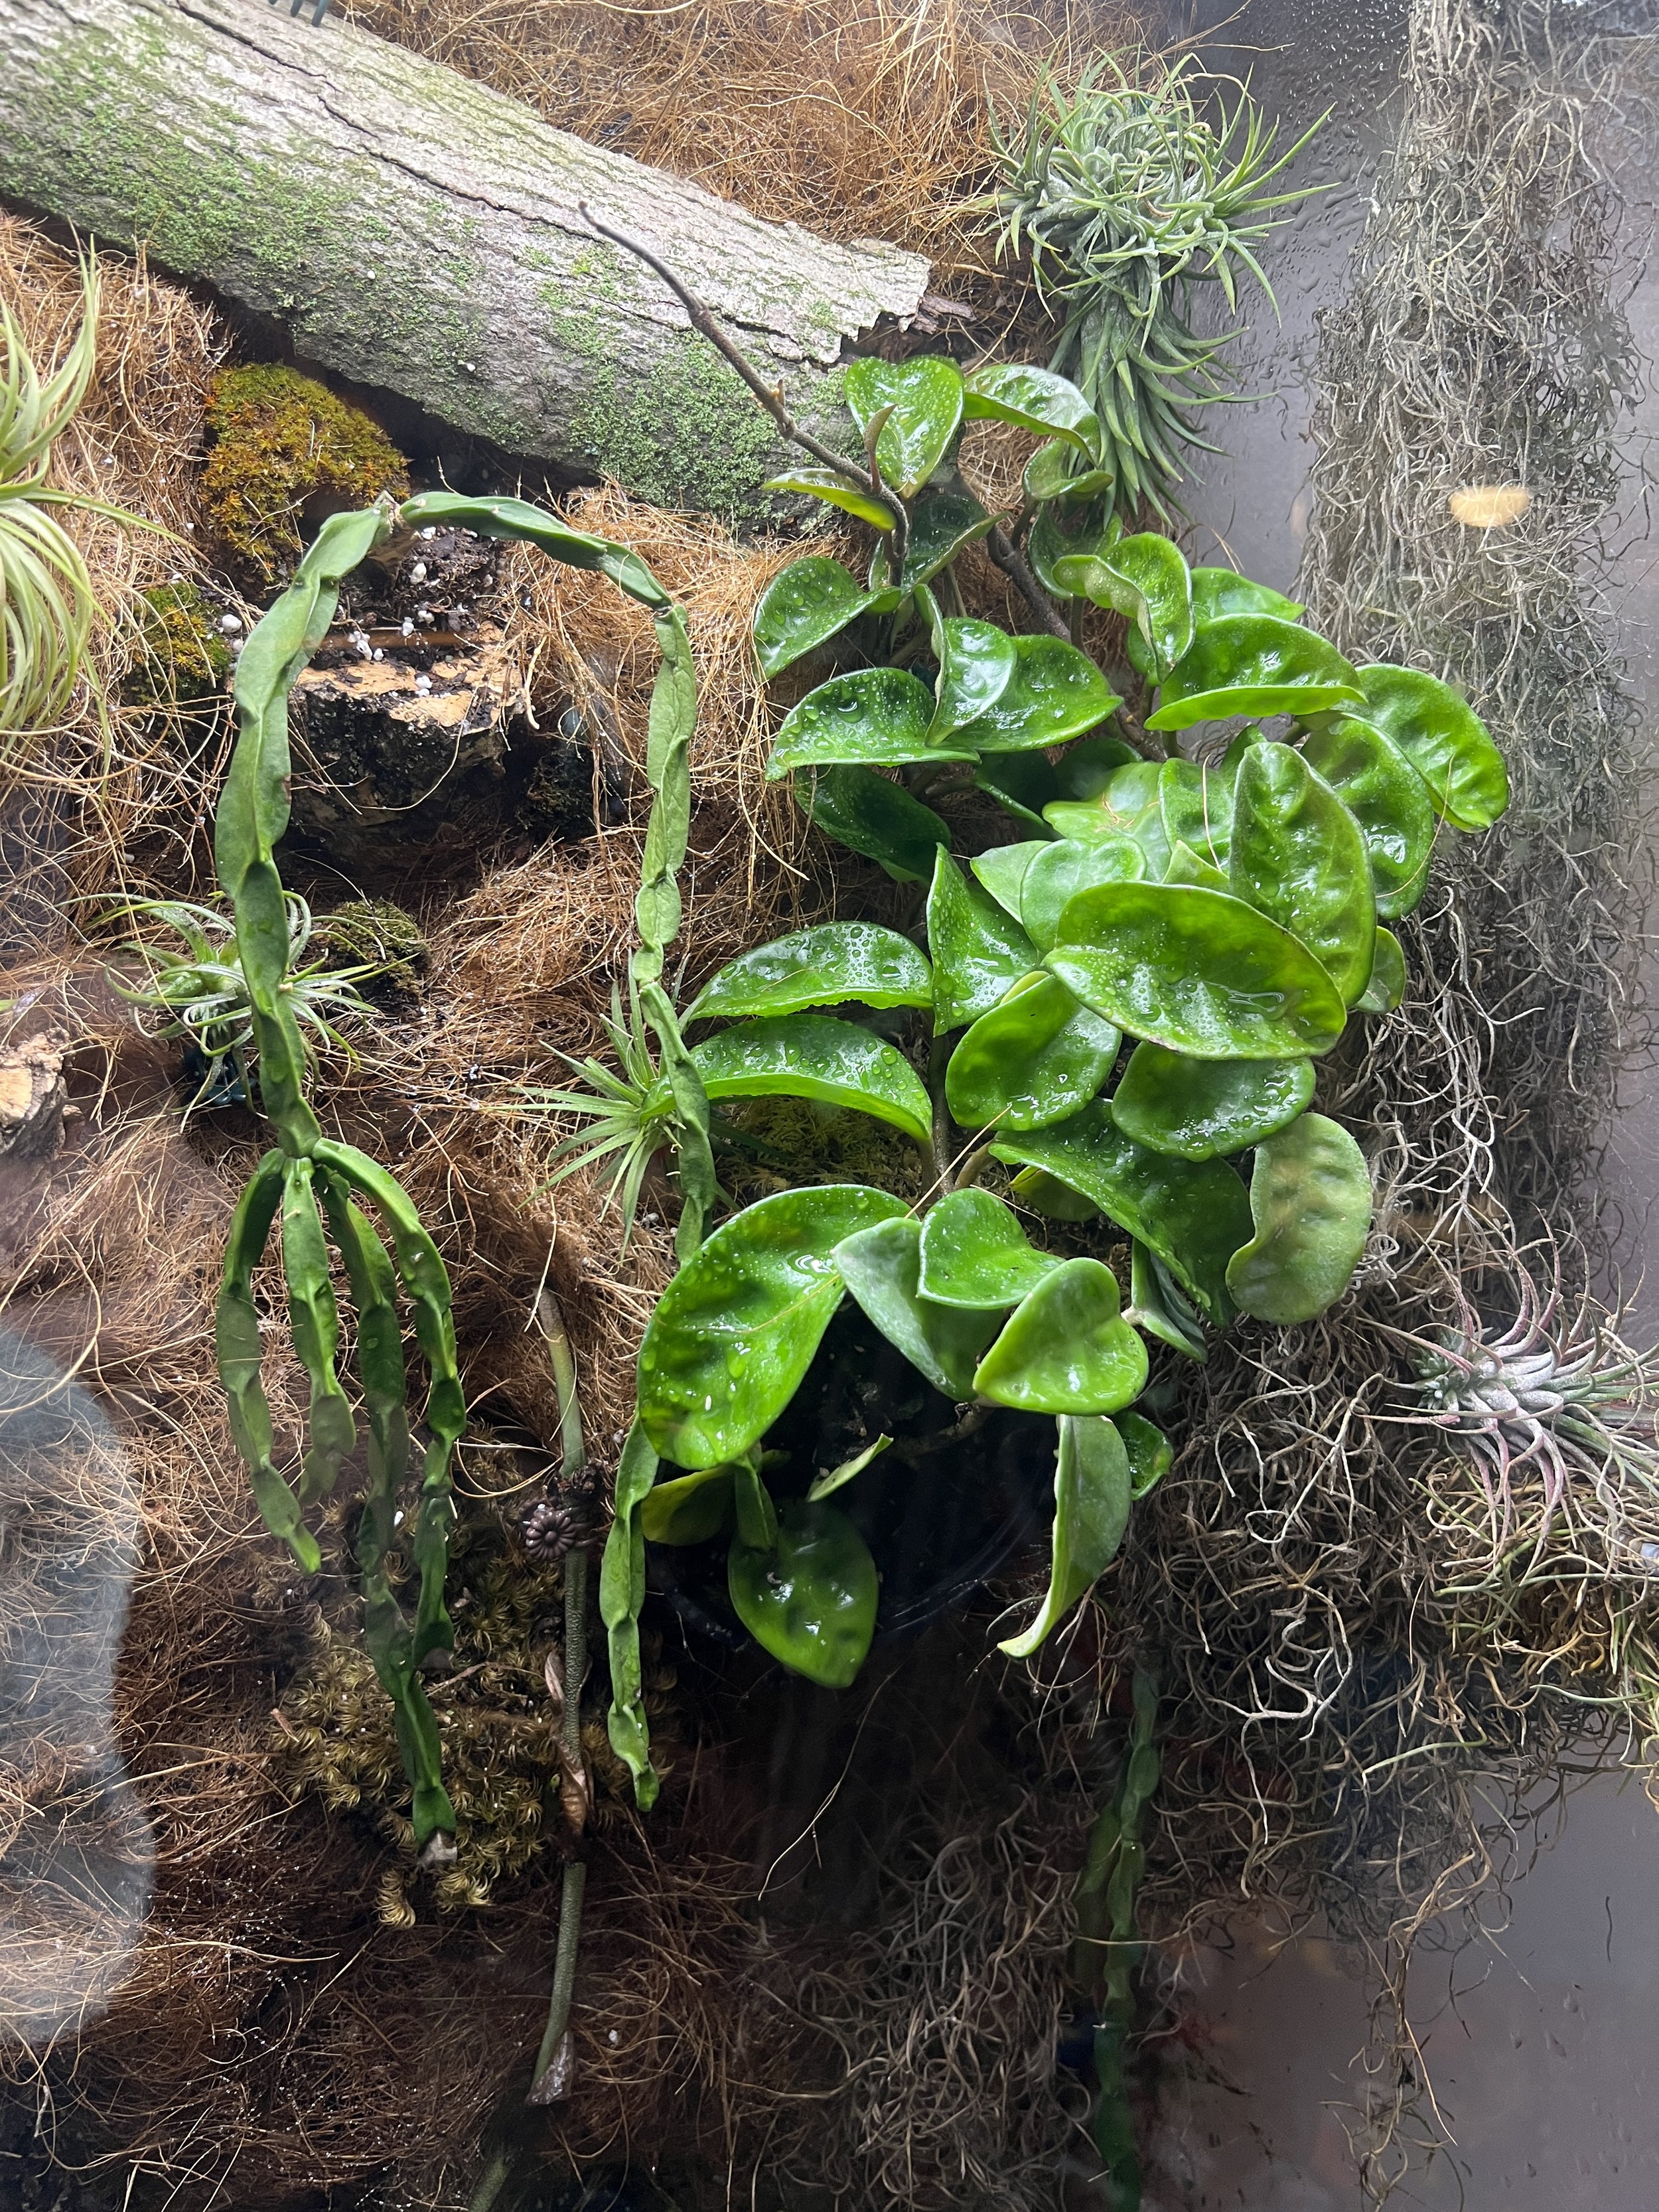
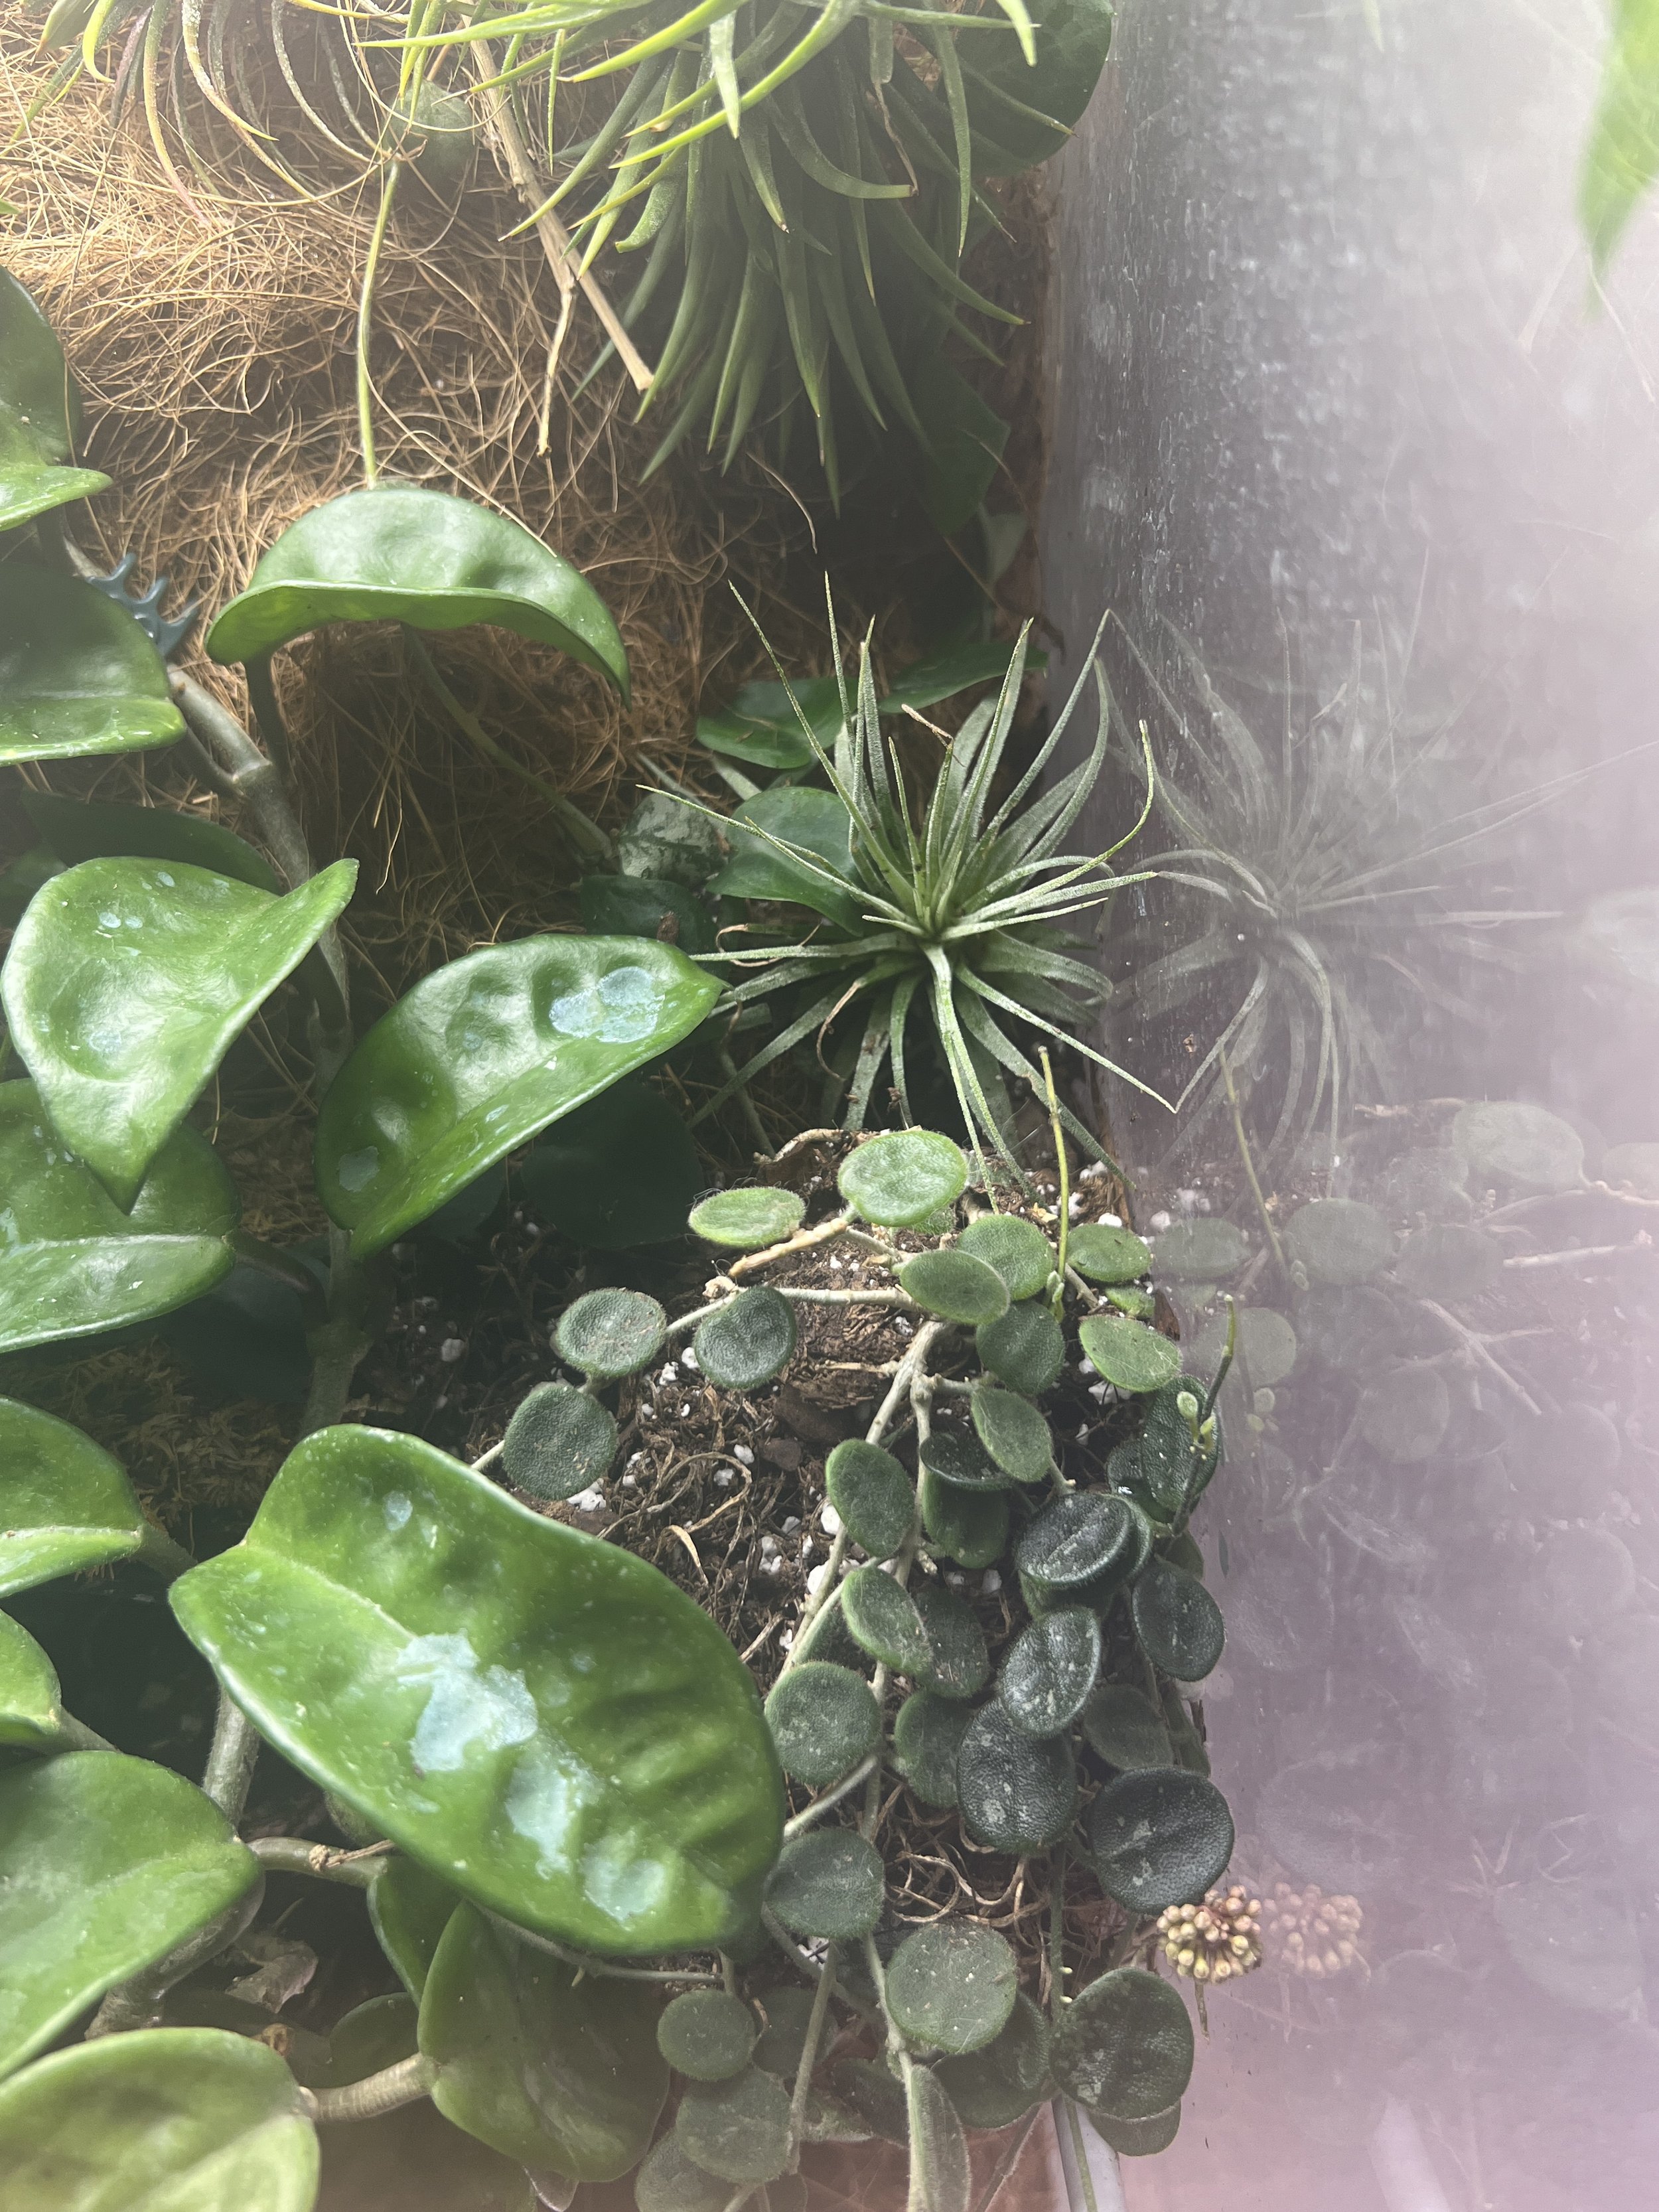
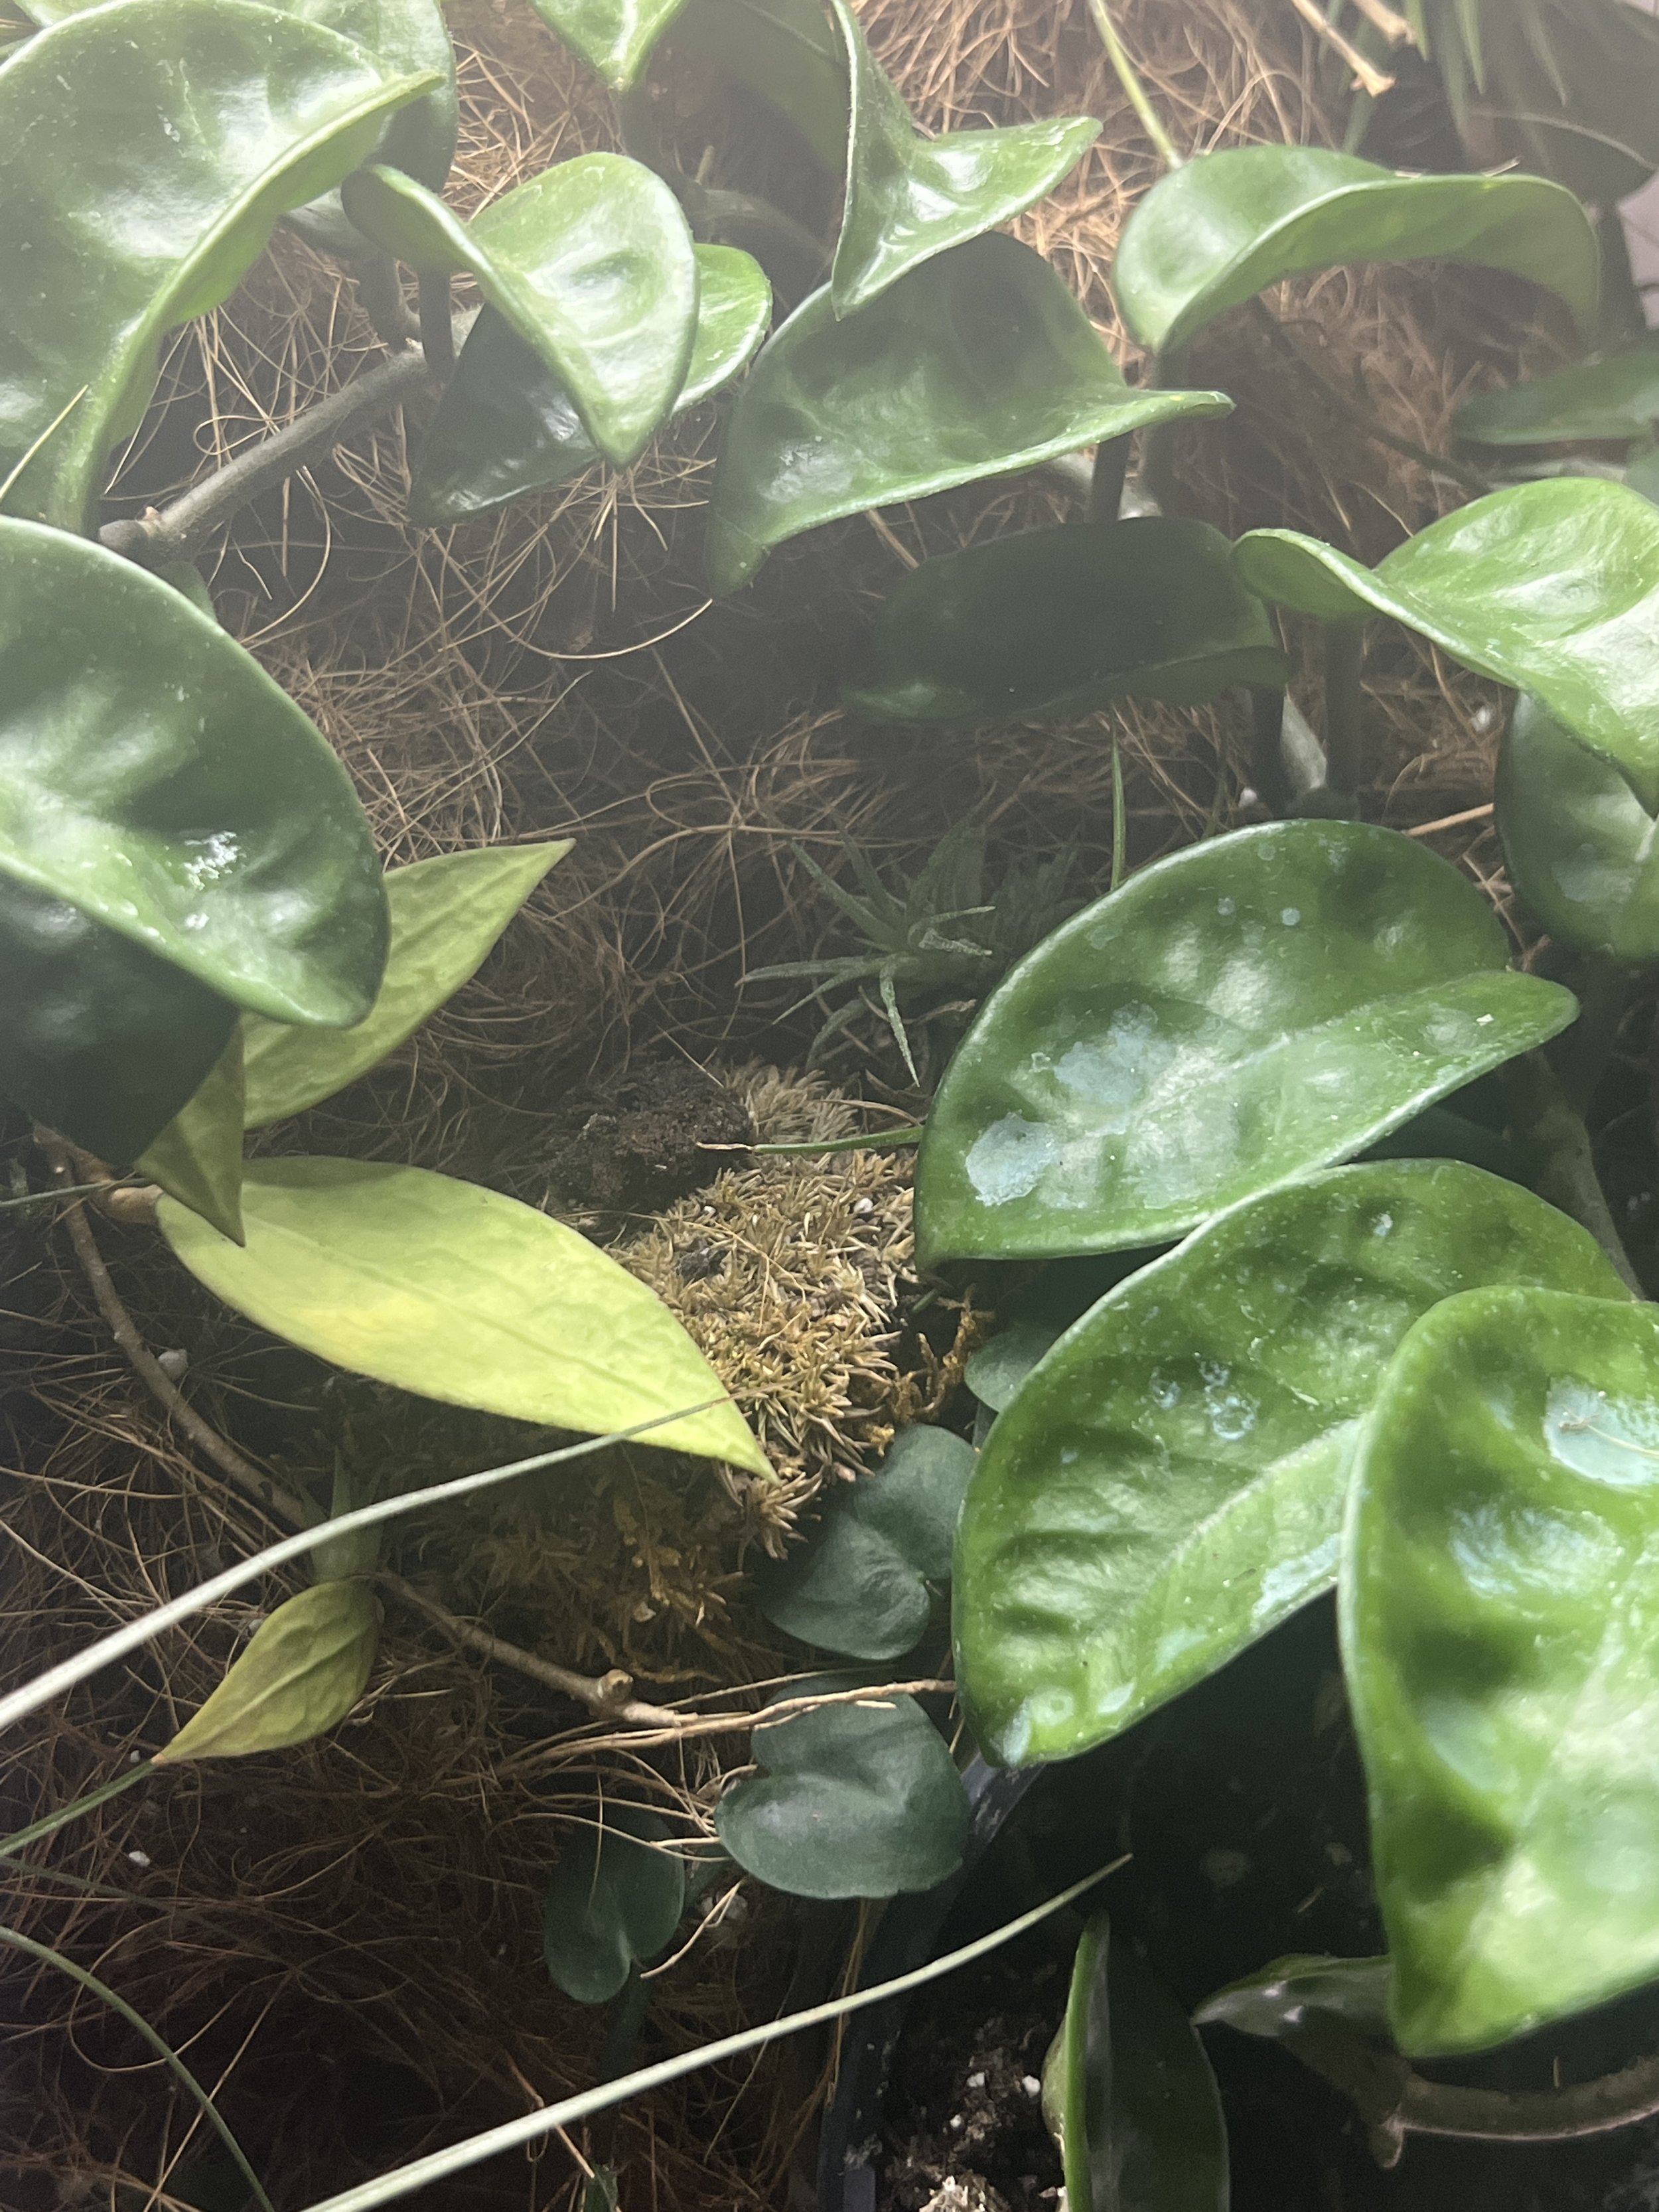
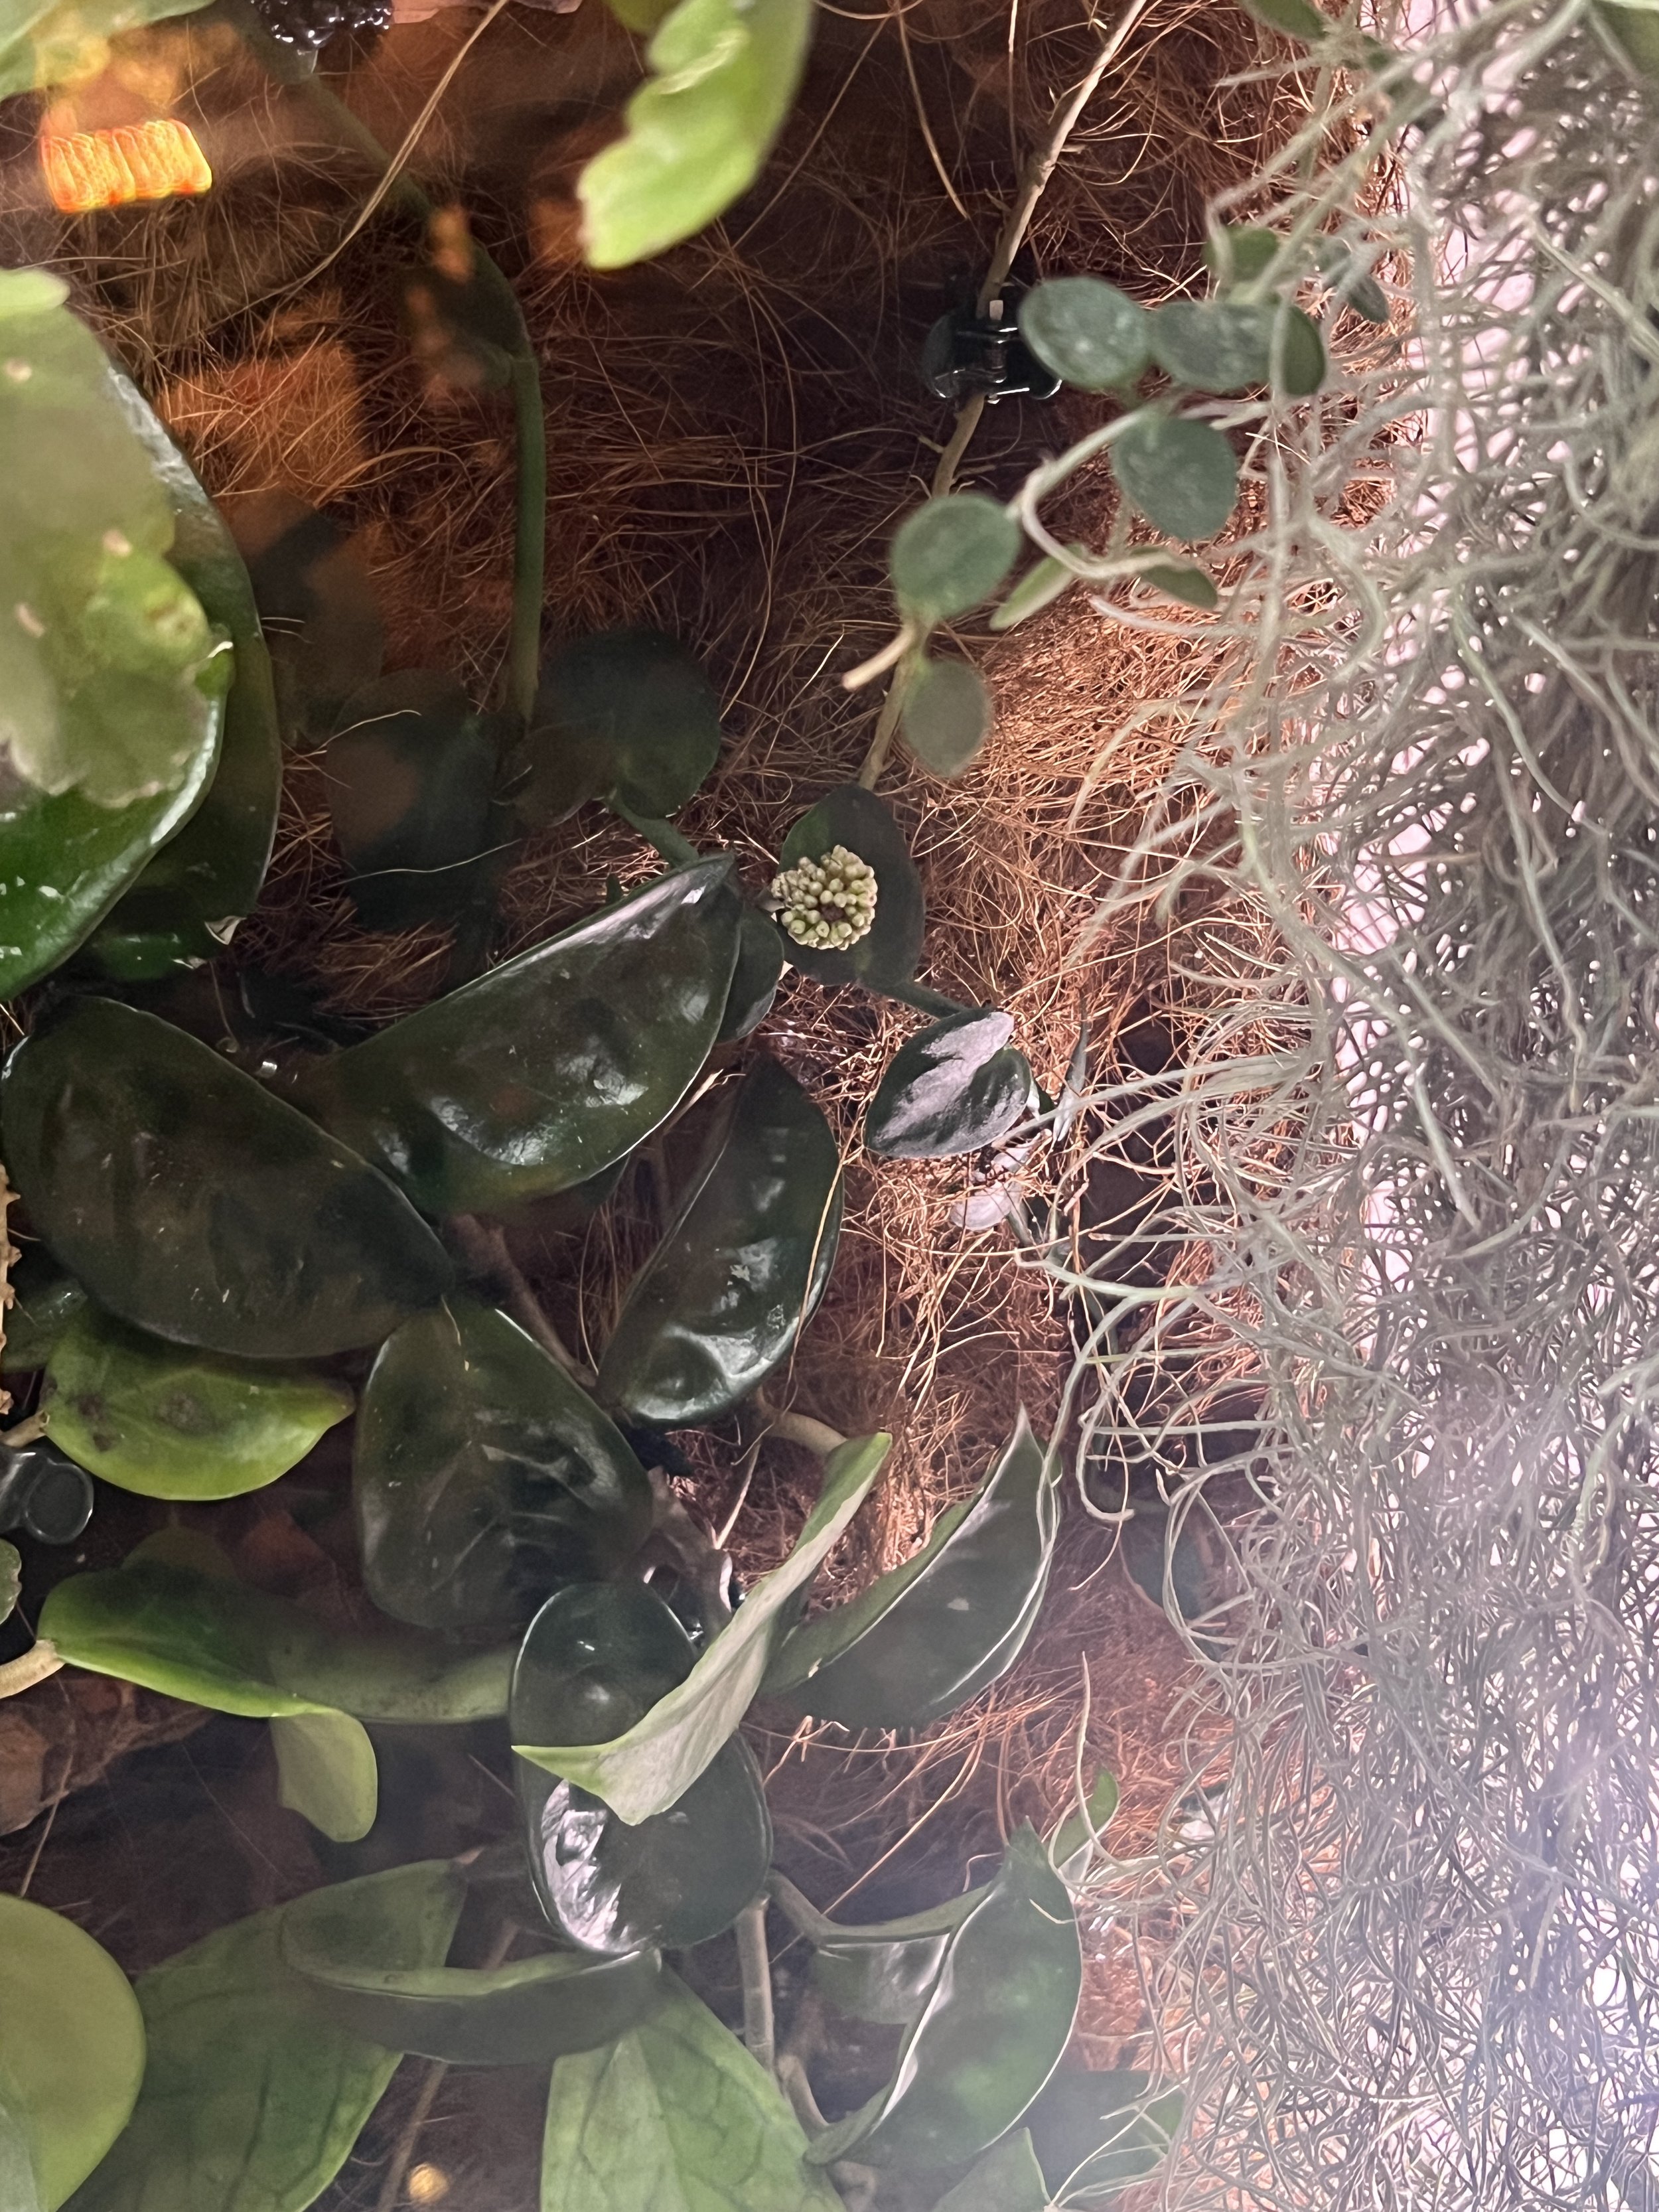
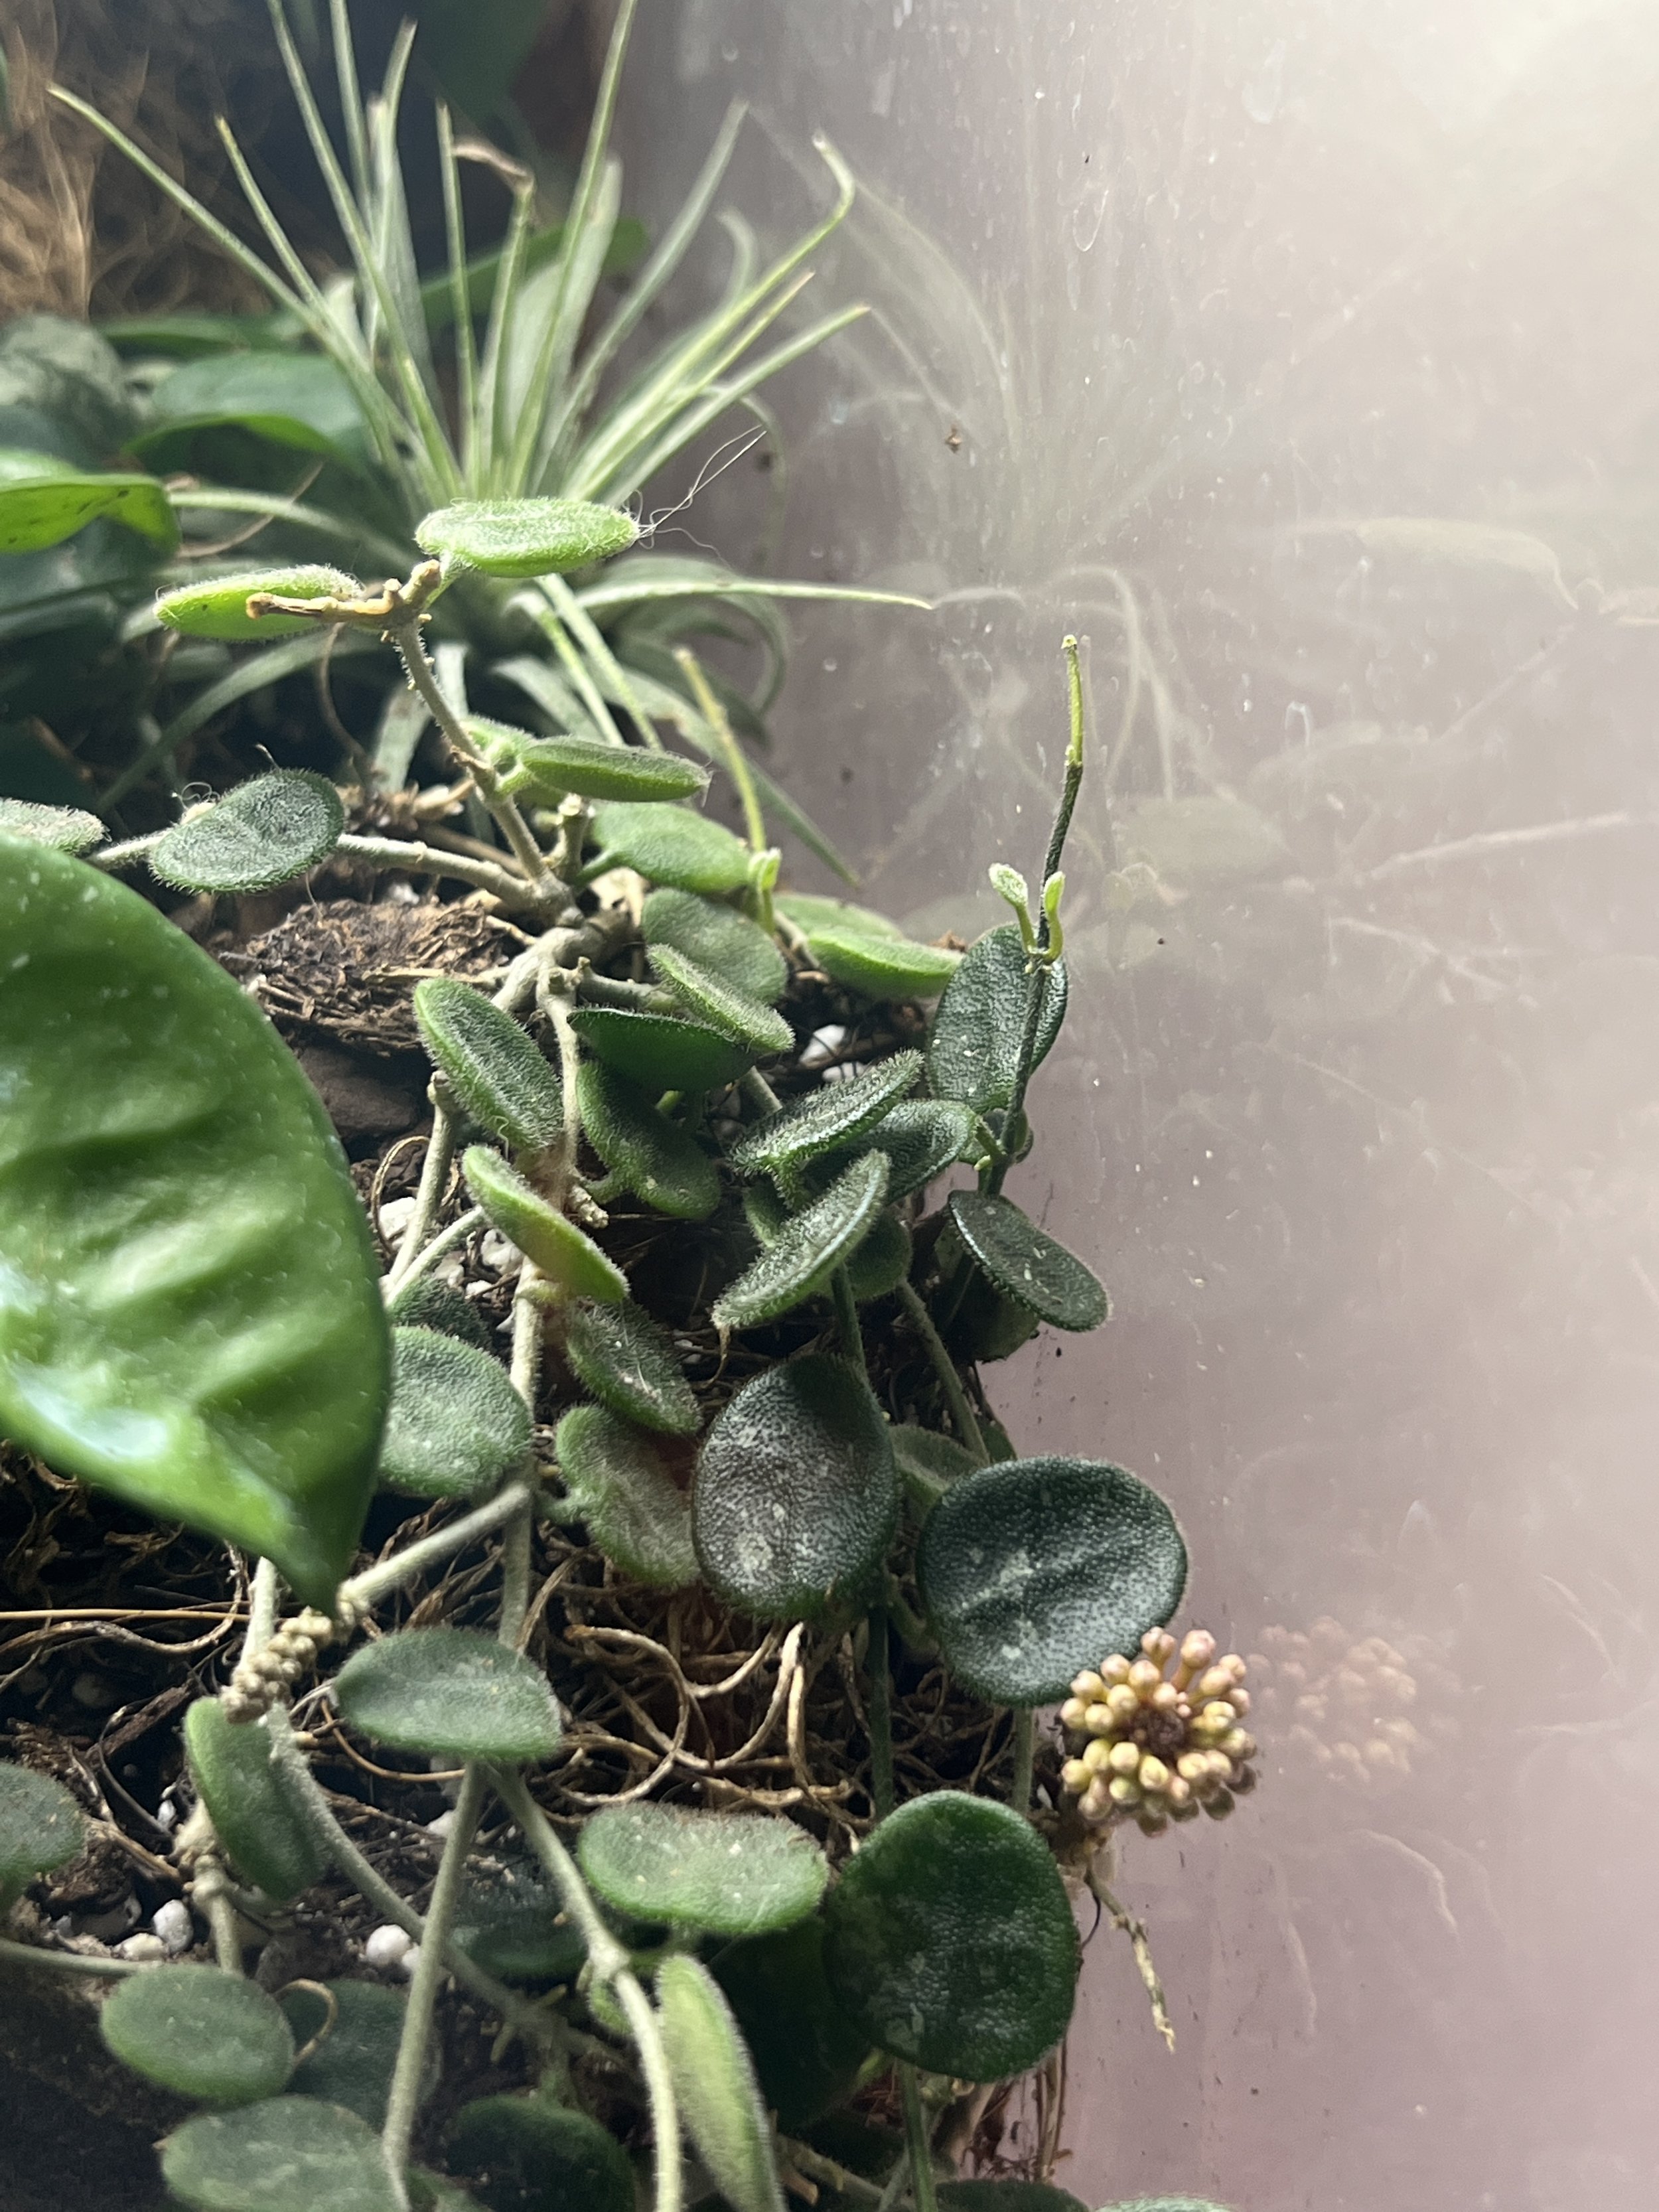
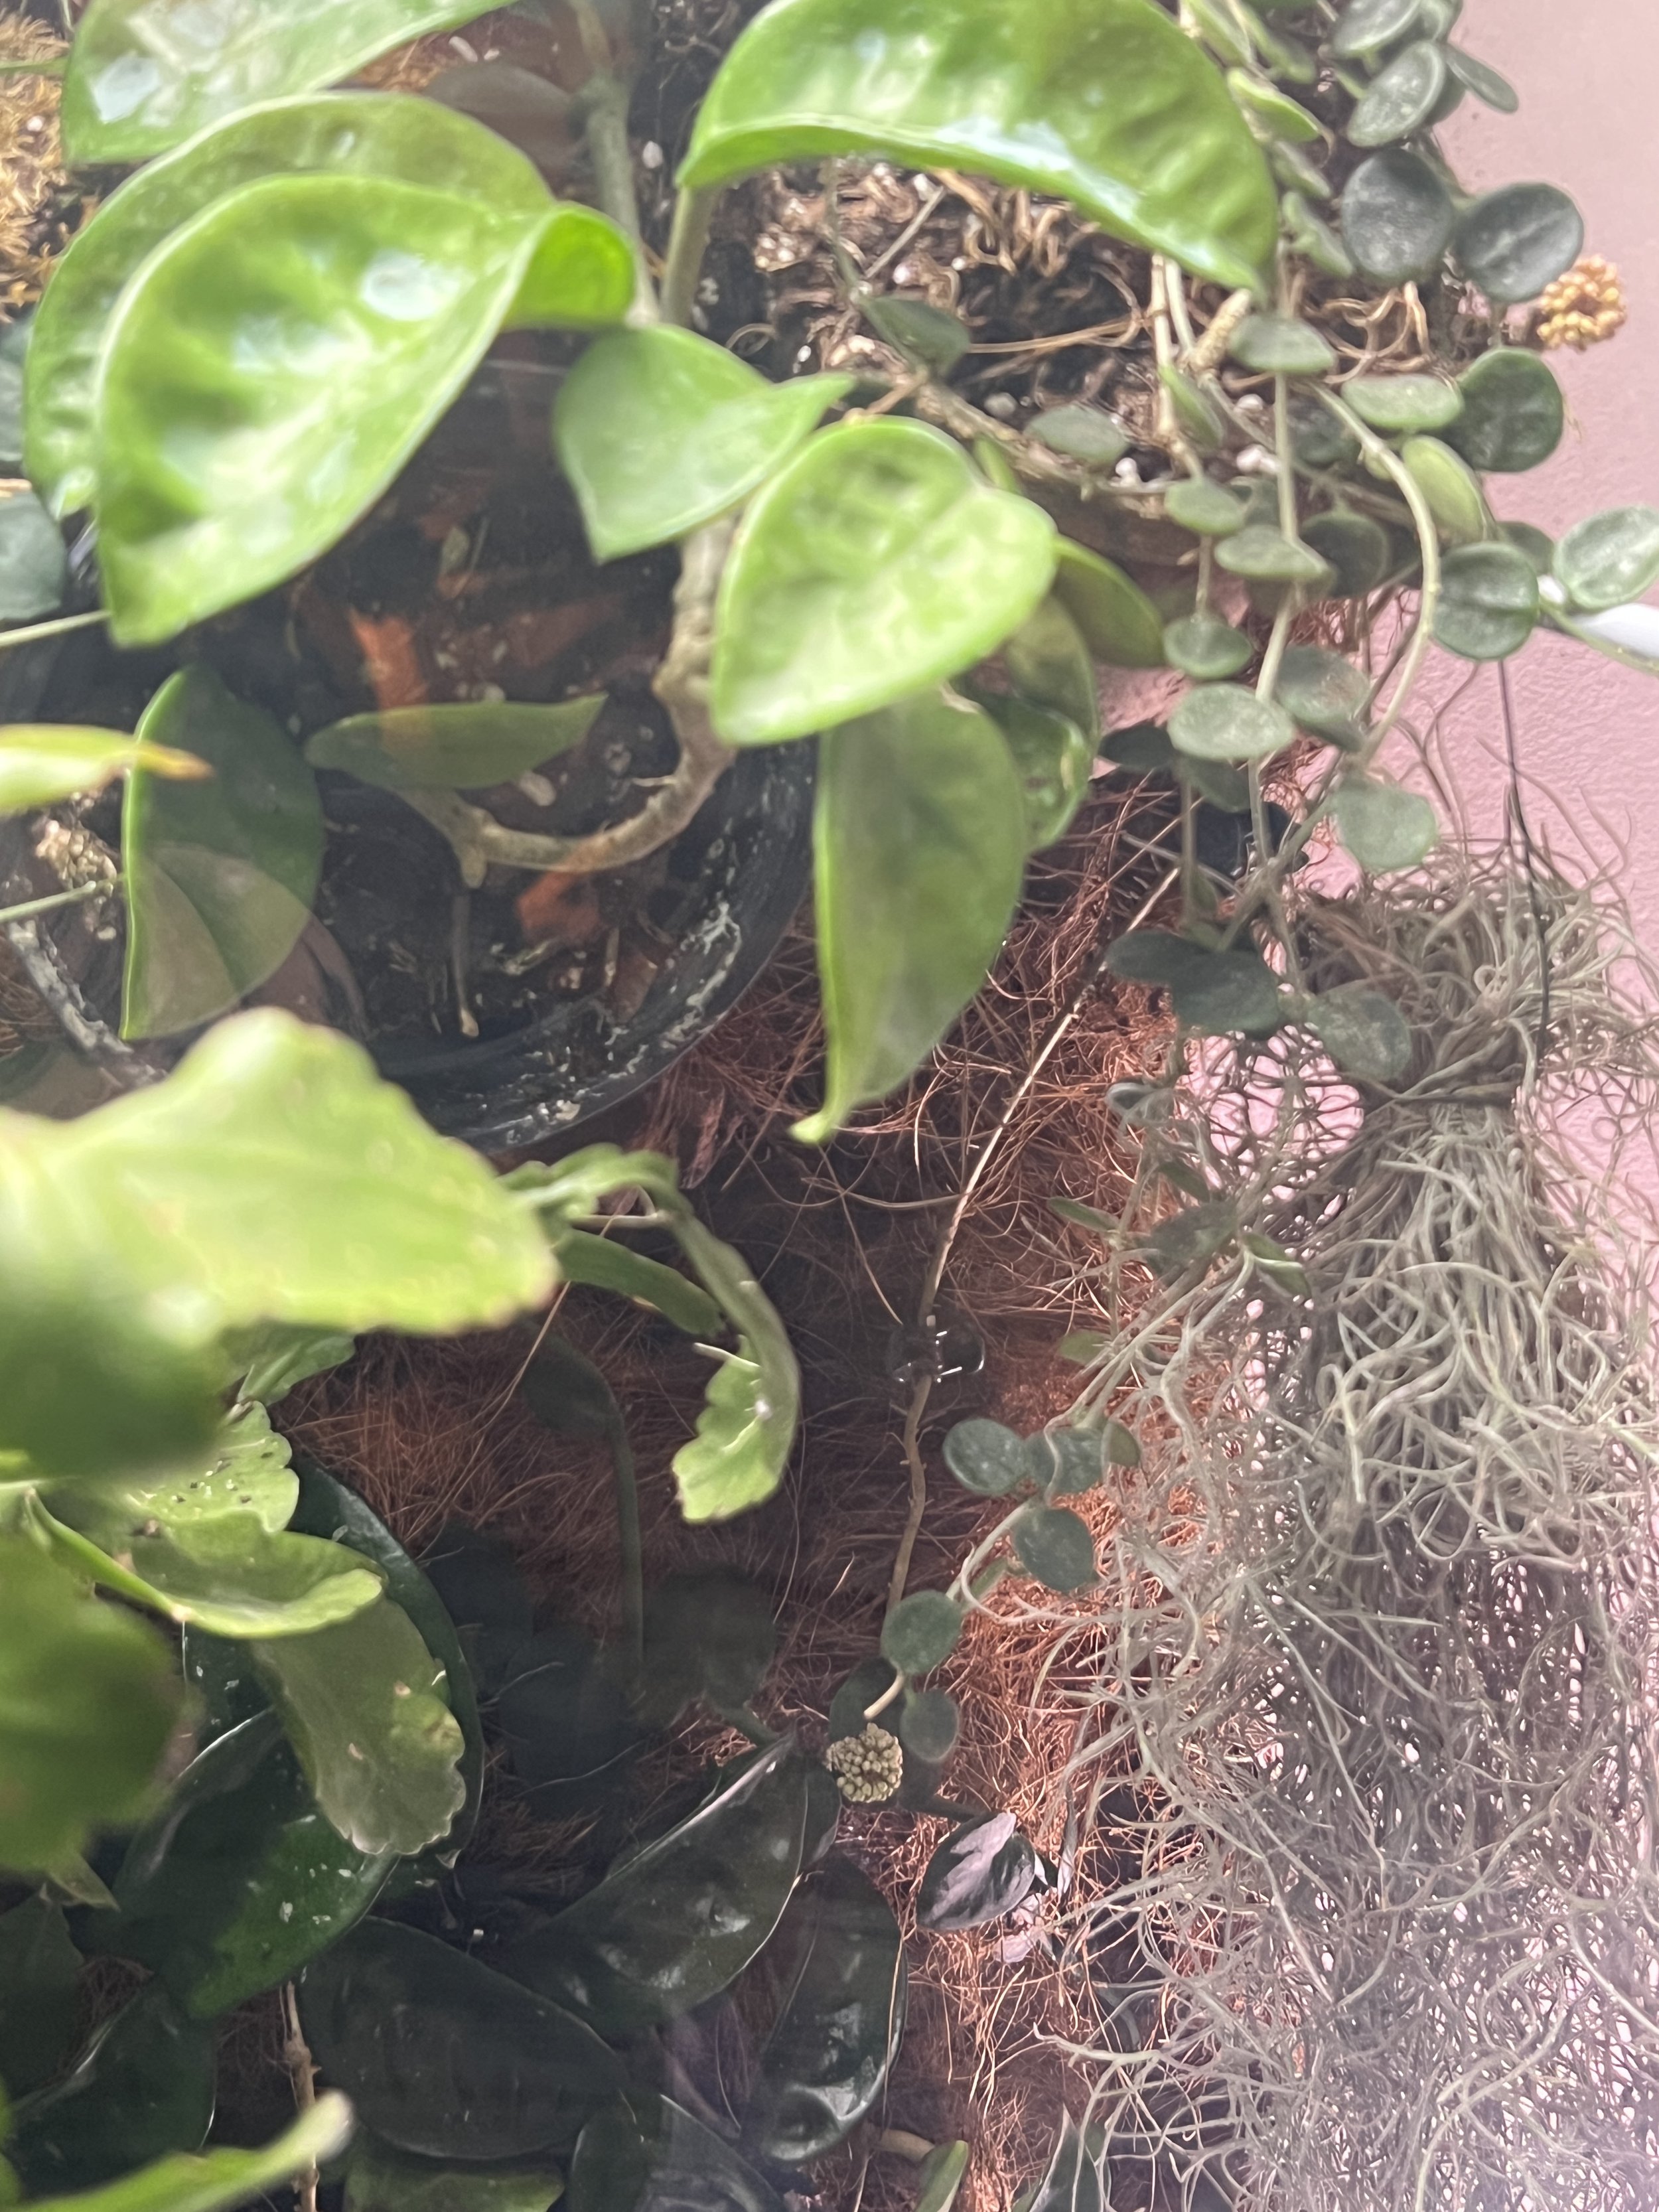
Kokedama is Japanese for “moss ball.” I love the versatility of a kokedama, so I made my own version to fill in this cabinet. I appreciate how they can be moved around until I’ve found the right spot for the plant. I also appreciate how the entire ball can be removed and taken to the sink to soak in water if necessary. One of my two Hoya serpens plants was struggling in terracotta, so I removed it from the pot and wrapped it in moss. Almost immediately, the plant recovered. It hasn’t bloomed yet, but it seems much happier. For this reason, I love how the kokedama honors the way this epiphytic plant would live in the wild.


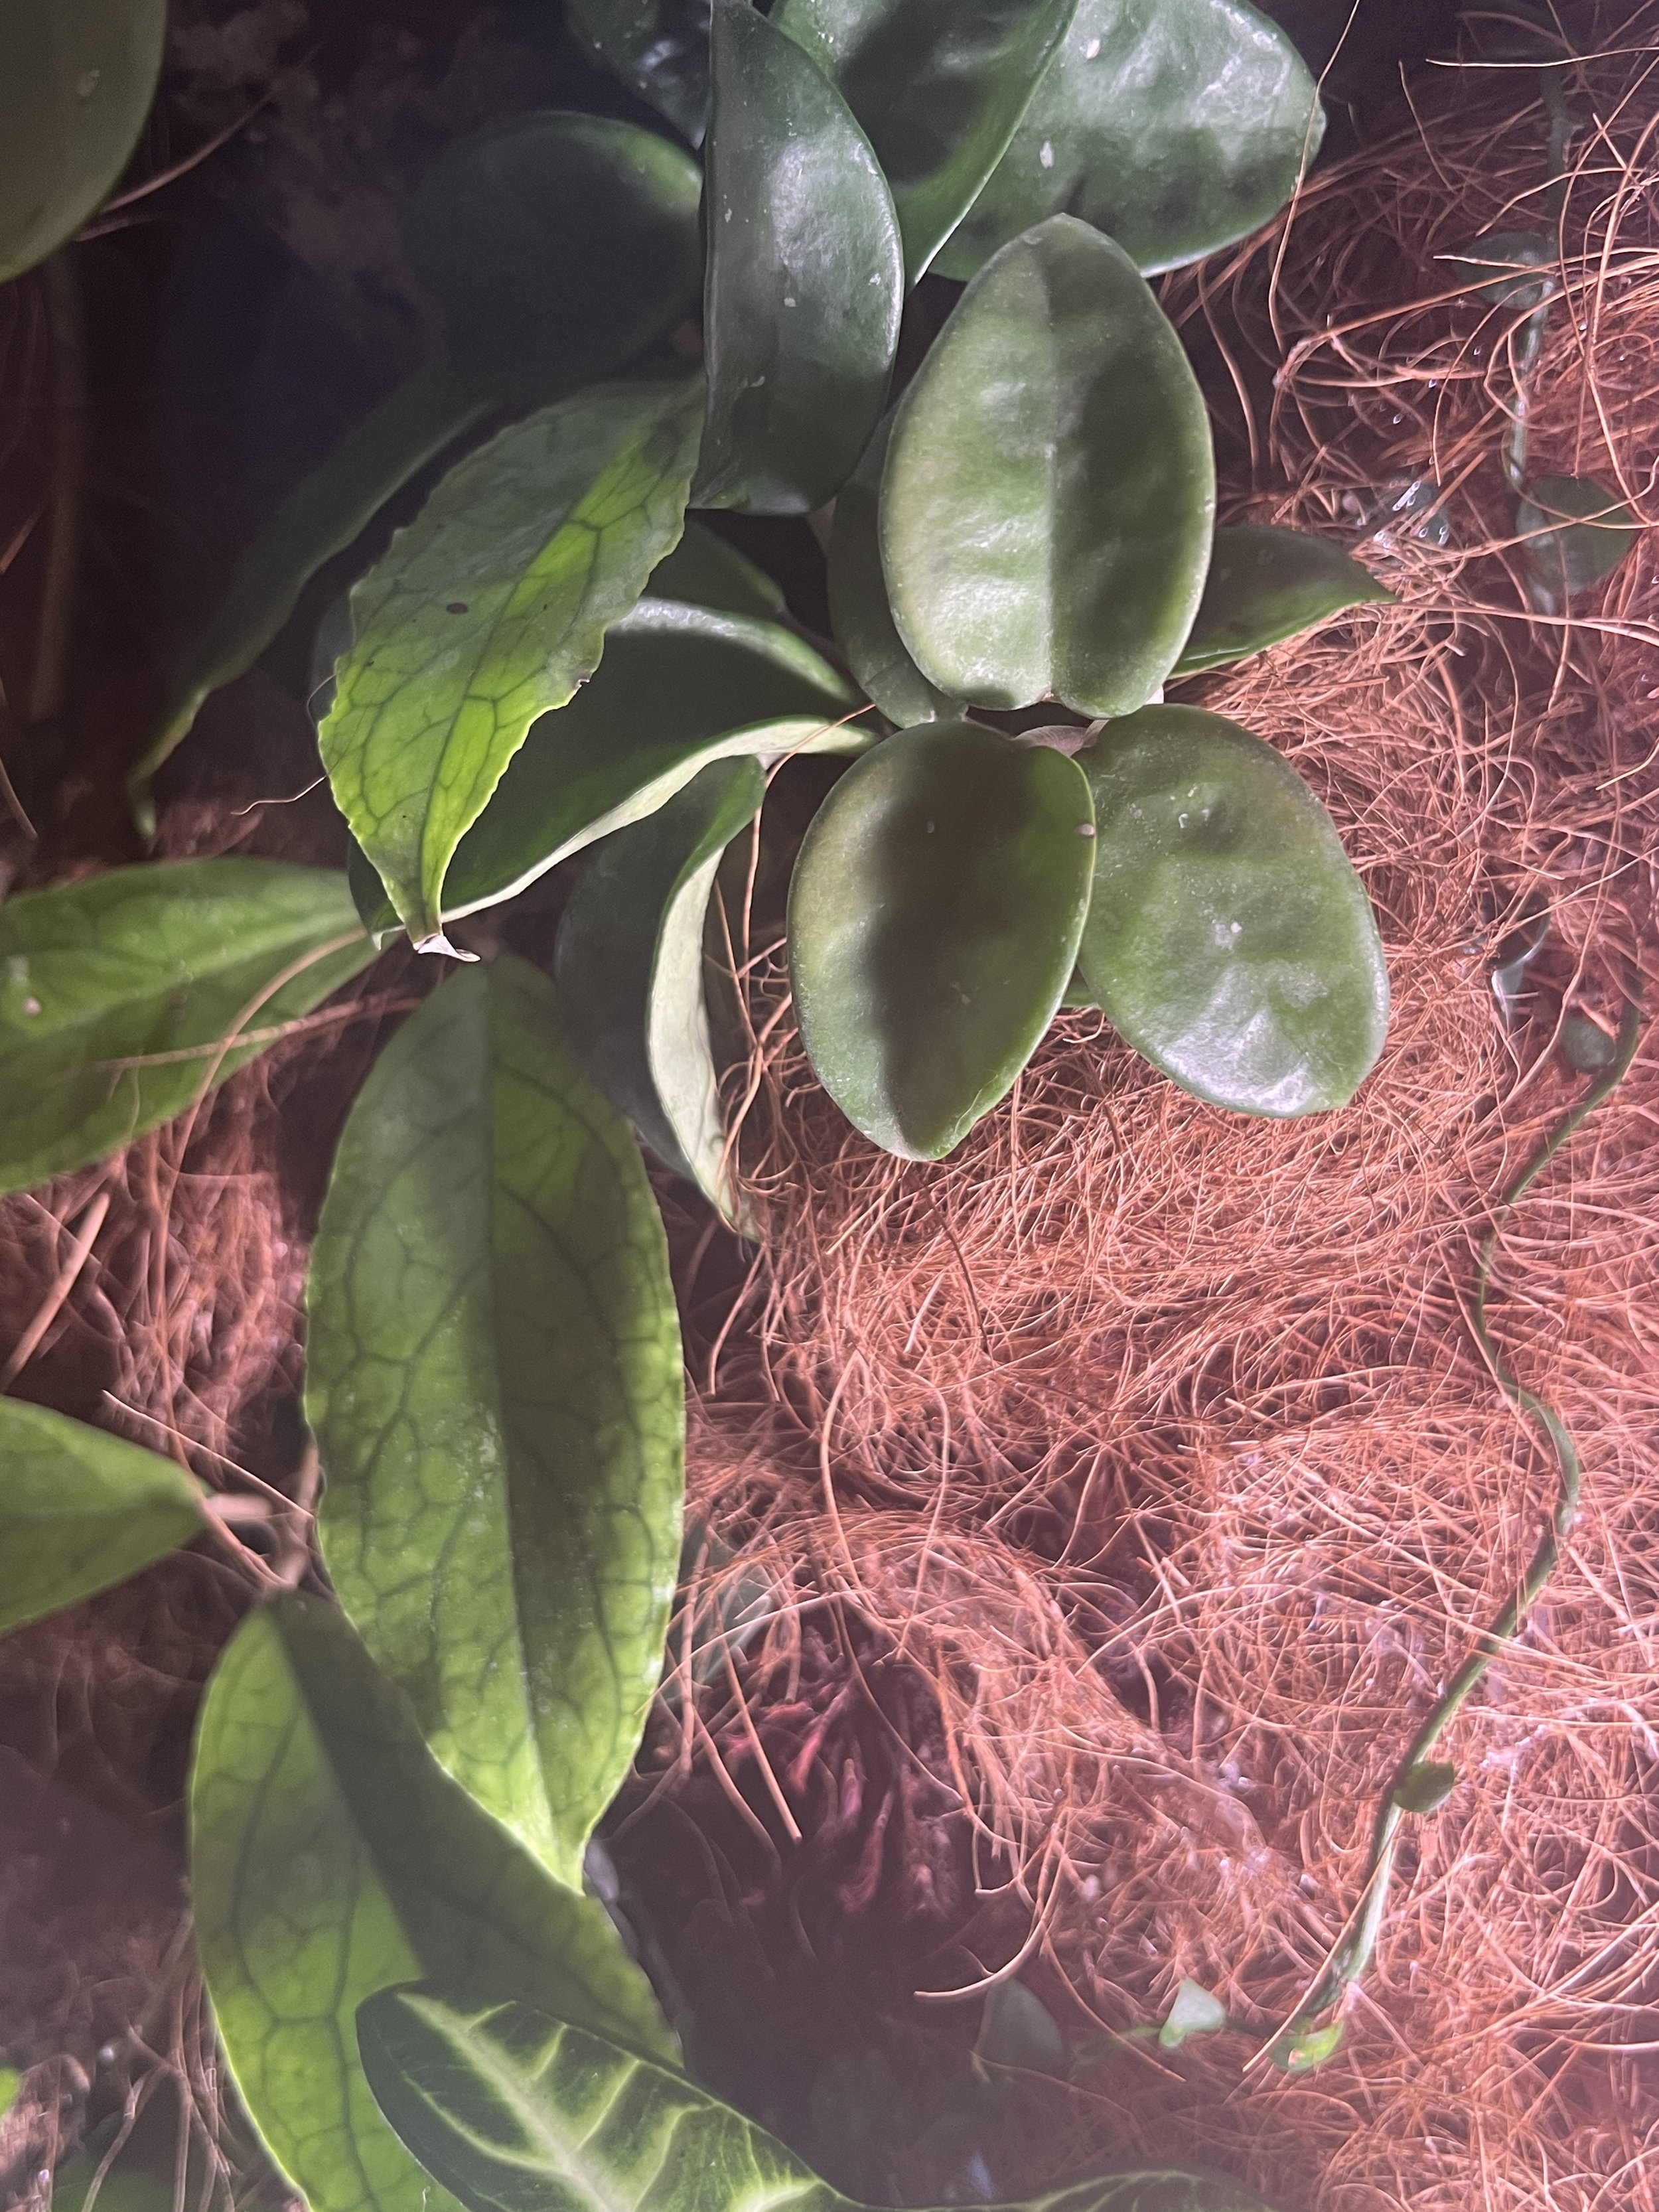
Above: Hoya serpens set free from her terracotta pot, Hoya mindorensis wrapped in coconut fiber, the back view of Hoya mindorensis and Hoya ‘Krinkle 8’ wrapped individually in coconut fiber balls, and another ‘Krinkle 8’ in coconut fiber.
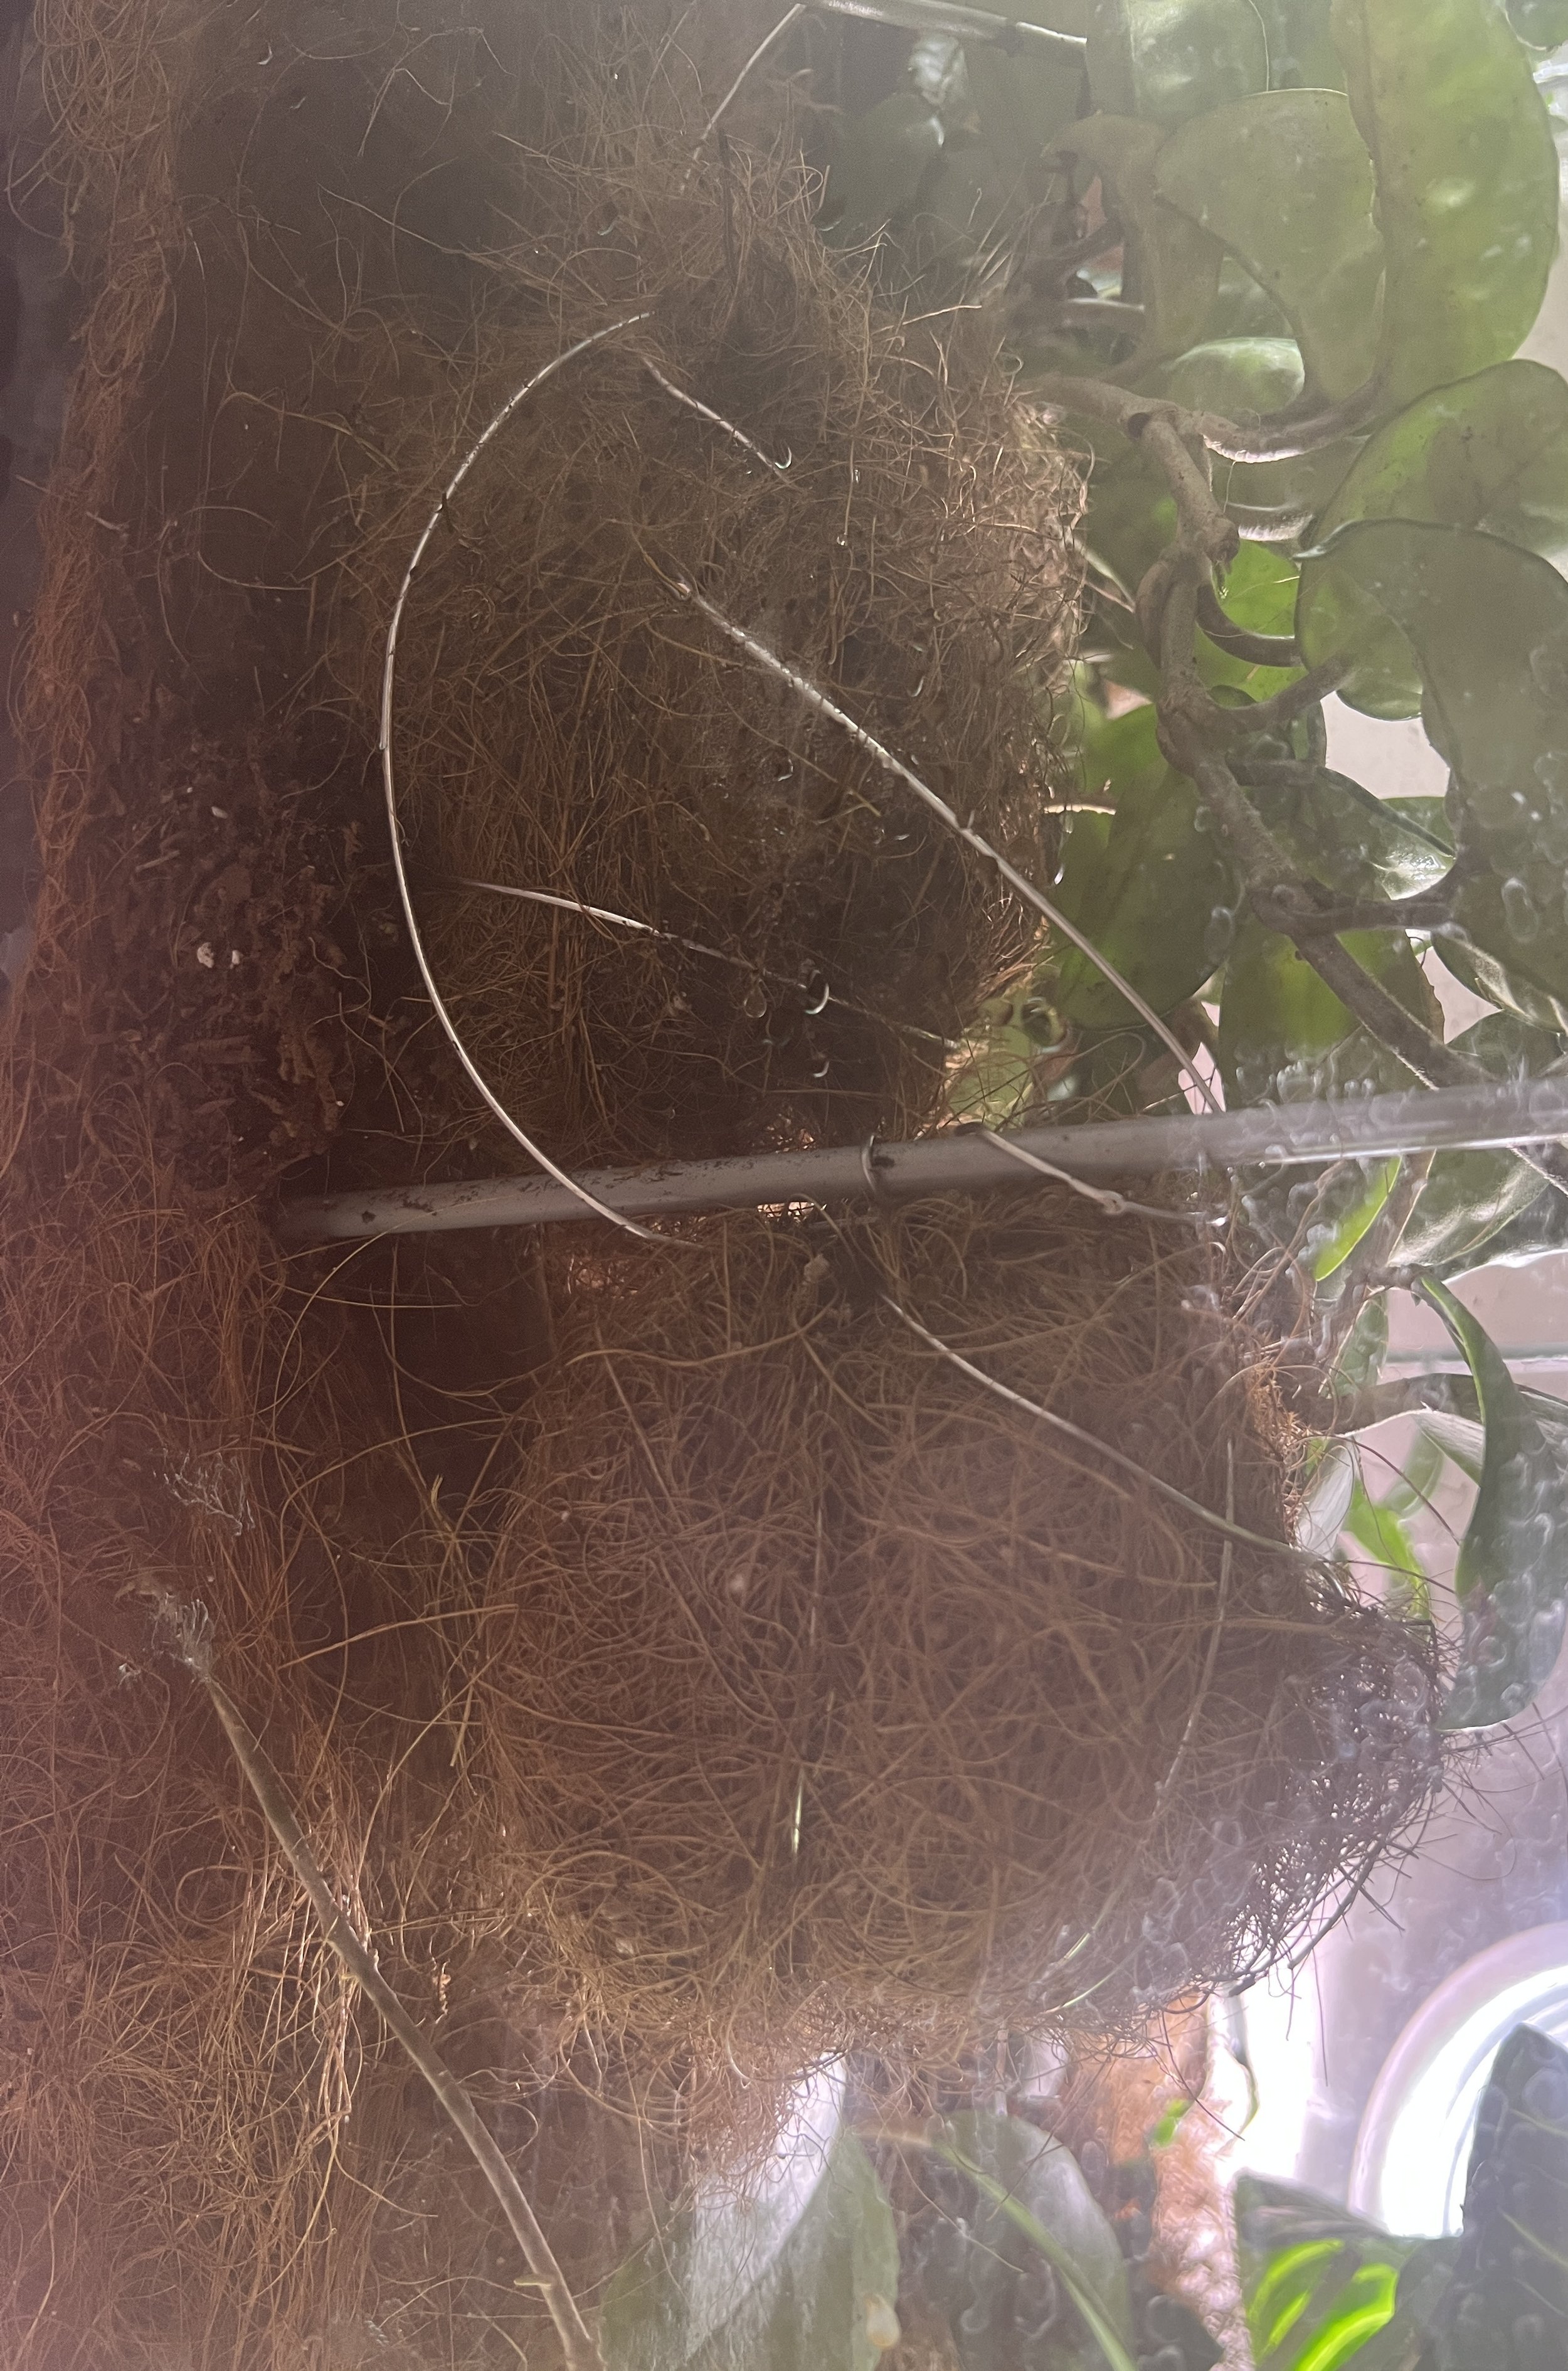
Ideally, I would wrap each plant with a little bit of potting mix, then coconut fiber (it works best visually for this project), and then wrap twine around the outside until it’s secure. In some situations shown above, I’ve used wire. The twine breaks down rapidly in these humid conditions, and I’d rather replace the wire if it begins to rust rather than have a full collapse if the twine loses integrity.
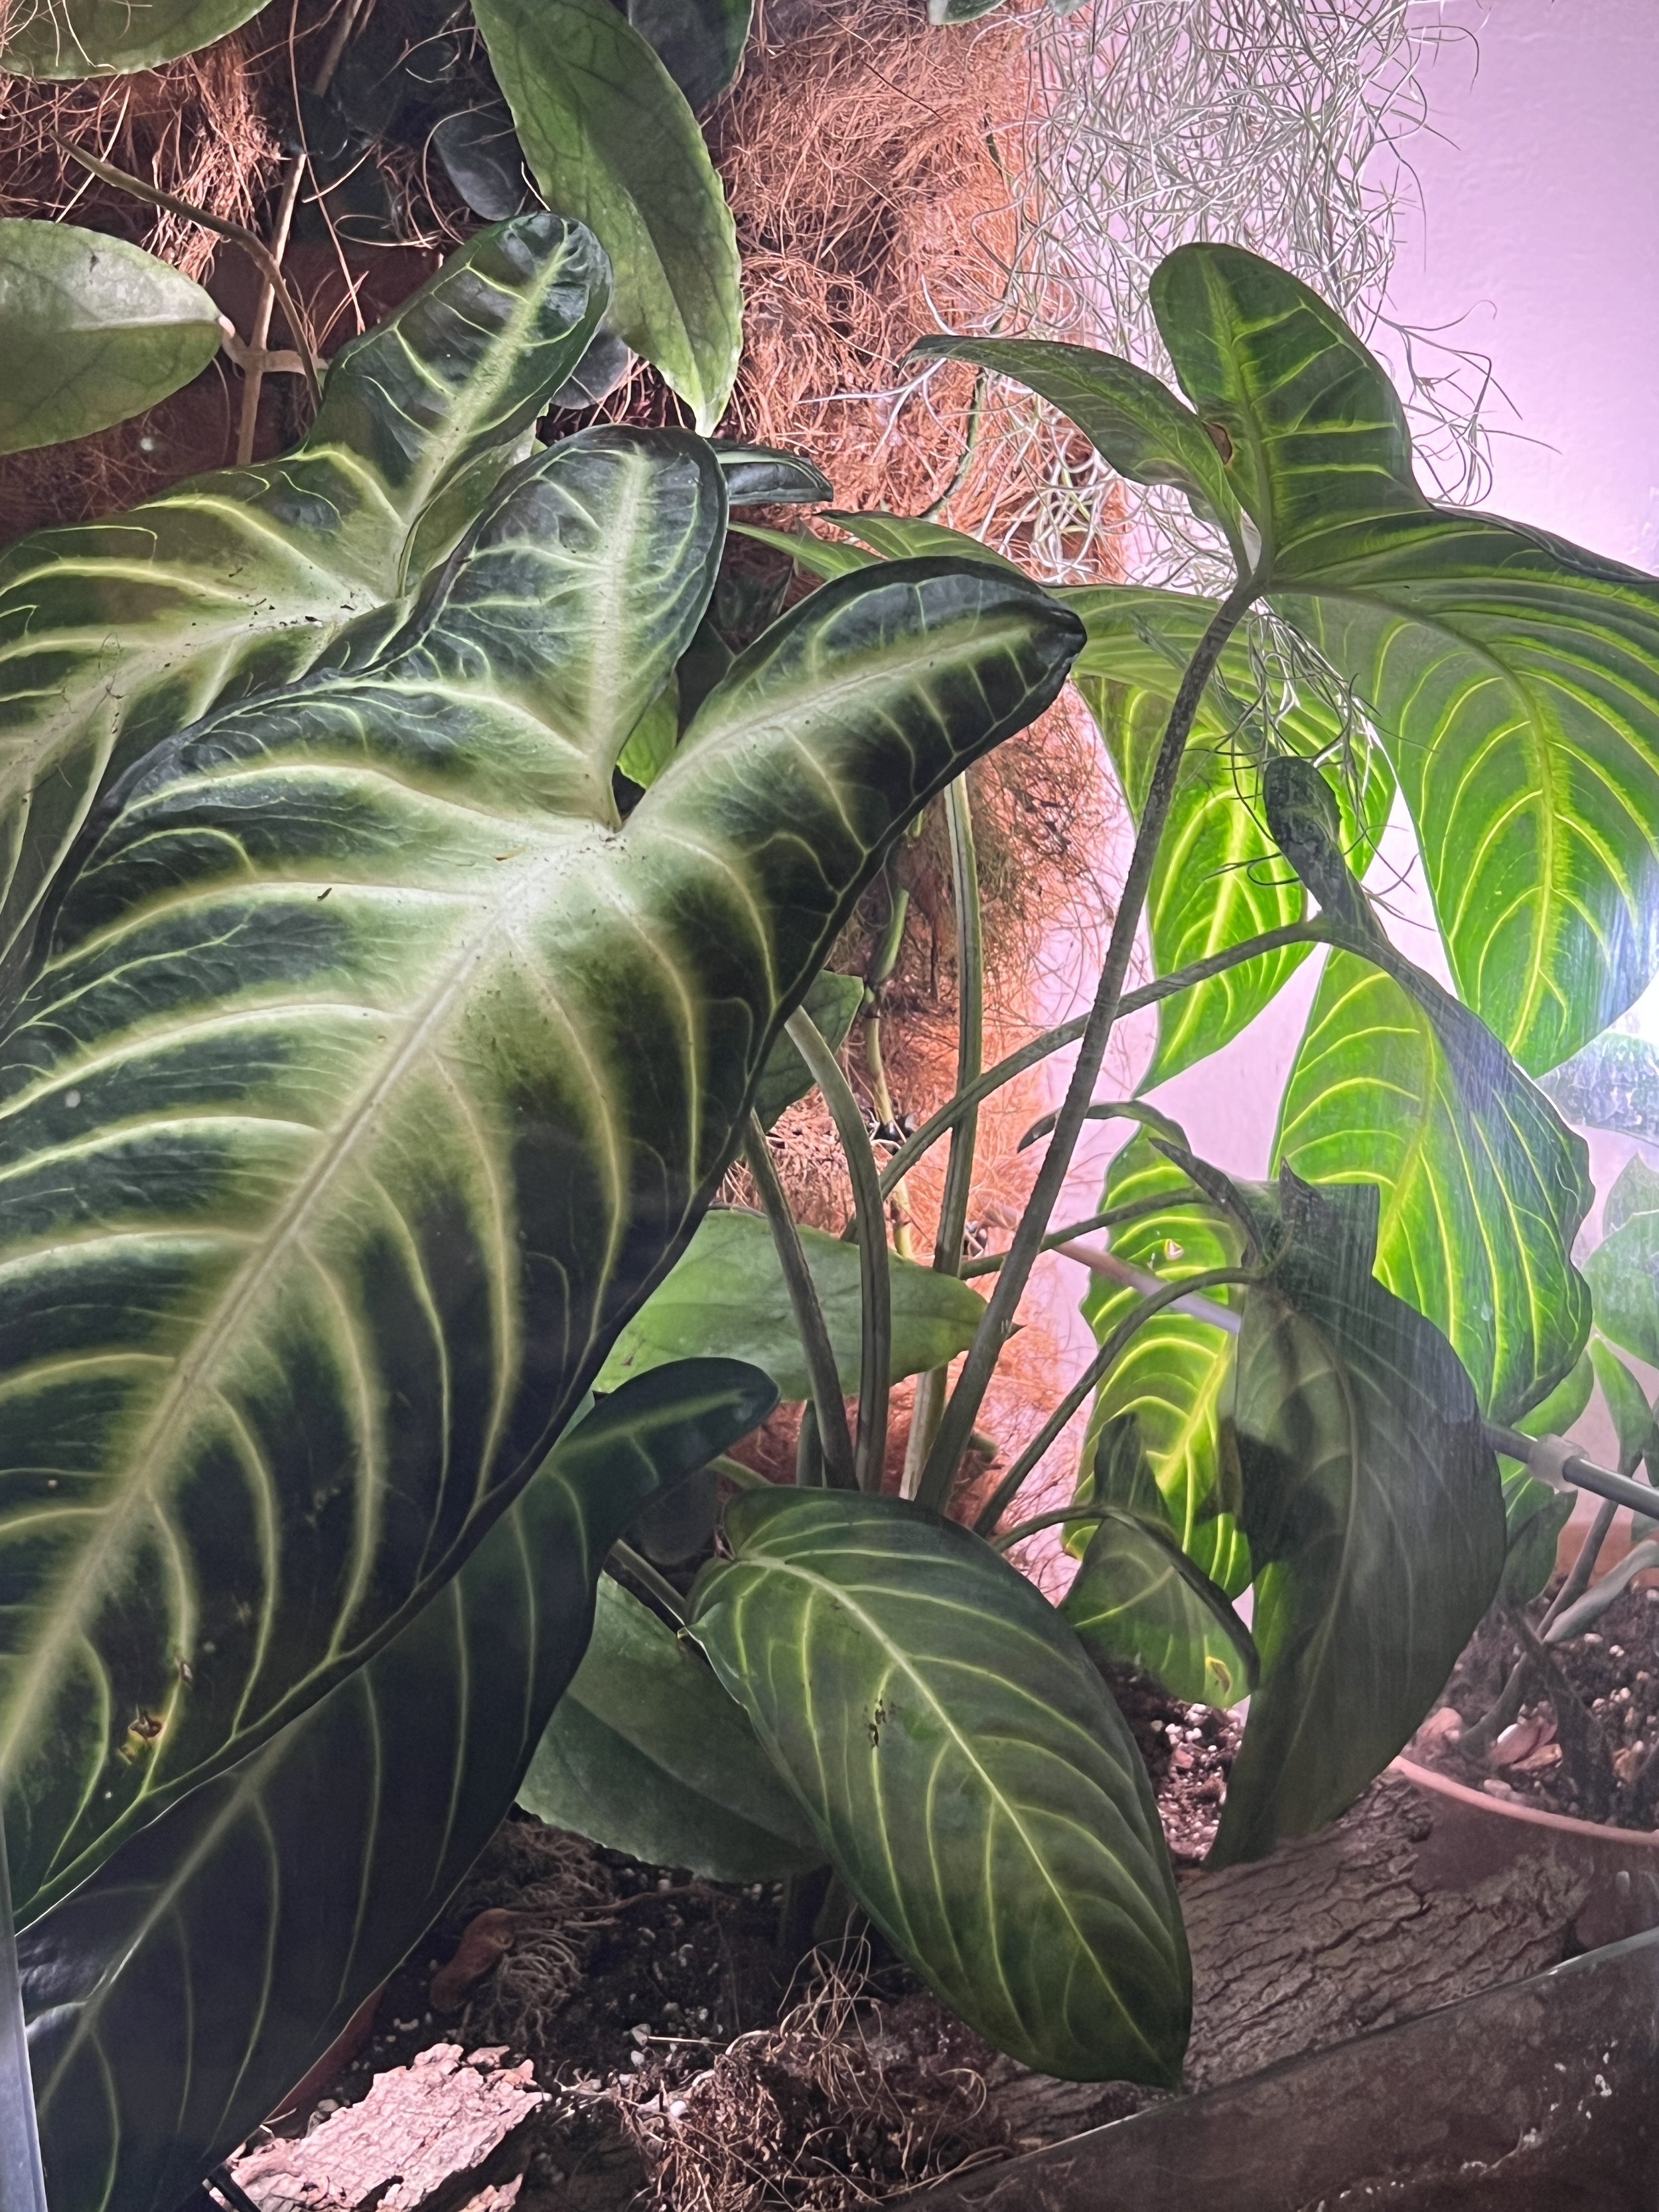
The Lineup
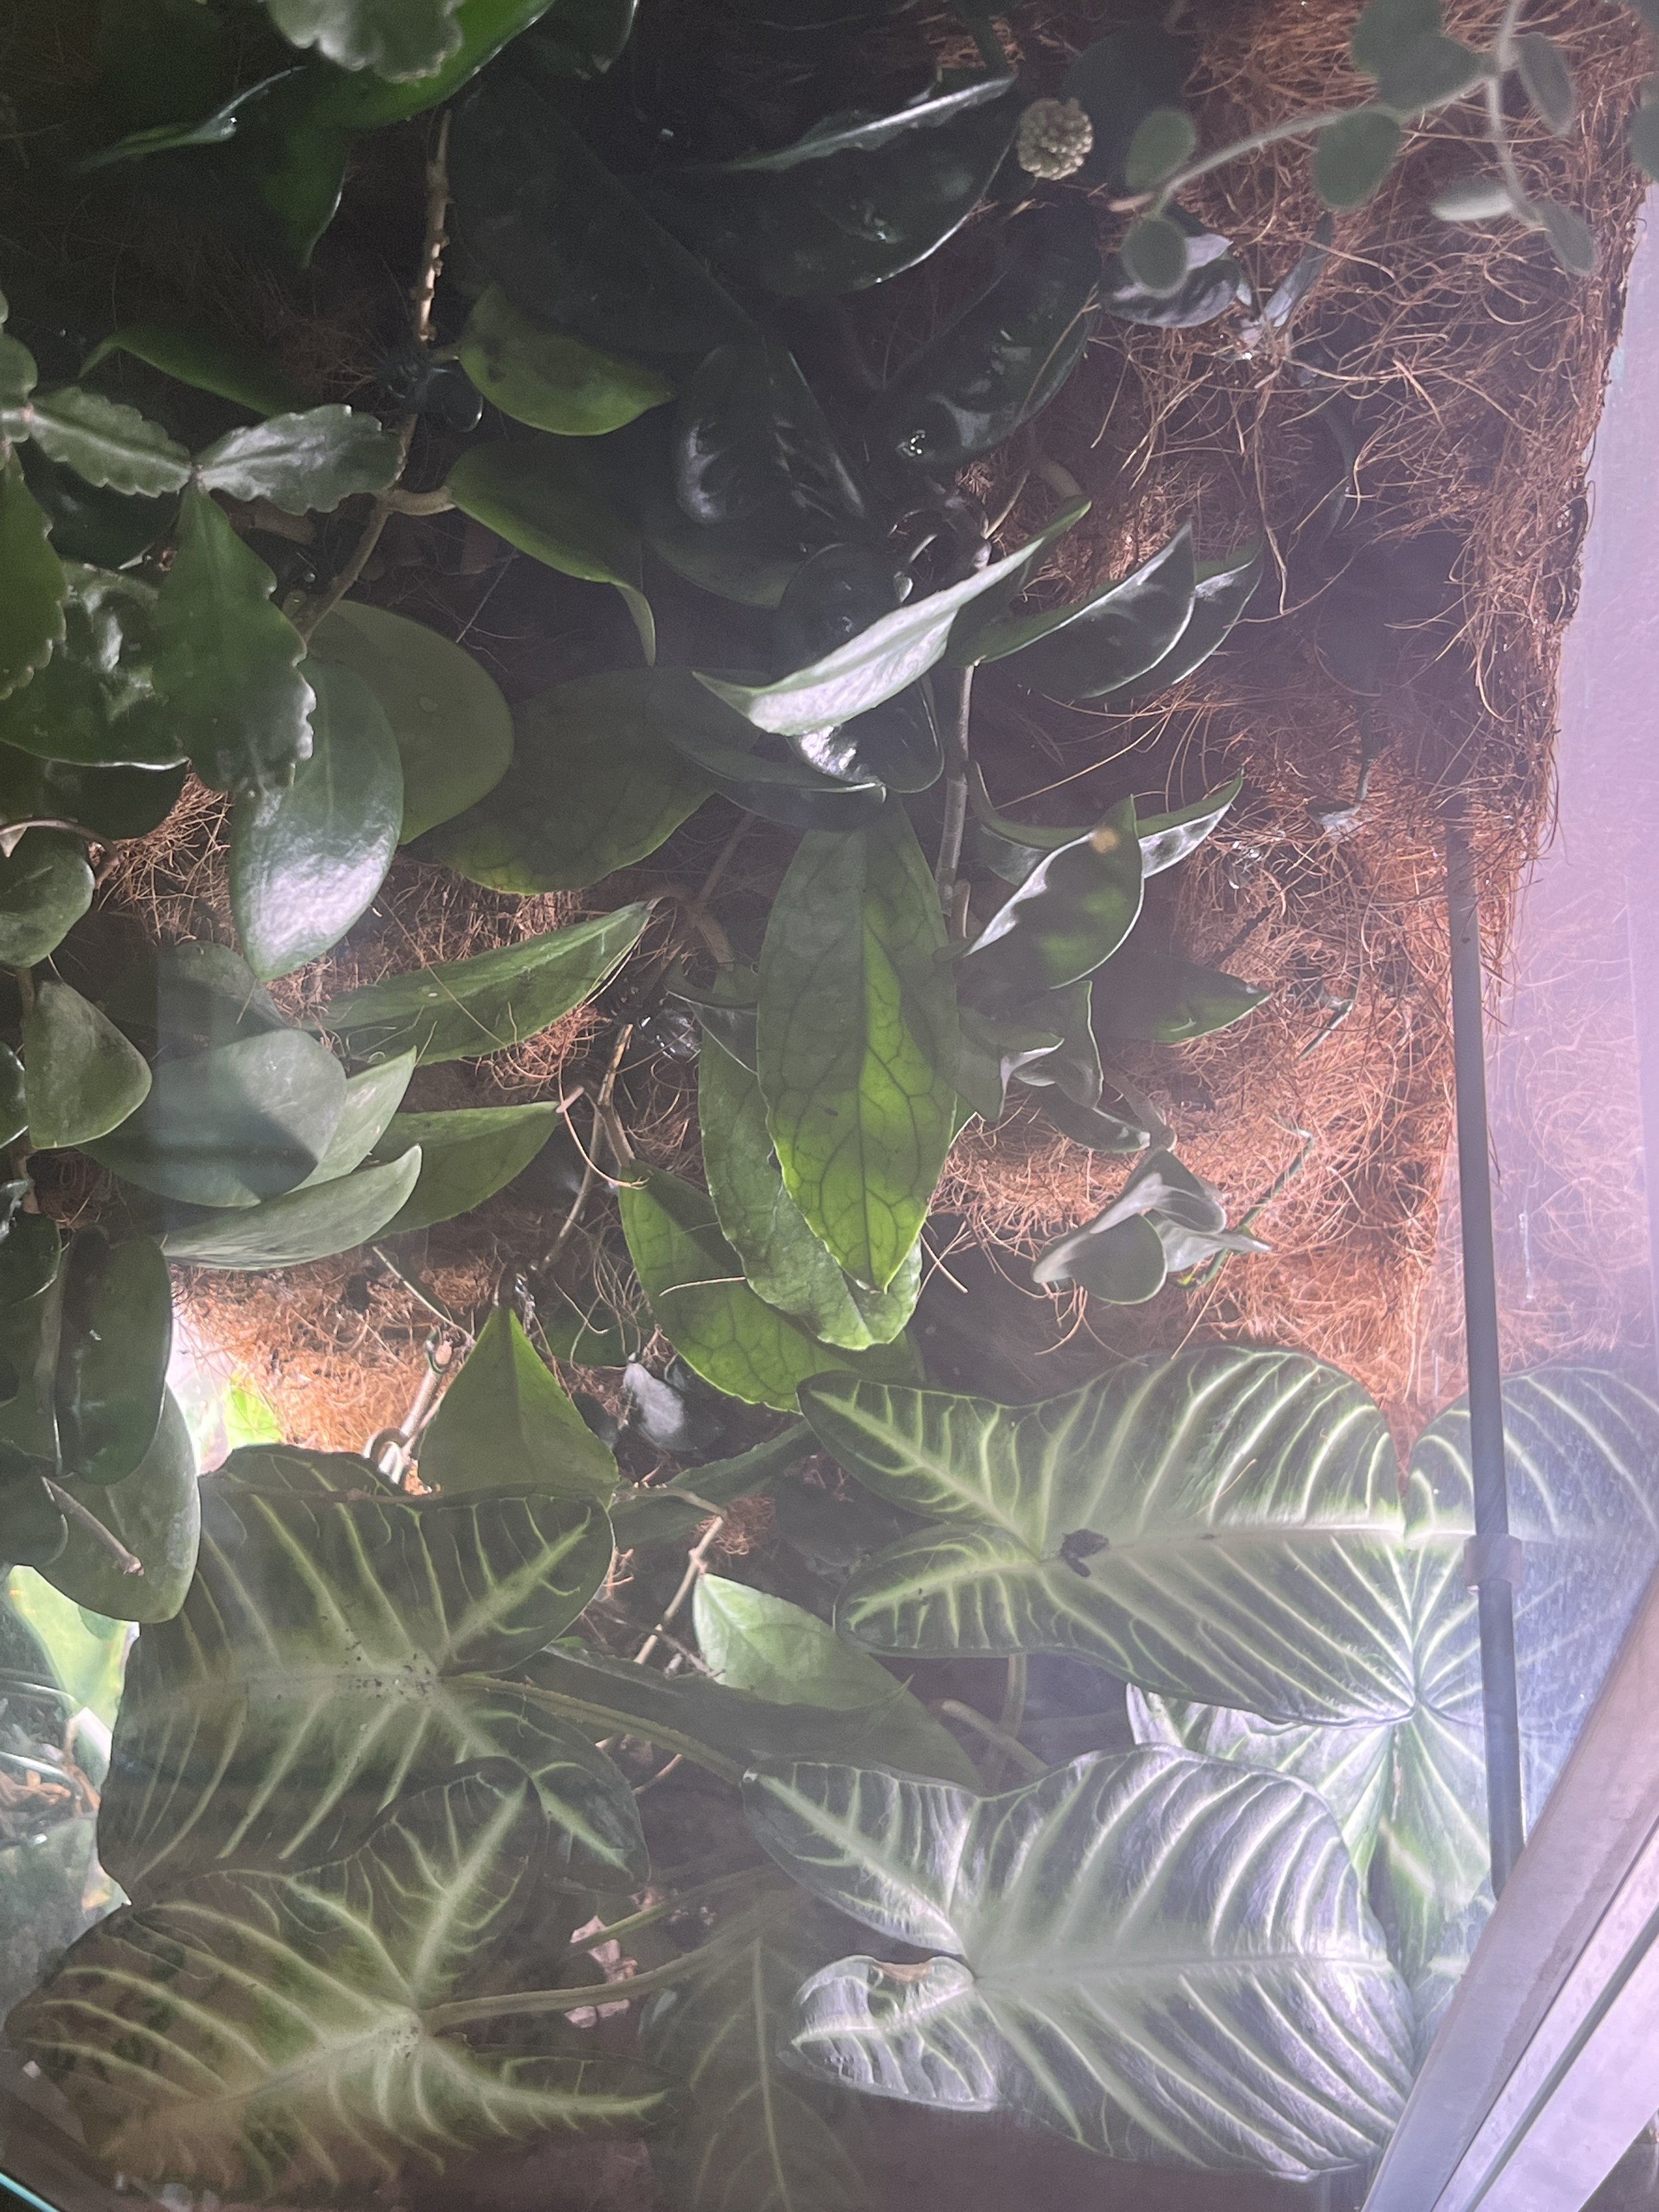
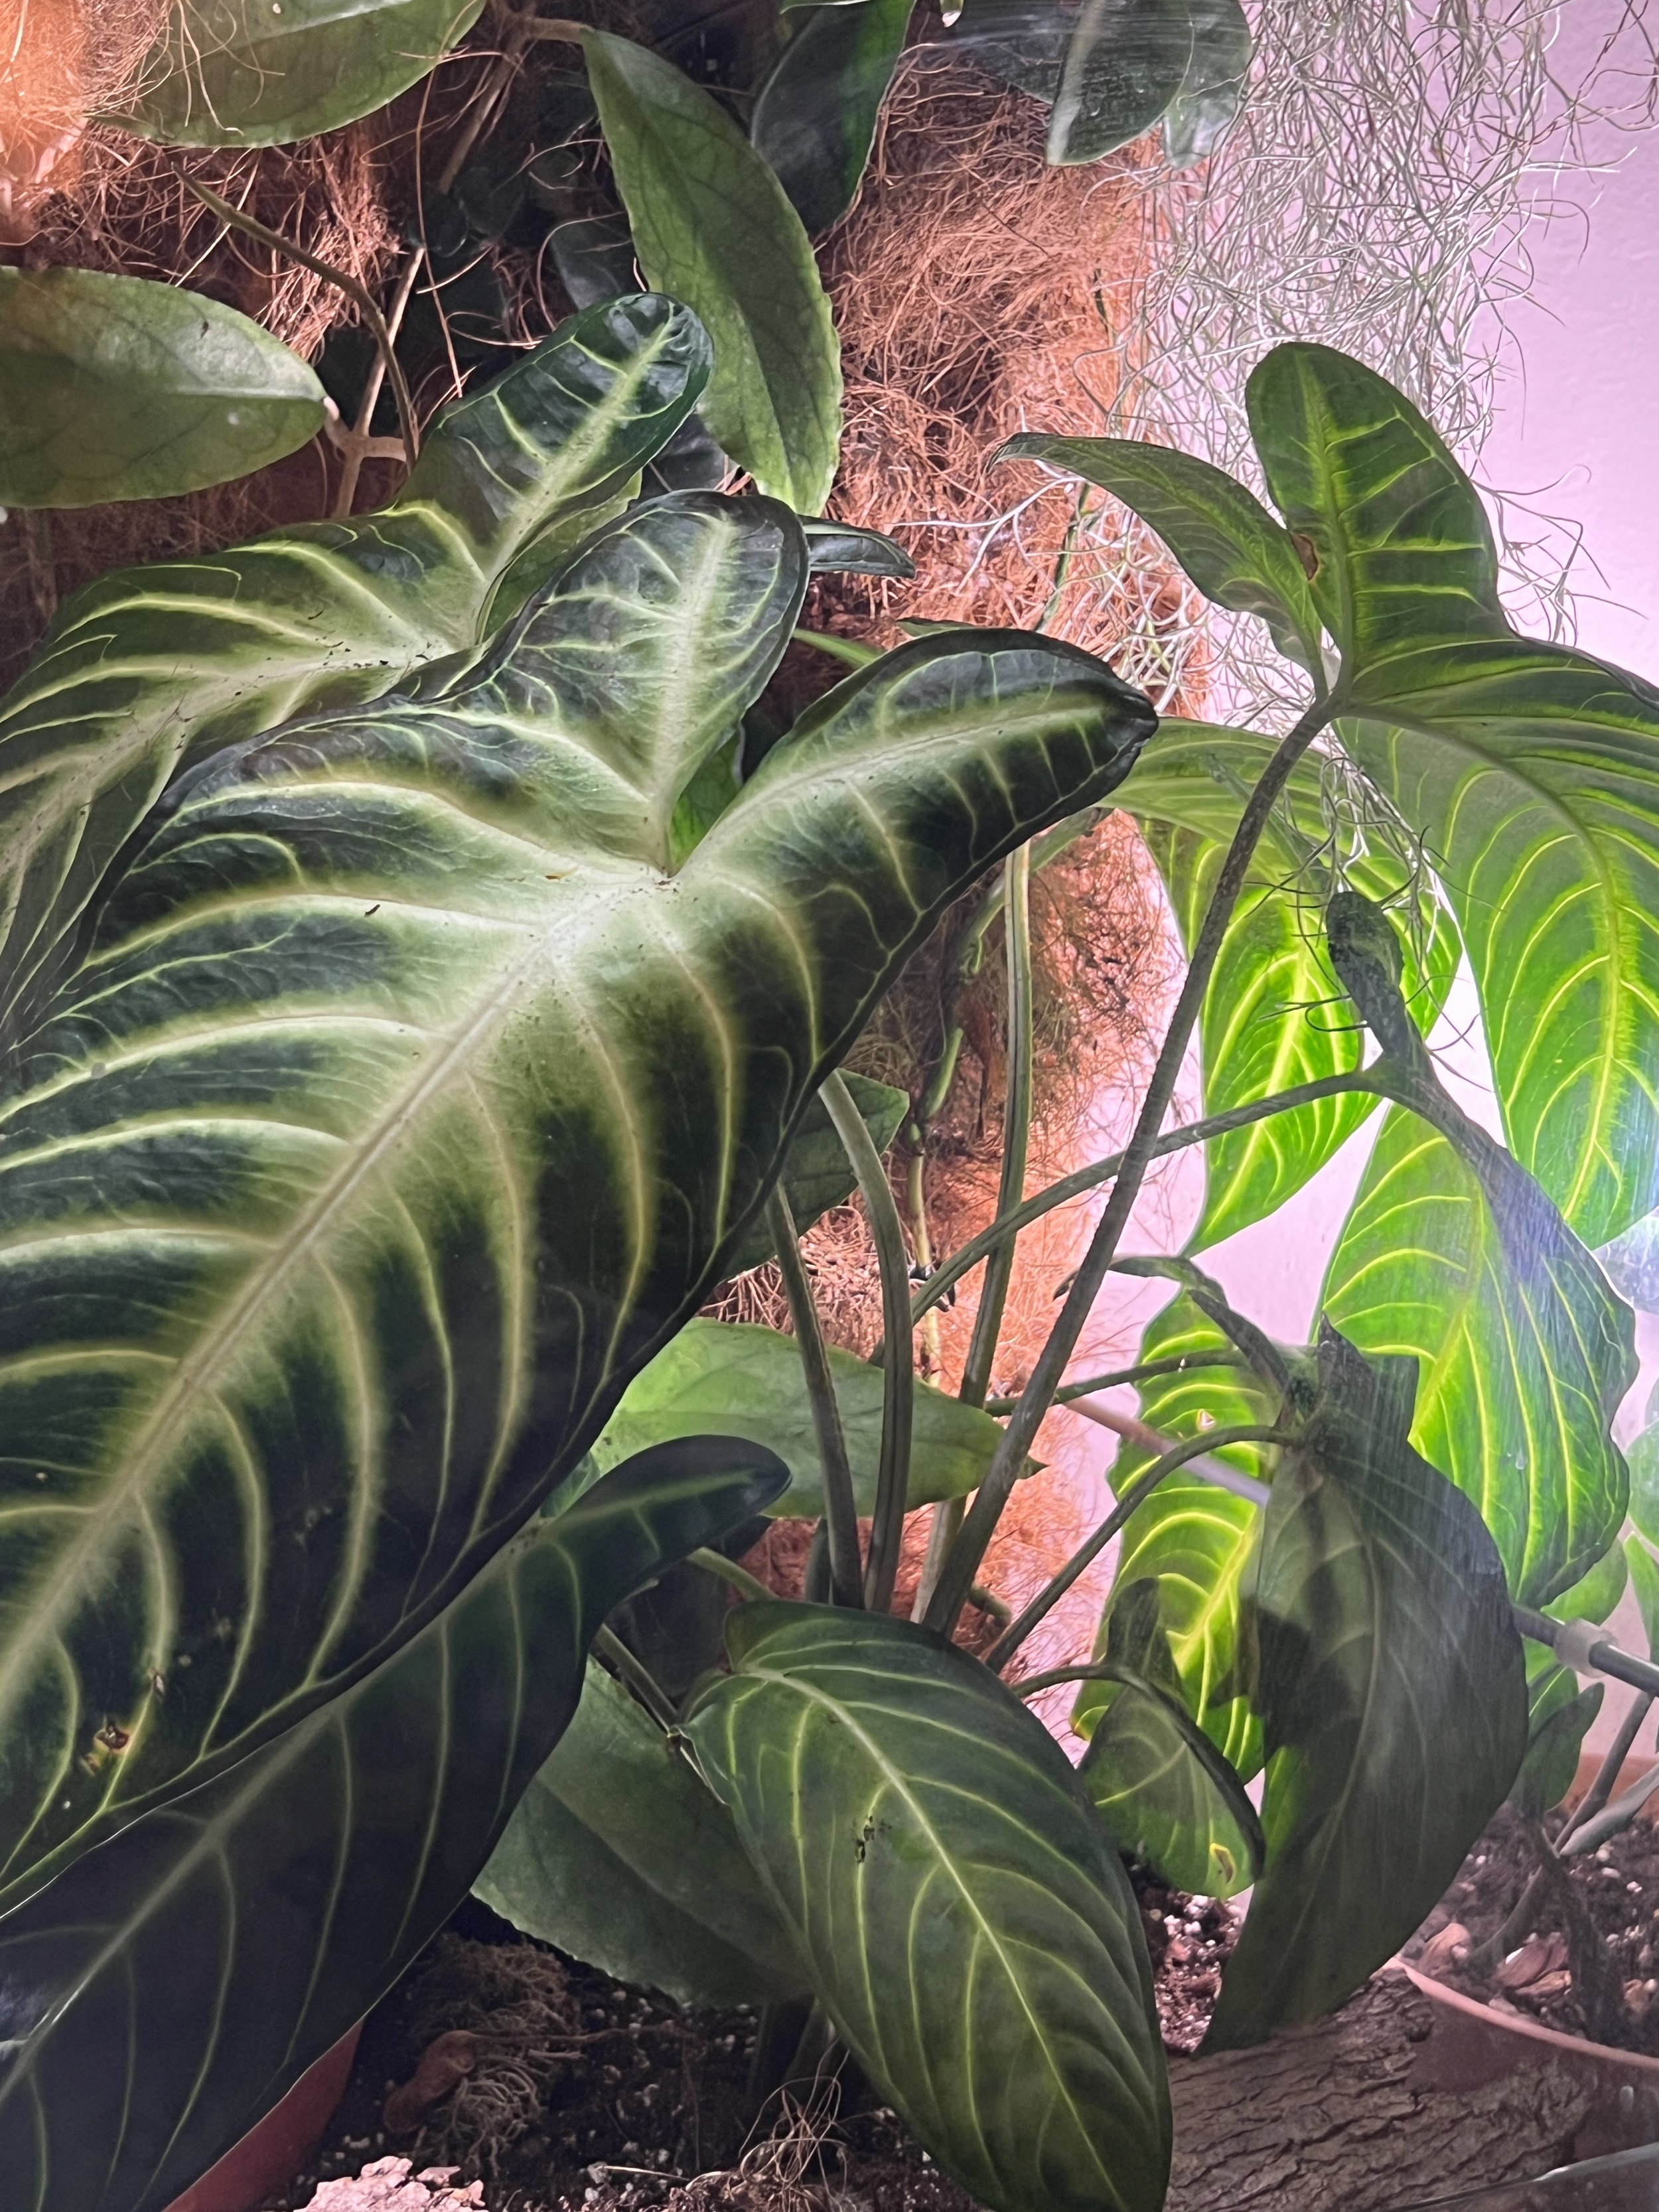
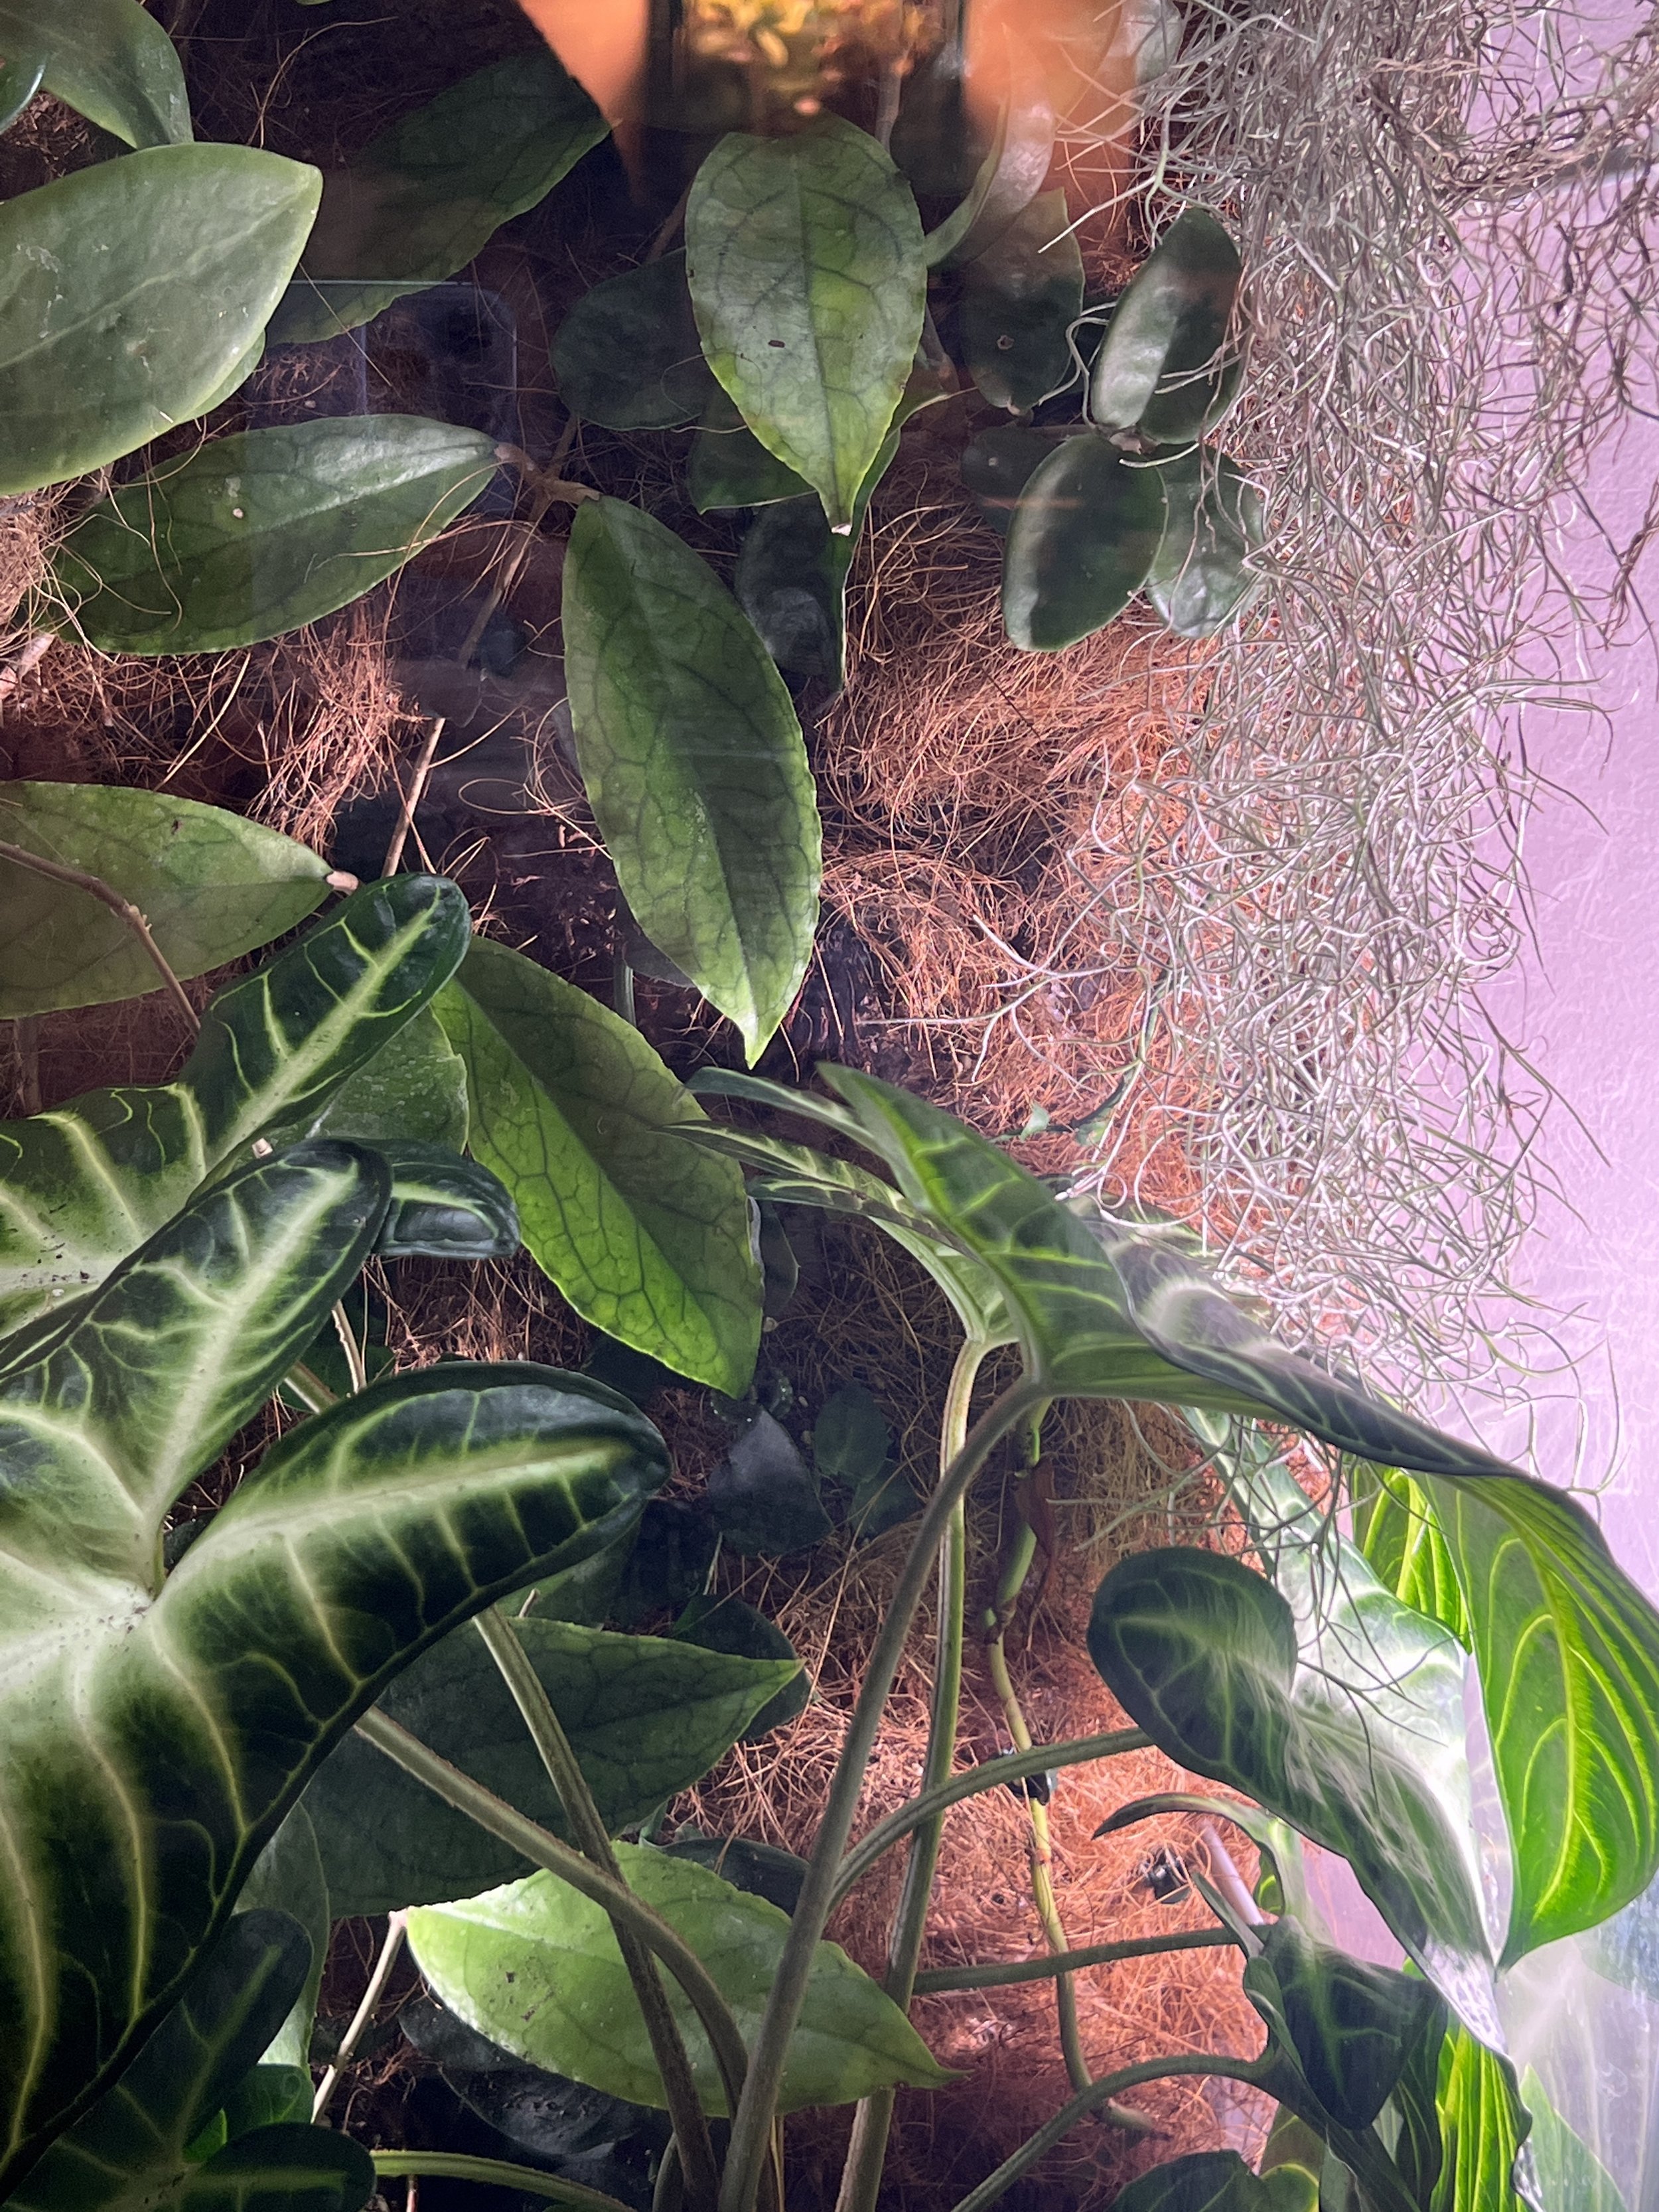
Since the structure of this cabinet hasn’t changed with the makeover, it was all about the plants. Over the 2+ years, various circumstances led to the original lineup changing. The Philodendron verrucosum reached the top of the cabinet and needed to be trimmed and propagated. Not long after that, both the verrucosum and the Alocasia suffered traumatic injuries when the strip lights fell from the ceiling of the cabinet during cleaning. The verrucosum is coming back, but the Alocasia was a total loss. The Rhipsalis paradoxa was removed and relocated to a pot with other paradoxa because I wanted one larger plant rather than a few small ones. The Aglaonema was relocated to a pot just to shake things up. Needless to say, things have changed a lot inside.
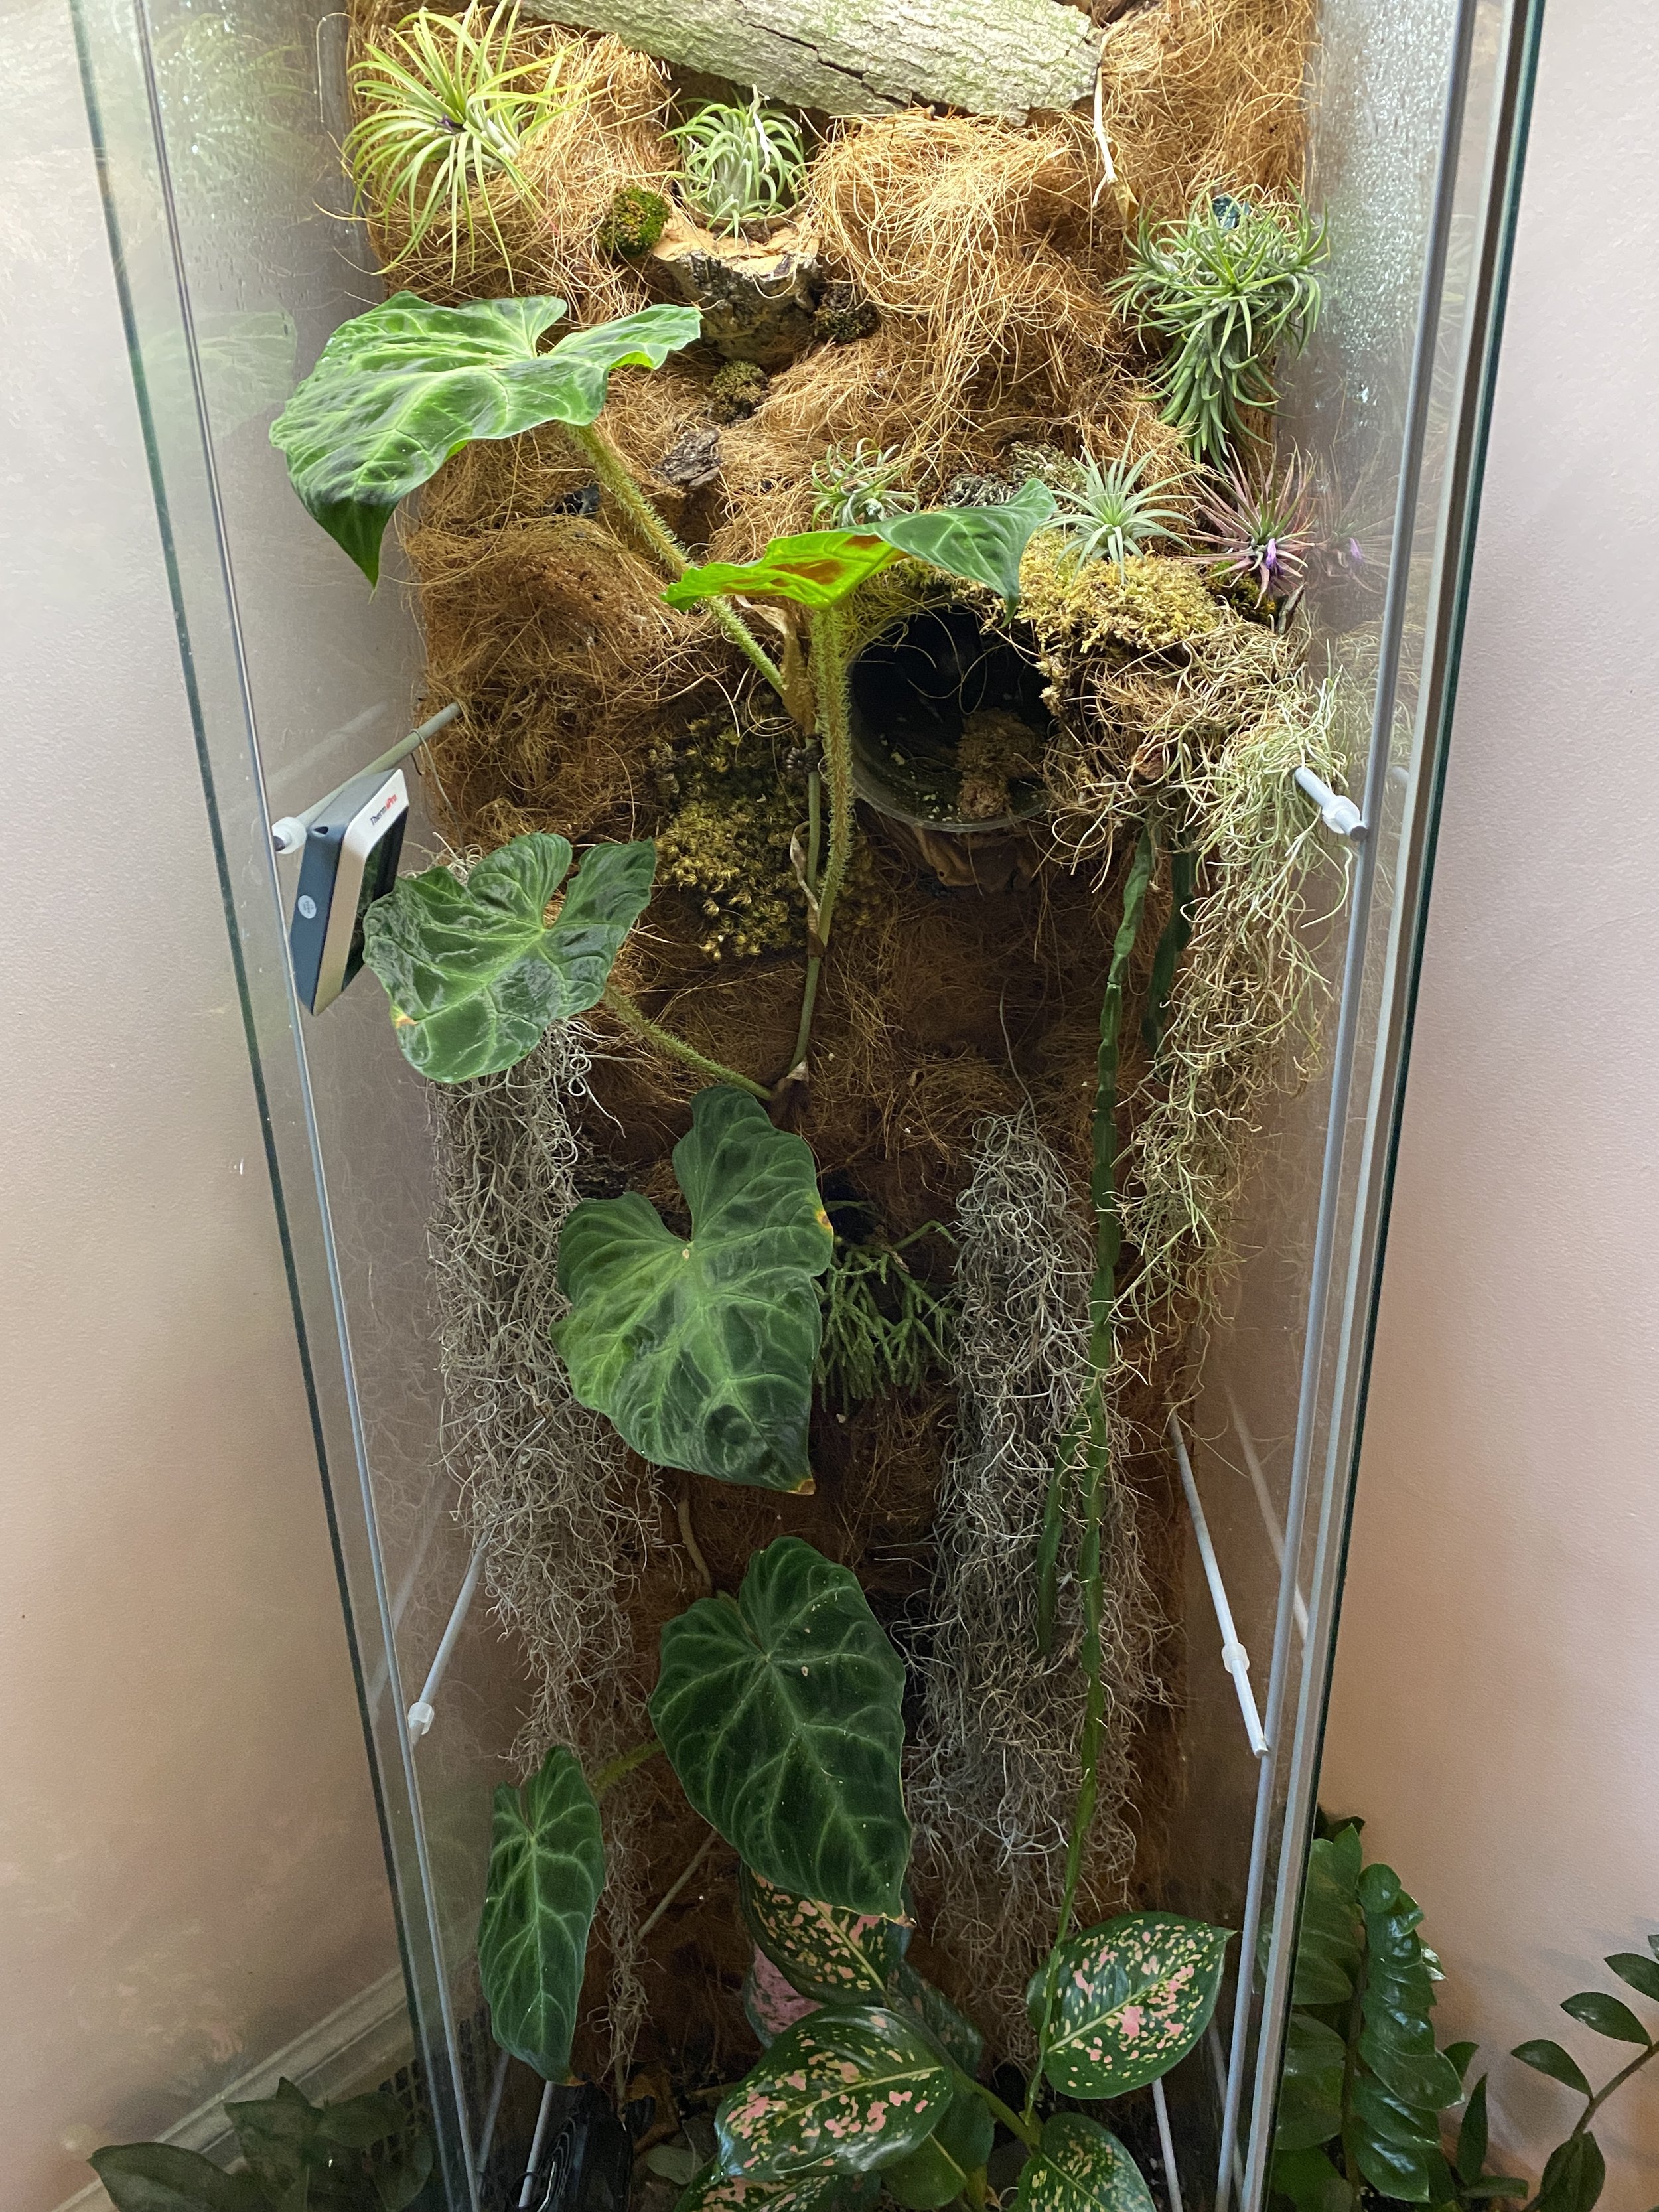
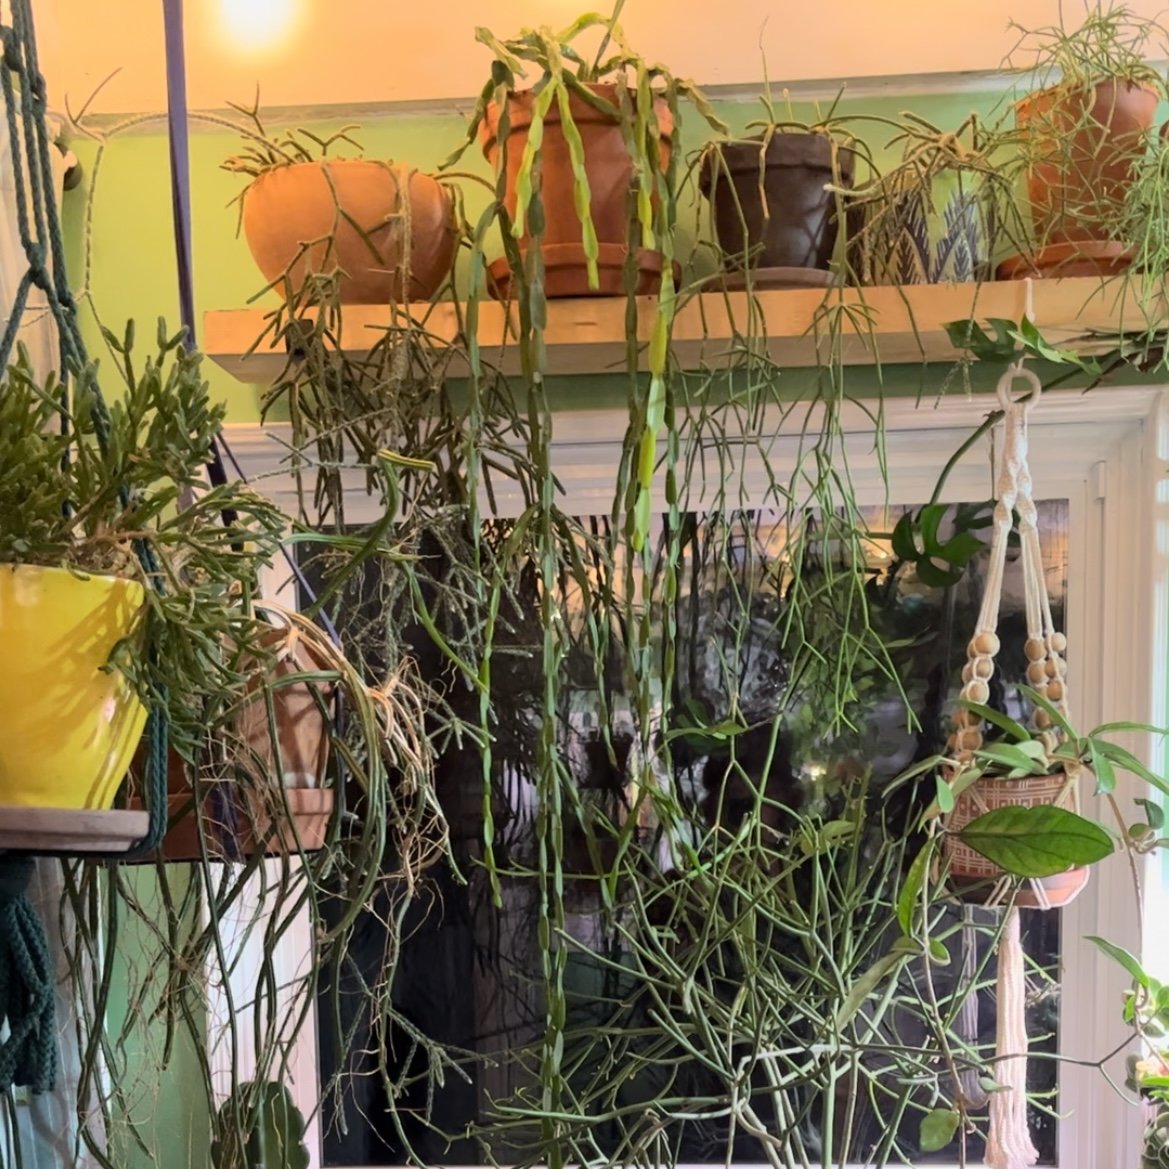
Above: Philodendron verrucosum and Rhipsalis paradoxa, both planted into the original design. Next, Philodendron verrucosum when it reached the top of the terrarium and needed to be cut back. A second Rhipsalis paradoxa added, and later removed. Finally, the Rhipsalis paradoxa (just for fun) in its larger form, second from right on shelf, now reaching nearly 5 feet long.
Incoming plants:
Hoya ‘Krinkle 8’ - an early addition the makeover
Hoya serpens
Hoya curtisii - small cuttings
Airplants - various
Rhipsalis
Hoya mindorensis
Xanthosoma - Phyllotaenium lindenii
Rhaphidophora hayi
Hoya renauensis

Above: Early additions include Rhipsalis, Hoya ranauensis, three ‘Krinkle 8’ Hoyas, and lots of air plants. Hoya mindorensis in coconut fiber. Hoya serpens and Hoya curtisii cuttings. Xanthosoma. A glimpse of Rhaphidophora hayi.
Bonus Lineup
Apparently, gathering moss clumps from outside to use as filler has brought a few additions into the cabinet. A pillbug family has made a home inside the terrarium.
They seem pleased with the accommodations, so they’re part of the ecosystem now.
The End
I’m much more satisfied with how the Detolf has taken shape in this most recent manifest, both in form and in function. My plants are also happier with the improved conditions. As you can see below, Hoya renauensis has two blooms setting up!
My biggest lessons learned from this makeover are:
Weather stripping is worth the extra time and energy
Kokedama are (plant) lifesavers
Don’t procrastinate and don’t avoid an entire dining room corner - It’s never too late to upgrade to something fabulous
Some plants do better than others in greenhouse cabinet/terrarium conditions
I know from firsthand experience that greenhouse cabinets are a huge investment of time and money. Additionally, once they’re up and running, they take a lot of consistency, sometimes daily, to keep the conditions at peak levels for plants. Thankfully, we have the magic of automatic timers, humidifiers, and fans to help us accommodate plants that would otherwise be unsustainable in regular household conditions. Those gadgets aren’t always enough, though, to keep the momentum up when plant care begins to feel exhausting.
I let this one get away from me for a while. I’m going to do my best to keep it happy and thriving now, but the ups and downs are a part of the houseplant journey that I have come to accept.
I’d love to hear about your own experience with terrariums big or small, greenhouse cabinets, or plants in general! Send me an email, comment below, or find me on Instagram to see the day-to-day!