
Greenhouse Cabinet Step-by-Step.

This is far from my first greenhouse cabinet project. If you’ve been around for a while, you might recall my Detolf cabinet build or even my first Fabrikör cabinet. If you’ve visited us on Instagram then you’ve seen any of the three existing cabinets in at least one of their several iterations. However, the magic and wonder of building a greenhouse cabinet somehow makes every time feel like the first time.
For this fourth endeavor into the world of greenhouse cabinetry, the Ikea Rudsta is the skeleton of choice. With two Fabrikör units (white and yellow, for the record) in play, plus a Detolf, I wanted to try something new to fill out the dining room corner. I didn’t have the space for one of the larger units, and the Rudsta has a handy little shelf under the glass enclosed cube where an Ikea Sonos speaker, a tidy box for cable managing, and a few extra supplies can find a home. This is certainly the smallest greenhouse cabinet in the stable, but it’s still mighty.
Here, I will break down the steps to building this cabinet, as well as the costs and overall time you can expect to invest in a project like this. This is just a recounting of the experience I had with the products I chose to use. Some of the products I chose are old favorites that I’ve used many times. Others are new to me. All of the products or small businesses I’ve mentioned here are just because I love them and/or their products. I found them on my own, buy them with my own money, and use them because they work for me. Now that we’ve gotten that out of the way…
The Beginning
There are two versions of the Rudsta. I chose the tall version for the space I needed to fill. For the sake of brevity, this story begins with a fully assembled cabinet. I could tell you the entire tale of how a flat packed box transformed into a fully functional piece of furniture, but there’s an instruction manual for that. It’s better to just let you know that it took about an hour to assemble, move into the proper position, and to attach some fun glowing LED lights at the back of the cabinet.

The Ingredients
It took a lot more than a Rudsta to create a miniature greenhouse. The other key players are as follows:
Drill
Zip Ties
Electrical Tape - Black
Power Strip
USB-A Adapter Plug
Humidifier (Temporary - more on this later)
I’ll explain a little more about each of these items, including the price tags, later. For now, you’ll find links to the items I purchased specifically for this project. The drill, zip ties, electrical tape, power strip, adapter plug, and humidifier were things that were readily available around my house.
First
After a bit of inspection, it became clear that drilling a hole in the top of the cabinet would be necessary for the wires belonging to the lights and fans. Based on the location of the outlet on the wall, as well as the chosen placements for the lights and fans, the hole was drilled in the back left (if you’re facing the cabinet) corner.

The top of the cabinet is metal. The drill bits from my basic kit were suitable, though the edges were a bit jagged. Just to be safe, I planned to wrap any wires exiting this hole with tape to prevent any safety issues down the line.

Initially, it seemed like one hole would be enough, but later it became clear that it needed to be enlarged. The lights and fans both have switches on the power cord, so the holes need to accommodate those switches. It added a small amount of time to enlarge the hole, but nothing major. In all, to plan the layout of the lights, fans, and shelves plus the drilling of the hole, it took about an hour.
Second
Next, it was time to install the lights and fans in the cabinet. Before we get into the installation, here’s a little bit of information about which products I chose and why.
Magnetic Hooks

Since the ceiling and back wall of the cabinet are magnetic, these hooks are a wonder. They can hold the fans and lights in place with ease. The red hooks were on sale for $3 for a pack of three, and that’s the only reason I chose red. Otherwise, I probably would have chosen black hooks to blend in with the back wall. I ordered a total of nine hooks, so the total was around $10 with tax.
Grow Lights

It was the excellent reviews that got me. I have no idea what brand these lights are, or how they make the plants so happy, but I’m not going to question it. They can be purchased in either a warm white light, or a purple light. I chose warm white to match the light in my Detolf cabinet across the room.
At first glance they are mega Ultra-thin, just as advertised. I had no idea how they were going to satisfy my plants, but they do and now I’m another impressed customer. I had a coupon, so these ended up being about $20. I’ve had far more expensive lights that have been far less impressive. The only negative is that they aren’t compatible with an automatic timer. So far, that’s the only down side I have found to this set of lights. It should be mentioned, however, that when the description mentions two lights, it’s actually referring to two lights that clip together. Although it might be possible to use a single light, there is only one power cord for the lights. This would essentially render the spare light useless, so clipping together is the only option. Still, for the price and the level of satisfaction I see in my plants, they’re worth it.
Fans
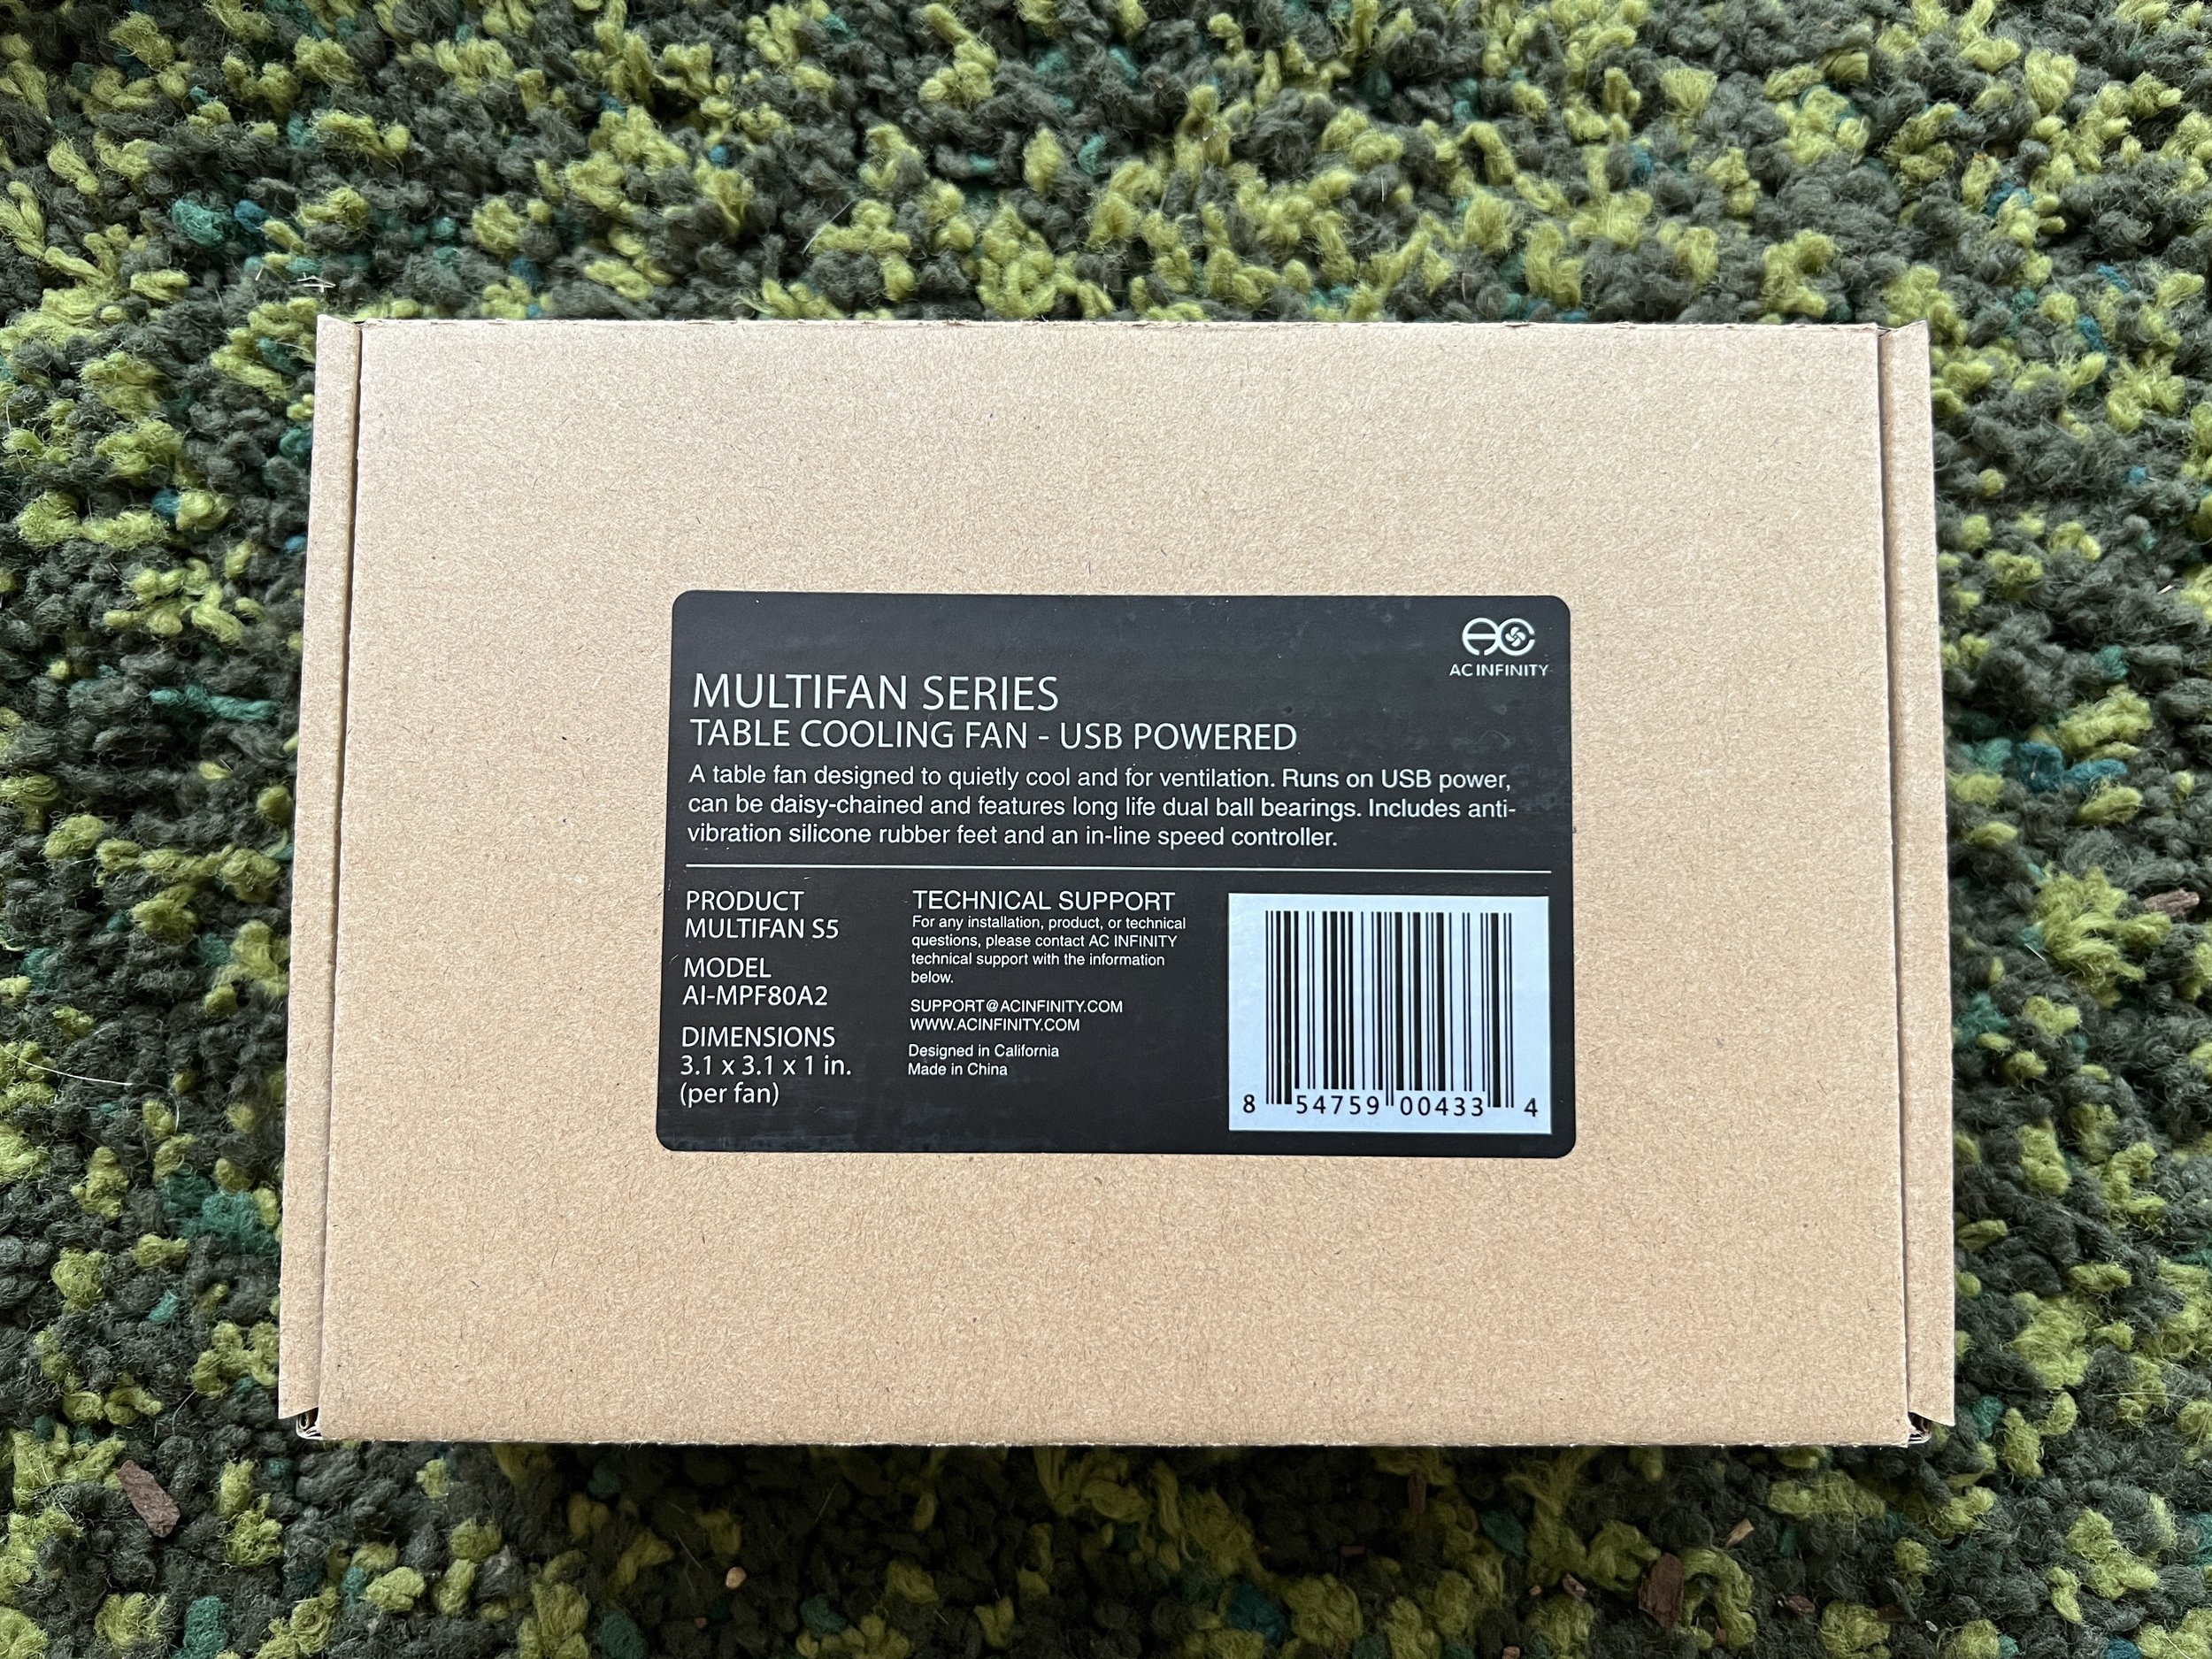
I love these fans. This is my third set, and I’d buy them again if I had the need. They’re $16. I love the price, and I also love the way the single cord has two fans. It’s perfect for my greenhouse cabinets with two shelves. The fans are close enough that there isn’t a ton of extra cord to hide, but I’ve never run into a situation where the distance between the fans is too short. Highly recommend.
Humidity and Temperature Meter
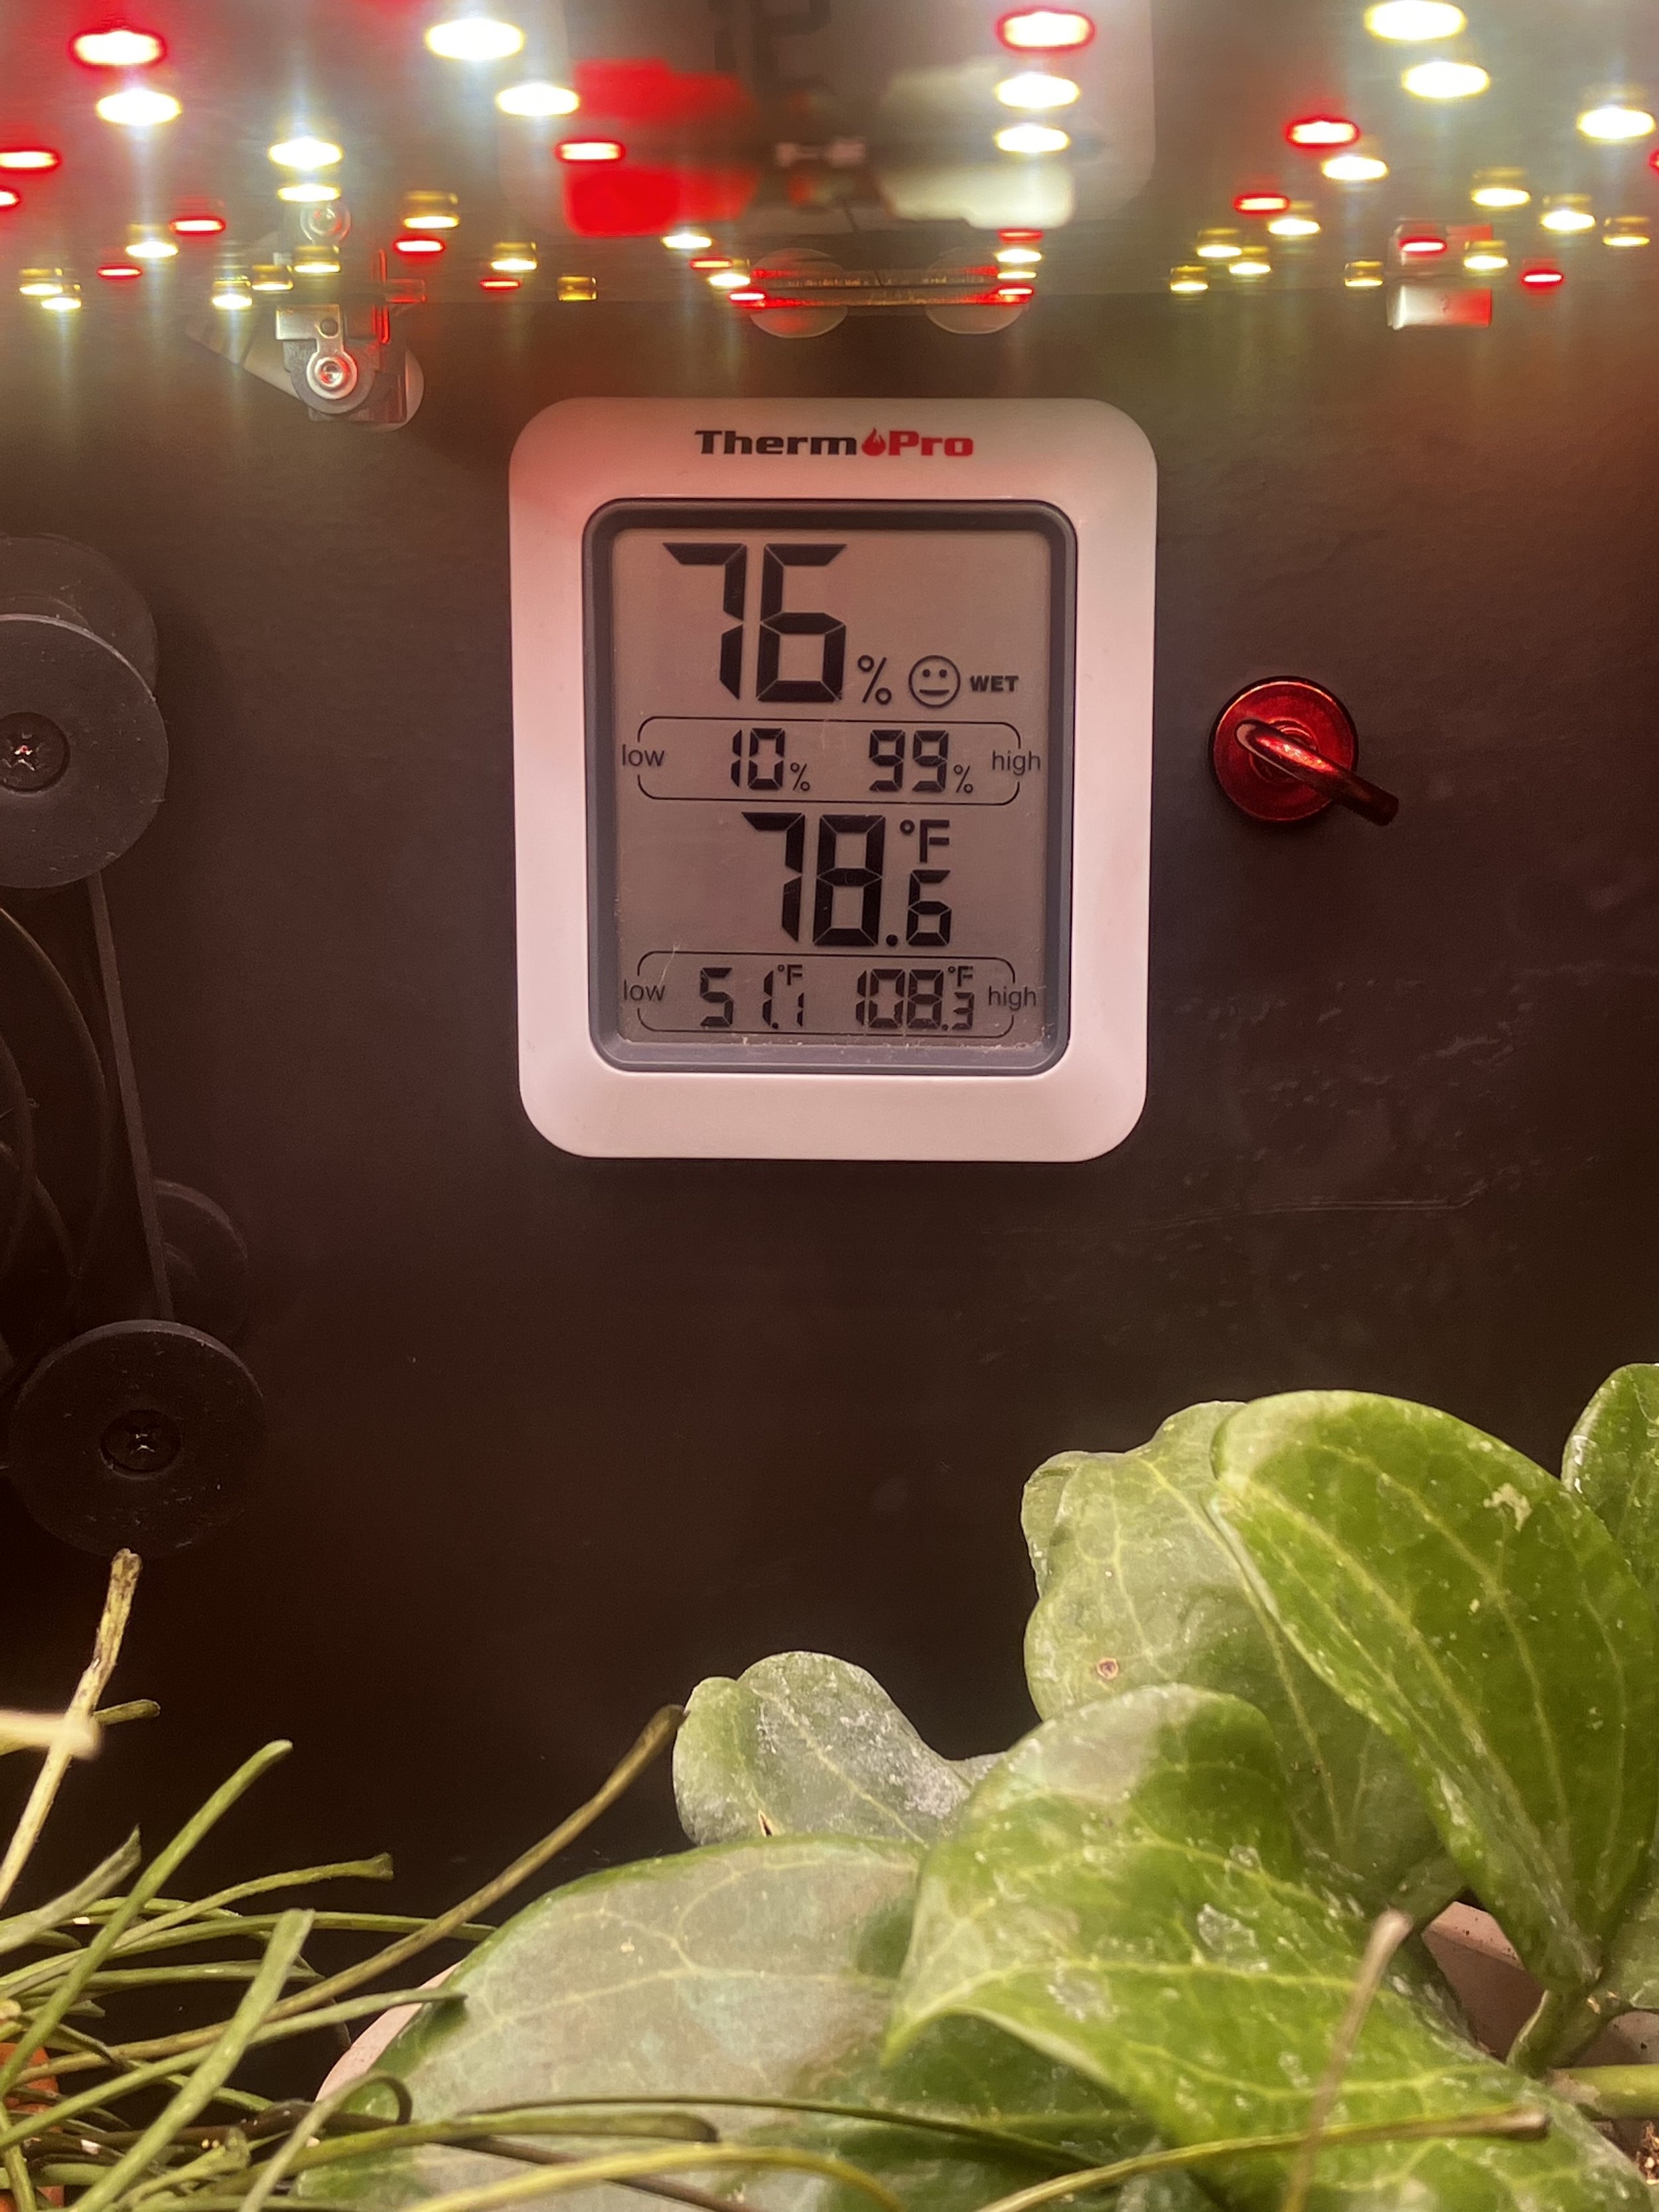
This ThermoPro is my favorite Humidity and Temperature Meter. It’s a crucial job within the cabinet, so I need it to be reliable. At around $10, I find this meter to be worth the price. Any issues I have ever had have been quickly resolved by the great customer service provided. I make sure to submit the warranty whenever I purchase one of these meters, because it’s a small electronic unit in an extra humid environment. Although issues have been rare (maybe twice in three years, and I have about 10 meters), the company has provided me with a new meter any time the situation called for it.
To install the lights, I began by hanging the light on the ceiling with the magnetic hooks. The panel had predrilled holes for hanging, so I used what was provided. I fed the power cord into the hole drilled on the top of the cabinet and plugged it into the light. The on/off switch hangs behind the cabinet.
To install the fans, I put them inside of the cabinet and fed the cord out of the hole. The fans are on one end of the cord, and the USB-A is on the other end. They did not come with the USB-A plug adapter, so I used one I had around the house. The fans have a low, medium, high, or off setting, and the switch hangs behind the cabinet.
After both wires were in place, I wrapped tape around them to ensure they won’t be snagged or cut where the ceiling hole was drilled.
Installing the electronics took about an hour, in all.
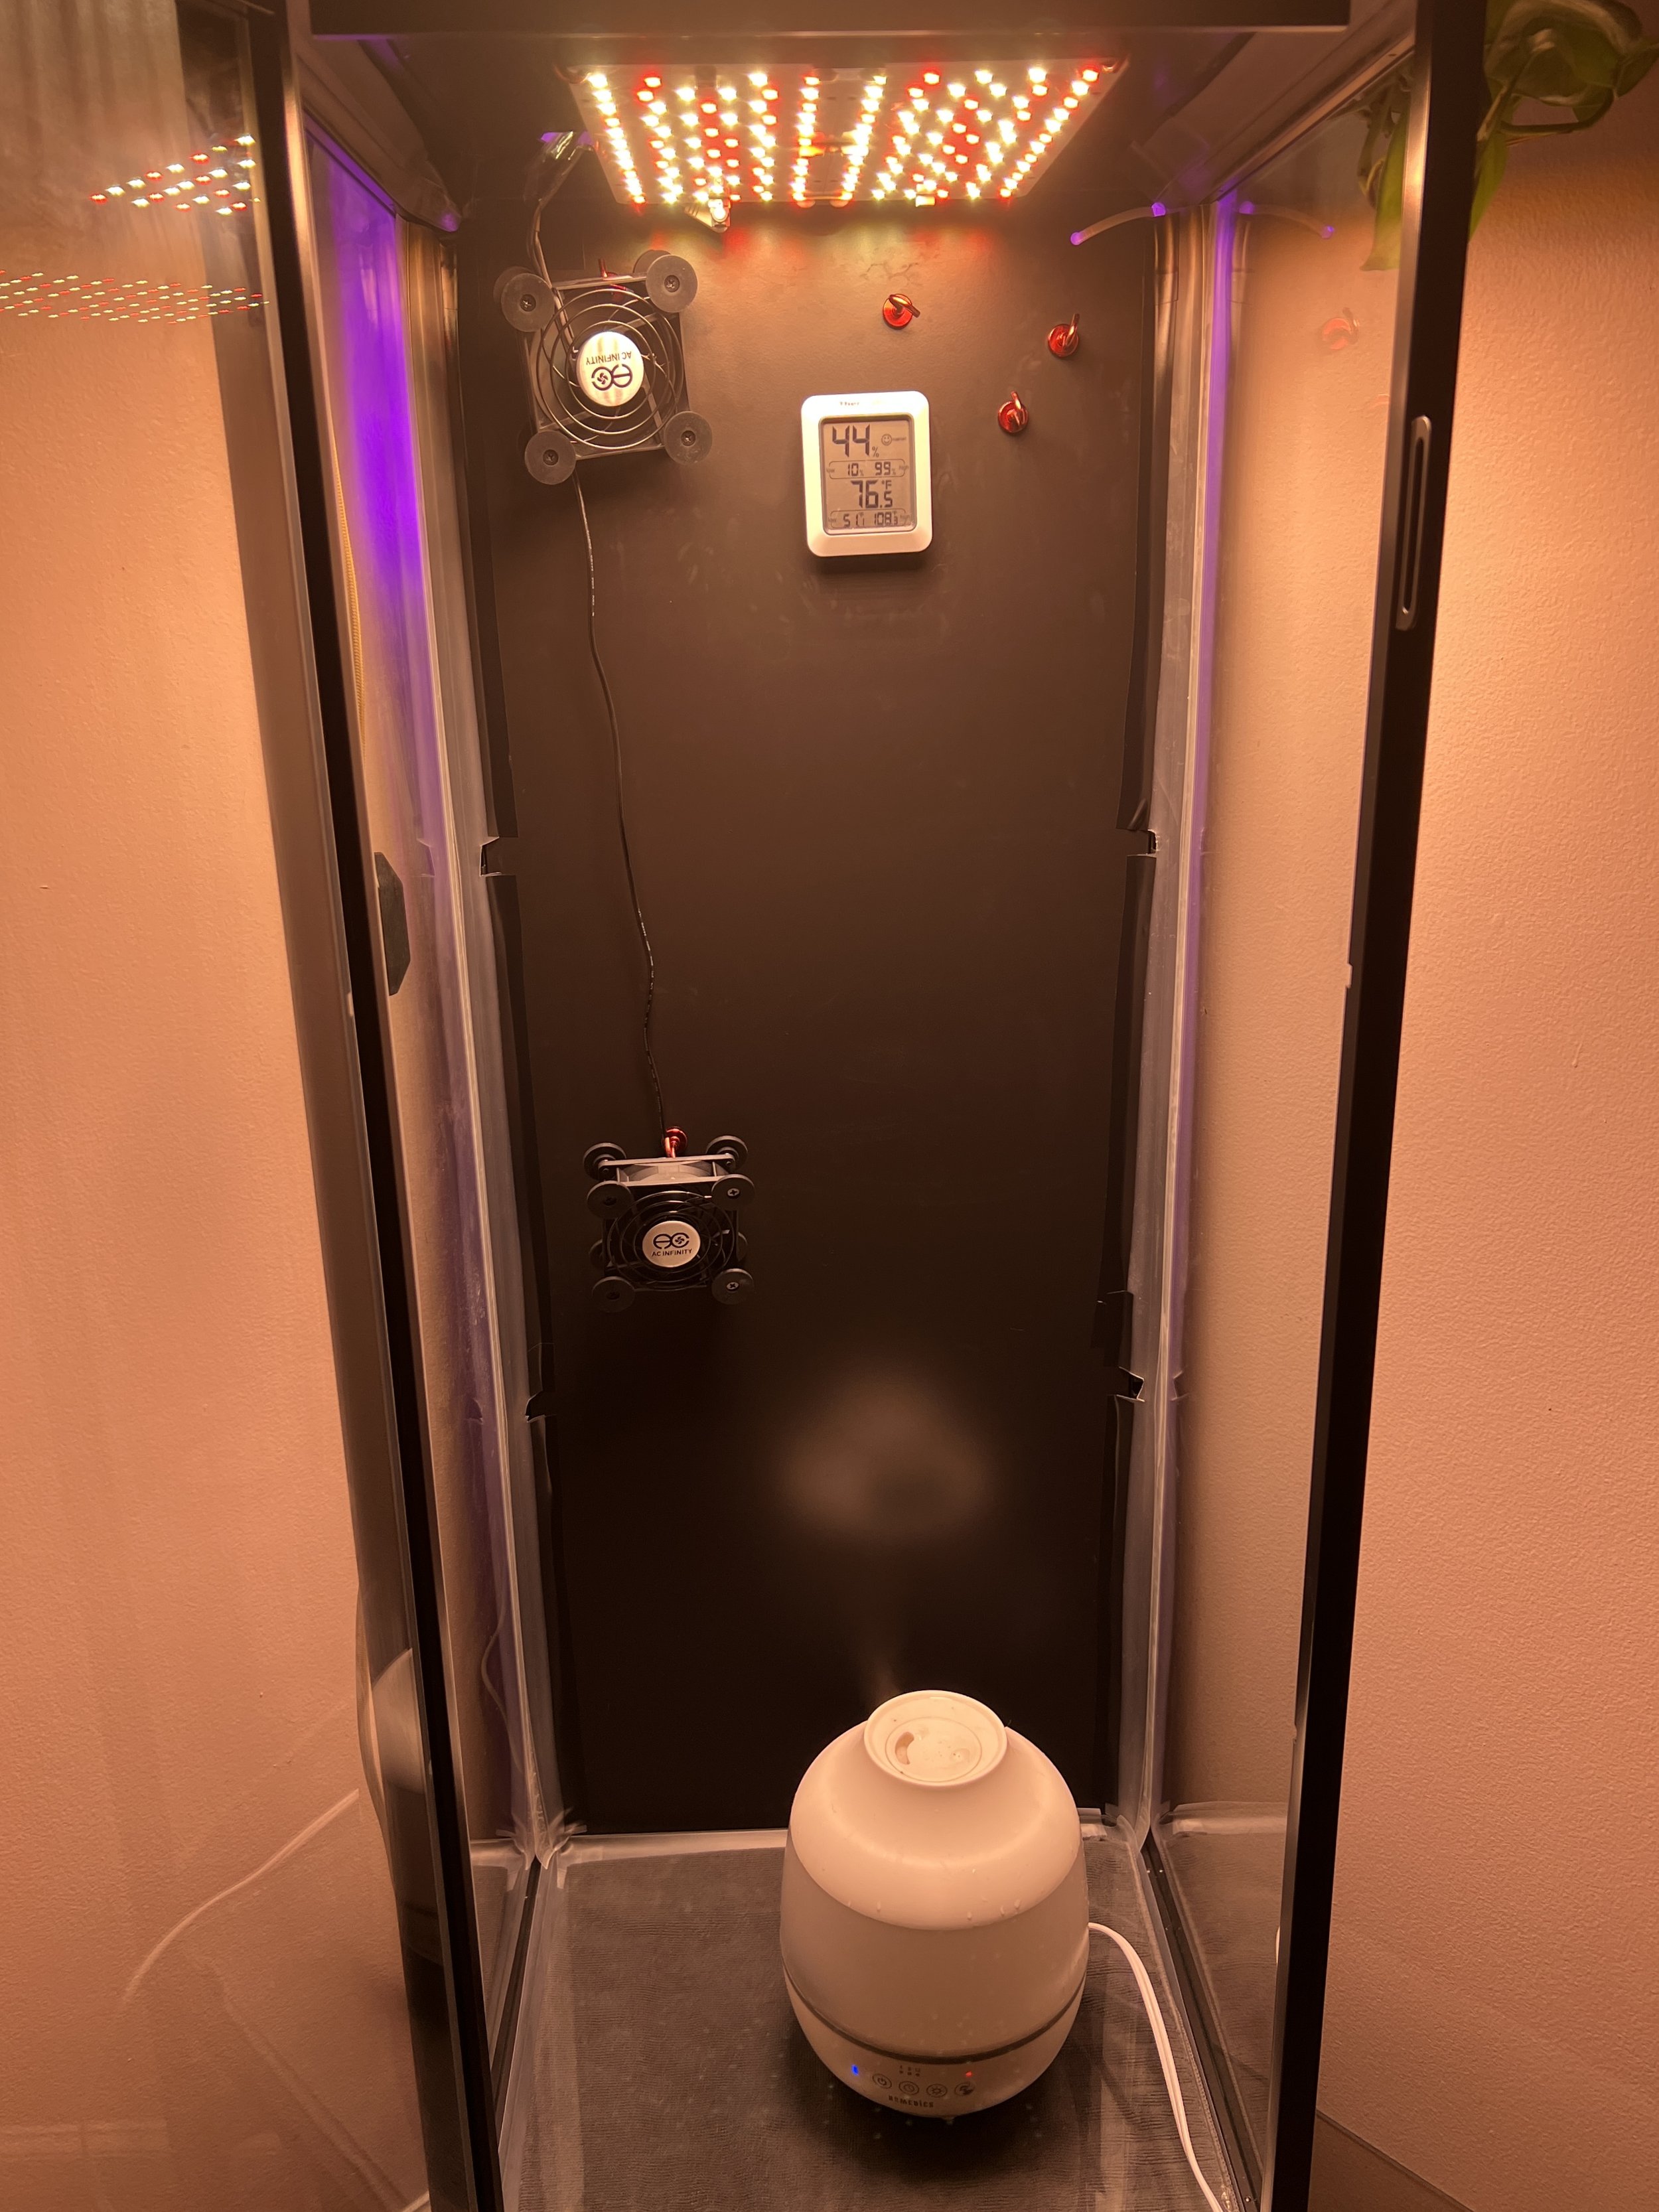
The two photos below show the progress in the greenhouse cabinet up to this point. The first photo is a frontal view, and the second shows the lights on the cabinet ceiling, where the magnetic hooks are holding them up securely.


That concludes the installation of the electronics for the cabinet. Next, we’re moving on to structure and integrity.
Third
I grouped weatherstripping and shelves into the third step for a couple of reasons. This is the step that I dread, first of all. I do not like sealing a cabinet and have made various unsuccessful attempts over the years to avoid it completely. This, of course, never works out for me or my plants and inevitably I end up begrudgingly weatherstripping a cabinet while I scold myself for putting it off in the first place. Not this time. This cabinet has been weatherstripped from the jump. The second reason I put them together is because the weatherstripping needs to fit in behind the shelves, which requires custom cuts to the strips.
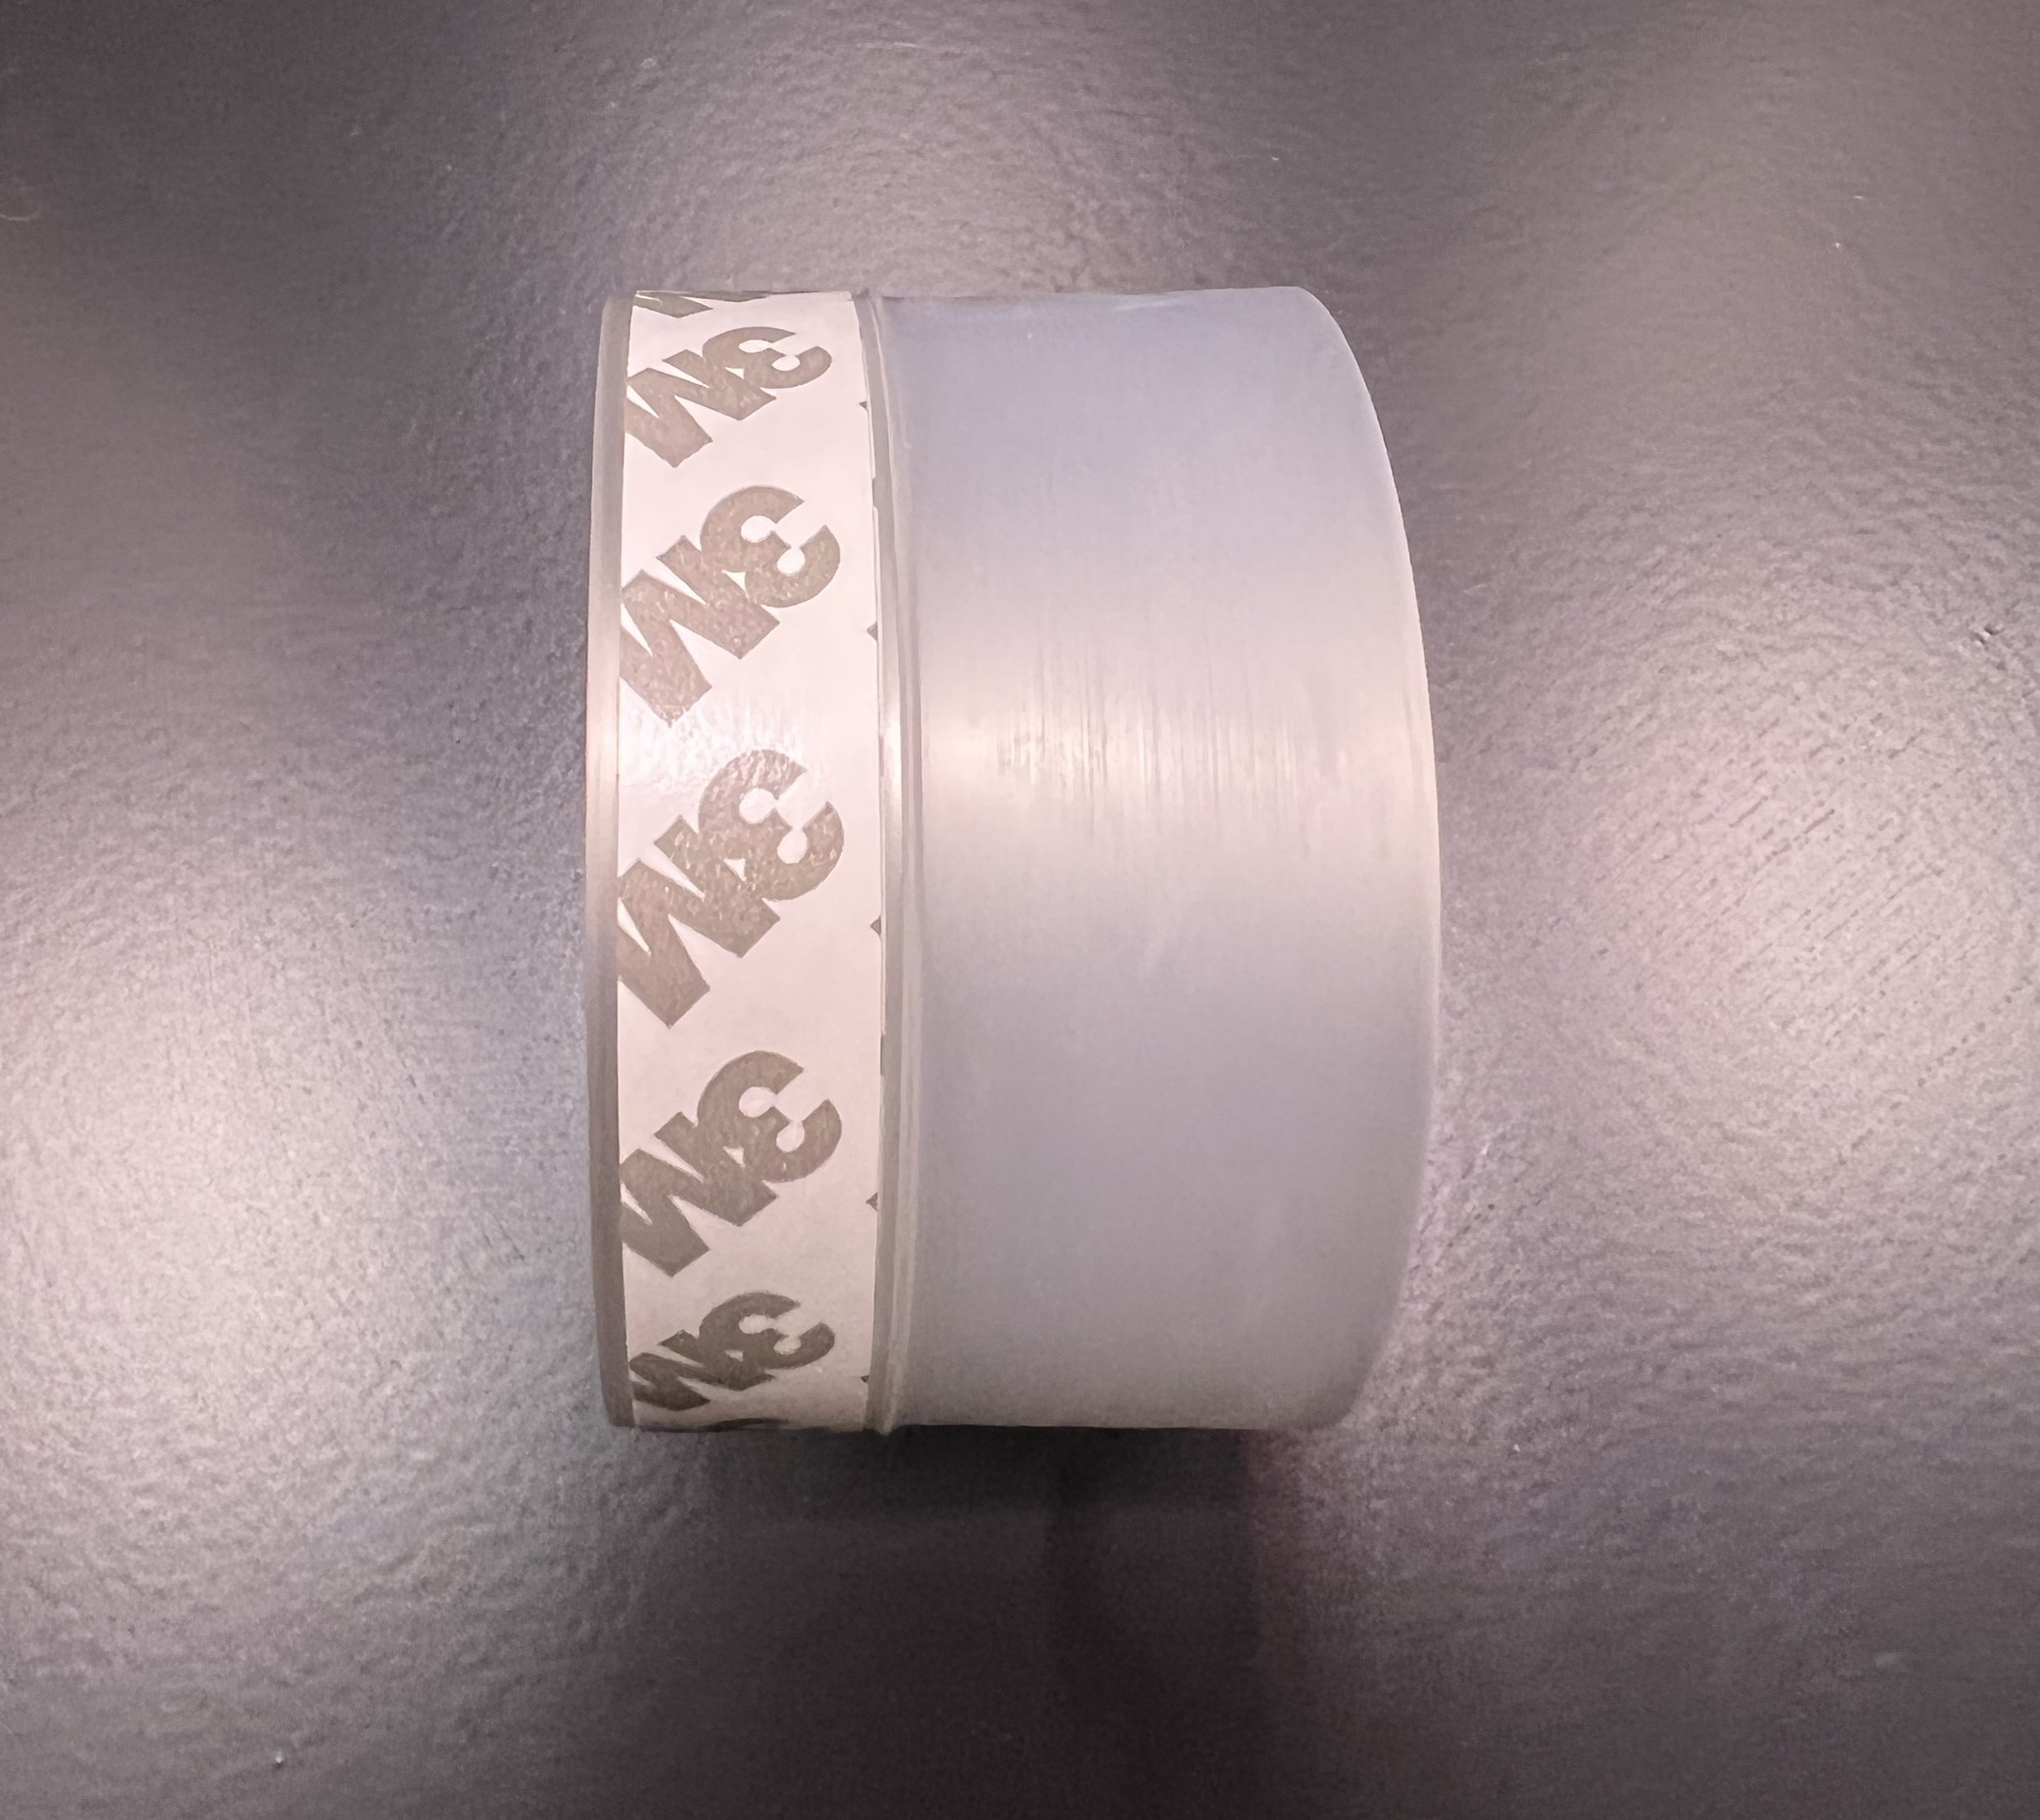
Weatherstrip

It’s not the most attractive feature within the cabinet, that’s for sure. I checked out various products at local stores, and nothing was working for me. I finally found a product by 3M that felt like something I could look at every day without rolling my eyes. I tried it out first on my Detolf cabinet, and it worked beautifully. I was specifically looking for a weatherstrip that would fold into tight corners, and this one fit the description.
For my glass Detolf cabinet, the colorless option works well. For the Rudsta, I might look into ordering the strip in black if that’s available. As you can see below, the clear strip is visible through the glass.
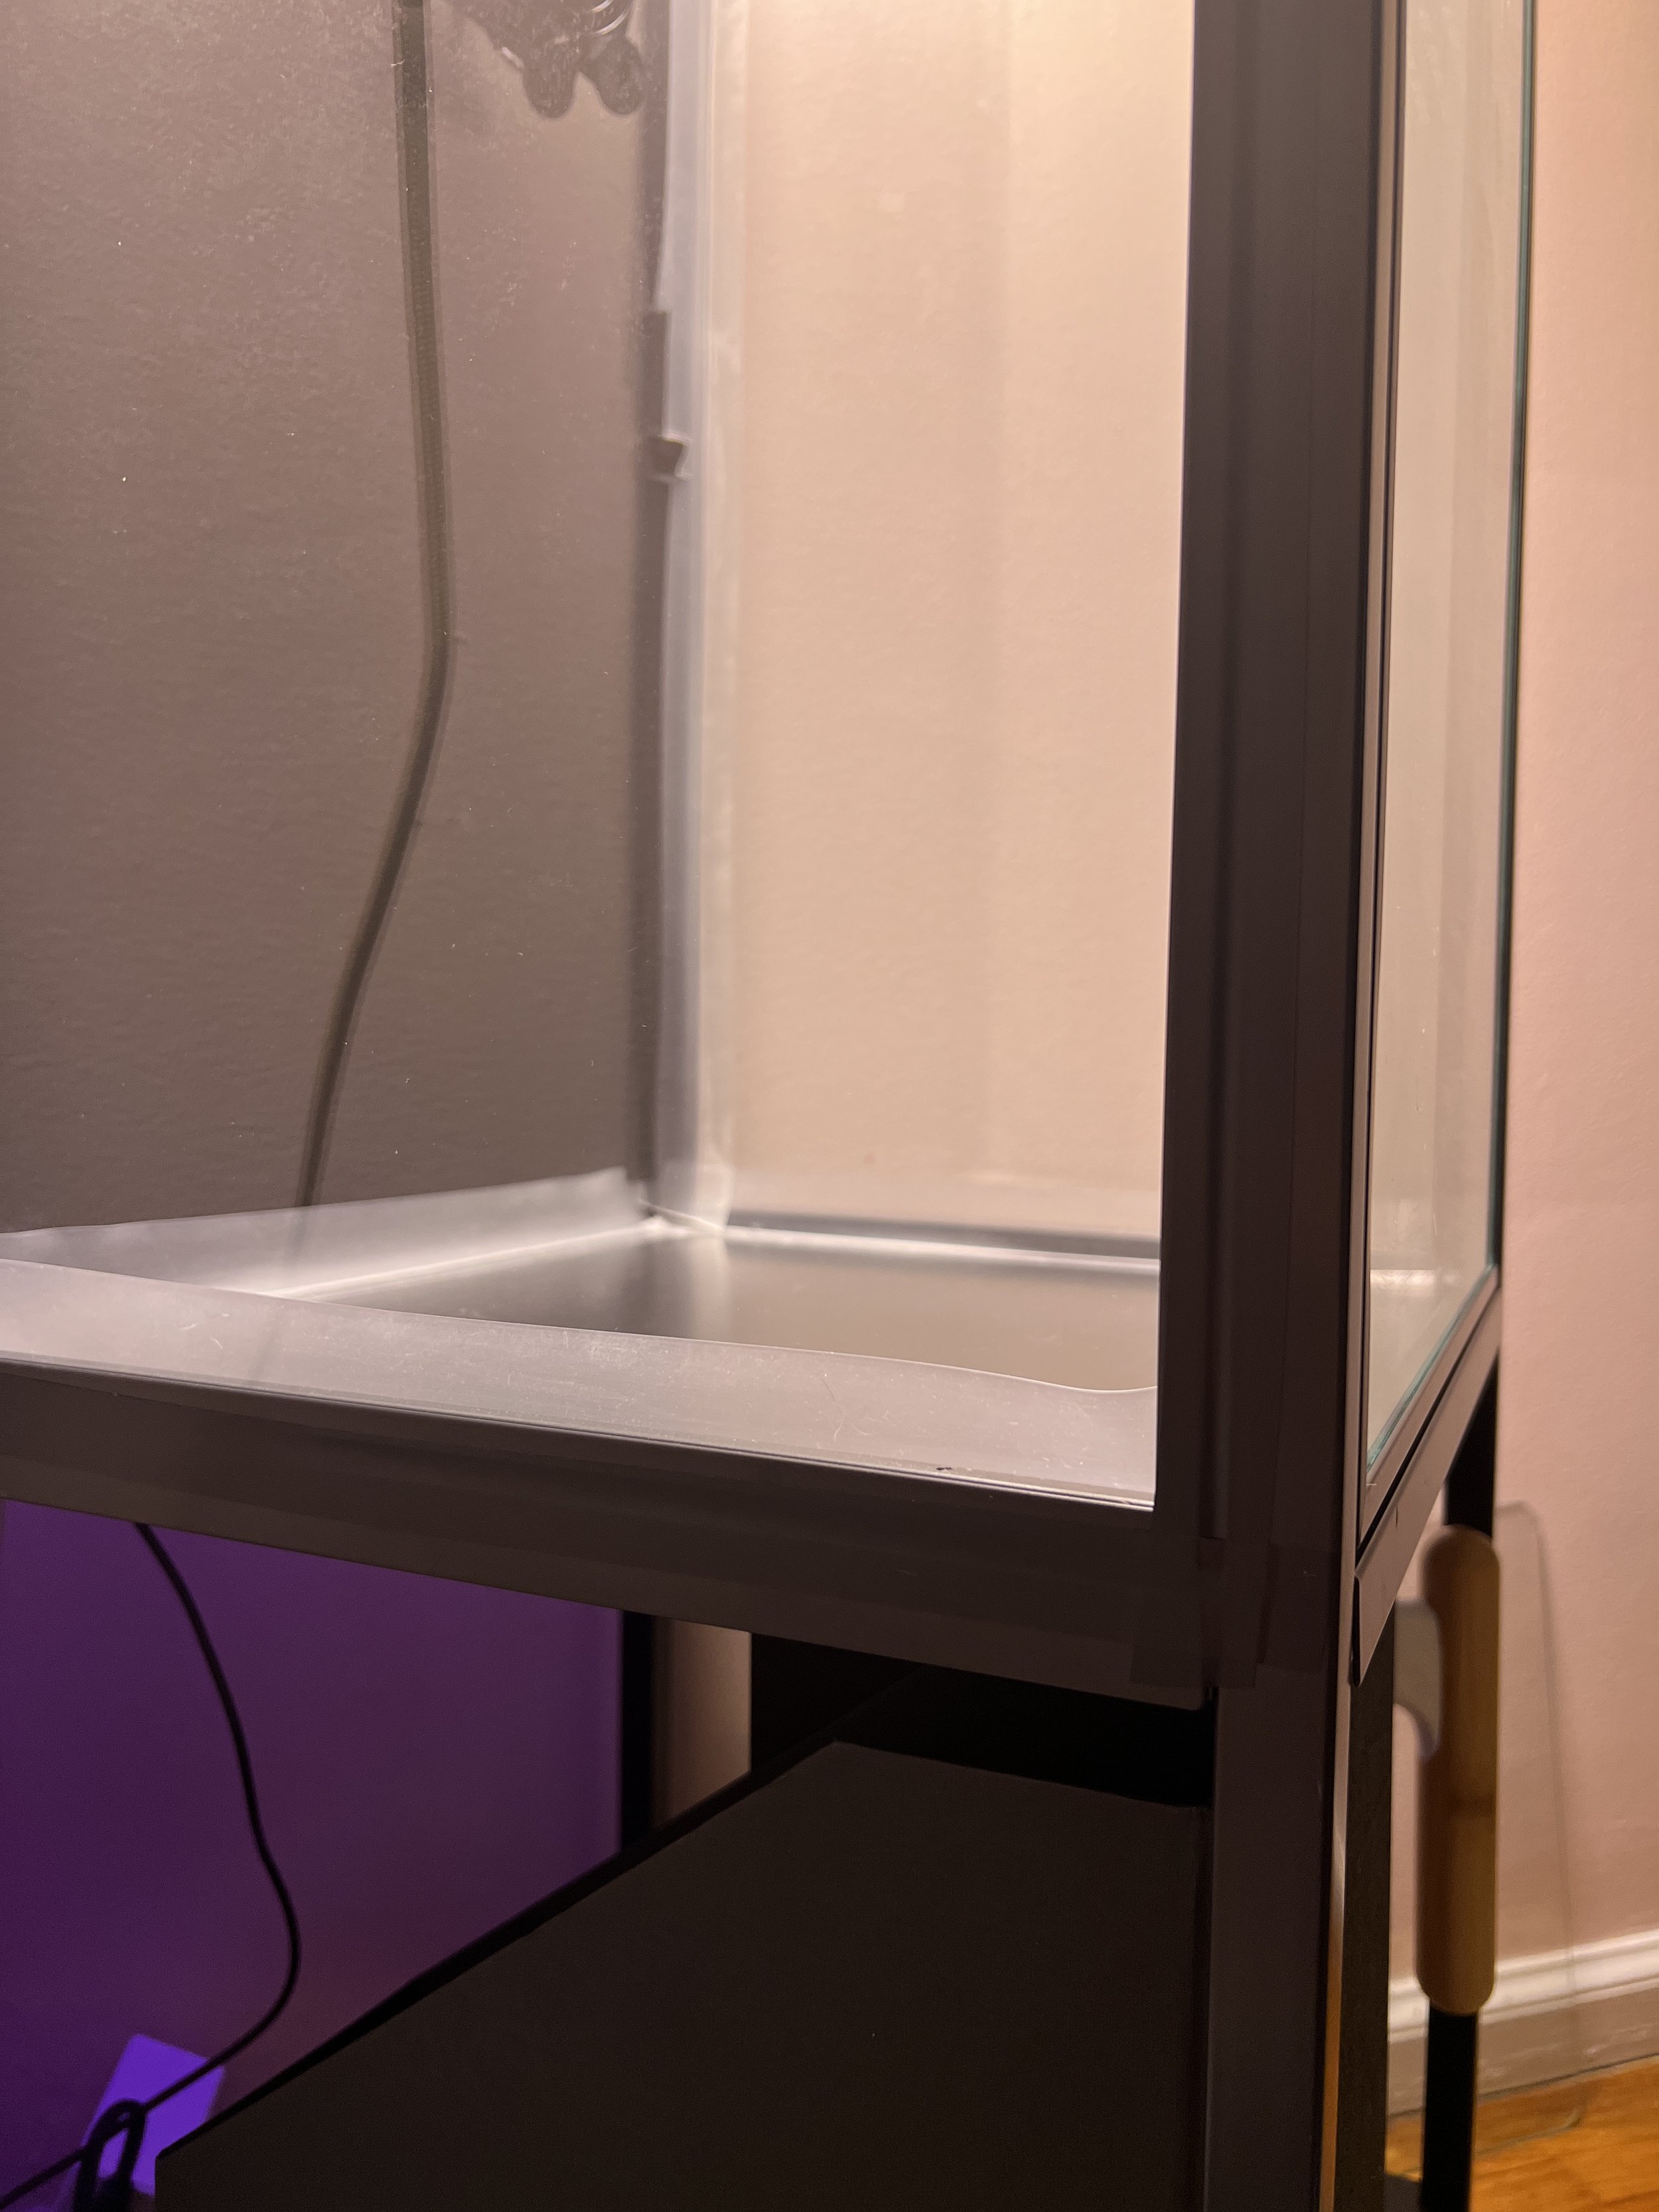

In order to fit the shelves, it was necessary to cut notches in the weatherstripping. Also, as seen below, I used black electrical tape in some spots to seal areas that would otherwise be gaping open. Up close, this is visible, but from a distance it’s virtually invisible. I have no idea how well the electrical tape will hold up over time. I have no problem replacing it in the future if it fails, as it was just a quick fix in the moment. It wasn’t ever planned to be a part of the weatherstripping system, and I’ll gladly move on to a plan B if necessary.

This step felt like it took forever. In all, it was over an hour, probably closer to two. Some of this time was spent experimenting and trying to engineer solutions to problems that came up. For example, determining how much humidity was being lost through the space near the door handle took some extra time. Although, true to form, I tried to weasel out of weatherstripping the entire cabinet, it didn’t work out. In the end, the entire inside of the cabinet needed to be sealed in order to hold humidity in the upper 70 to lower 80 percent range. This took a lot of experimenting with the humidifier inside the cabinet. This is new to me, as none of my other three cabinets have ever had a humidifier. My Detolf has a coconut fiber wall in the back, and misting this wall about twice a week is all that’s necessary to keep humidity in the 80% range. Both of my Fabrikör units stay humid from a combination of watering the plants, trays of water inside the cabinet, and humidifiers kept near the outside of the cabinets for the surrounding plants. Believe it or not, I do notice a huge difference in the humidity within those cabinets if I don’t keep the room humidifiers running. In the case of this Rudsta, I don’t think that method would work. It’s sealed within an inch of its life, whereas the Fabrikör cabinets just have weatherstripping on the gaps in the door areas.
I feel good about how the seal turned out on this cabinet. The time was well spent, especially since I know that it wasn't wasted. The humidity holds in the 75-85% range for days if the doors remain closed. With Hoyas living inside, there isn’t much need to open the doors and water plants all the time. The only thing I might change in the future is the color of the weather strip. Other than that, mission accomplished.
Shelves
I am so excited about these shelves. I’ve always wanted to get custom acrylic shelves for one of my cabinets. It’s every bit as fun as I always thought it would be.
A lot of thought went into which shelf was right for this cabinet and our needs. I wanted to get the thicker, 5/8” shelf rather than the 1/4”. I really enjoy decorating with unique pots, and I didn’t want to have a shelf bending or snapping under the weight of the plants + their decorative pots. I have nothing against a lightweight plastic pot if that’s the right choice for you. Based on my love of terracotta and the fact that I make ceramics, it’s natural that I’m going to use decorative pots to customize my space. Some are made in our studio, some aren’t.
The decision came down to two different sellers/makers on Etsy. We chose Ultimate Acrylics for a few reasons. I loved the wave in the shelf edge. Something about it appeals to me aesthetically. I liked the option of choosing the holes in the shelf for ventilation, as well as the option to choose the 5/8” thickness. Finally, I loved that these shelves came as a pair.

The shelves arrived way before their estimated shipping window. I was really happy with the shipping speed. They came with blue plastic protective seals on both sides of each shelf. We checked for the fit, which was perfect, and then removed the blue plastic. The shelves were shiny and pristine under the protective coating, and I was even more thrilled once I saw them installed in the cabinet without the protective plastic.
Installing the shelves took no time at all. Maybe ten minutes. This could have been because I was so excited for this step!

We started to experiment with the humidity levels inside of the cabinet at this point. I wasn’t looking for a completely air tight cabinet, it needs to breathe (in my opinion). I’ve noticed that my other cabinets do well when there’s a bit of air exchanged with the outside world. The humid air is heavier, and hangs in the cabinet, so we chose to leave part of the hole drilled into the top of the cabinet unsealed. This is the same in my Detolf cabinet, and it doesn’t compromise the retention of humidity. So far, the same has been true for the Rudsta.

We put a small towel at the bottom of the cabinet, and then the two glass shelves that came with the Rudsta on top of that. Although the cabinet is resistant to rust, I felt better with the humidifier sitting on glass. This particular humidifier was a spare that I had around the house, and it really works. Sometimes water can accumulate around it, which made the towel and glass seem all the more necessary. They have the added benefit of further sealing the bottom of the cabinet, which I love. It prevents any leaks or drips if I were to get clumsy and spill when I’m watering the plants or filling the humidifier.
This experimenting and tweaking took a couple of days. That’s optional. I just wanted to get a feel for the environment inside the cabinet, as well as how long it was able to maintain a set of conditions. In the long term, I’m not sure if this cabinet will be able to sustain humidity without a humidifier like my other three cabinets. I’ll be interested to see how the conditions hold through a dry Midwestern winter. I have considered getting a small portable humidifier, because I don’t see the current one as sustainable. I don’t like the plug or the appearance, but we’re still experimenting to some degree.
Fourth
Fill it with plants! This is the most fun, of course.

I recently purchased some breathtaking plants from a seller on Ebay (mbufalo12), and I was eager to get them set up in their new home. One is currently living (and blooming) inside my Detolf cabinet, but the other three found a home here. Hoya ranauensis (bottom), Hoya finlaysonii snow (middle right), and Hoya merrillii (top right) are all new. Additionally, Hoya ‘Sunrise’ (top left), and Hoya cv. ‘Mathilde’ (middle left) recently arrived from LuckyFortuneGarden. The rest of the cabinet is slowly filling up with some of my existing plants that would appreciate the conditions.
Filling the cabinet took maybe 15 minutes, not including potting the plants that needed to be repotted.
The Math
Total time: About 4.5 hours. This does not include the two days that I monitored the humidity retention.
Total cost for materials: $260 - this includes the cabinet, and any product that I did not have on hand. It does not include the cost of the plants. I try not to keep track of what I spend on actual plants.
Thanks!
I hope you’ve found this helpful if you’re considering a greenhouse cabinet modification of your own. I’d love to hear about it! Leave a comment below, send an email, or find us on Instagram to chat!